Happy September! Even though it’s still umpteen degrees outside you can’t deny that Fall is definitely in the air. The leaves will eventually start to drop off of the trees and everything will soon turn into beautiful hues of orange, reds and browns. For now though, it’s time to kick off the fall decorating, starting with the front porch! This month’s #MichaelsMakers challenge is celebrating Autumn with pumpkins, so with that in mind I went to my local Michaels to check out their newest craft pumpkins and come up with something fun.
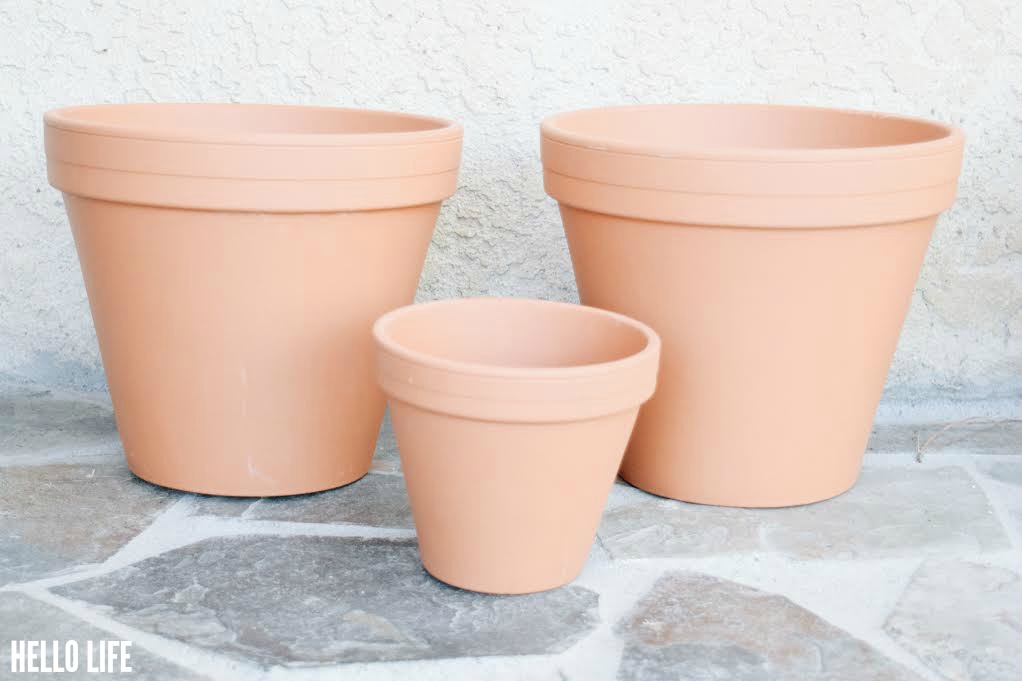
I noticed that this year the overall tone of the craft pumpkins is more muted and neutral. While there was still a large selection of classic orange pumpkins, I love weathered look as it lends to the farmhouse style that I am currently crushing on. I picked up 3 clay terra cotta pots, some craft paint, and a few craft pumpkins to add some fall to my porch.
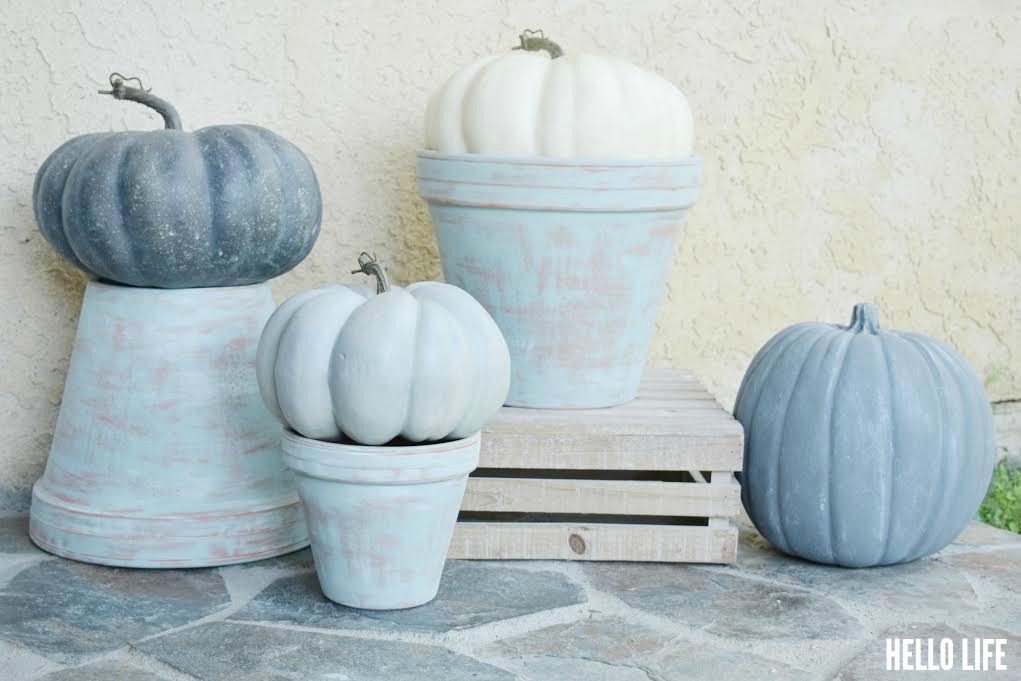
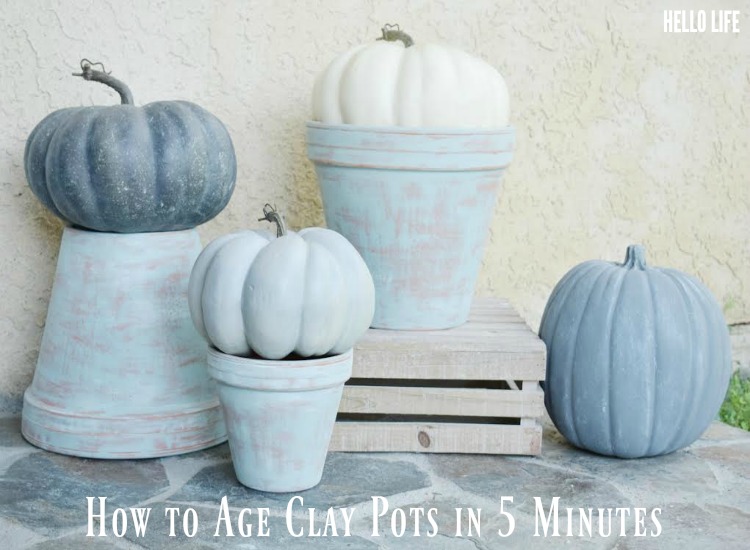
Aged pottery is so beautiful and timeless. I made a simple display of weathered pots and pumpkins that welcome my guests with the coolness of autumn, even when the sun is still frying everything in sight.
AGE POTTERY IN JUST 5 MINUTES
The interwebs is full of ideas and instructions on how to weather or age pottery. Most of them are great! Most of them take time. You can definitely follow those directions or if you rather spend more time enjoying the season, follow these directions to age pottery in 5 minutes flat.
Materials:
Clay pots
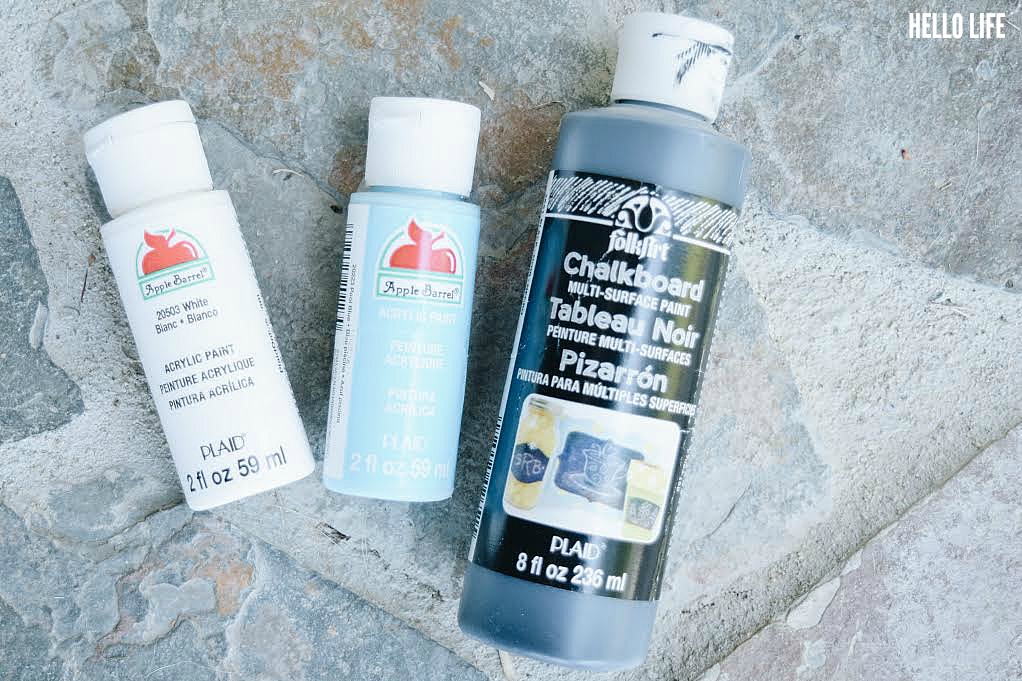
Craft Paint (use white or any color you like)
Small cup of water
Foam Applicator
Light grit sandpaper (optional)
Directions:
Start with clean pots. I could not find the exact shade of blue I wanted at the store, it was kind of a tall order, I was going for a really pale grey blue. To achieve this shade I mixed equal parts of Apple Barrel paint in a light turquoise shade with white, and a single drop of FolkArt black chalkboard paint. That was enough to add a little tone of grey to the paint without making it too dark. Of course you may have a different color in mind and be able to just pick it up off the shelf, but if not, don’t be afraid to mix ‘er up!
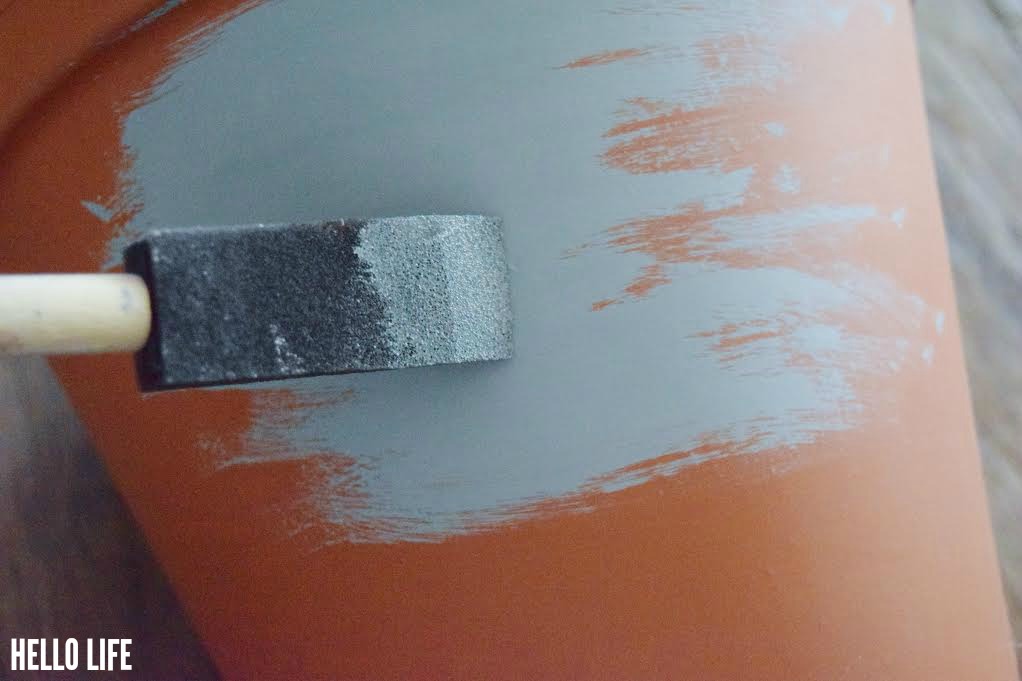
Then I dipped the applicator brush lightly into water, then into the paint mixture and made wide strokes horizontally. All the way across each pot making sure not to dip the brush into the paint too often. I certainly don’t want to cover every spot of terra cotta. Afterall, the weathered look is all about letting what is underneath come through due to aging or being exposed to the elements for years.
Once dry to the touch, I went over the entire pot with the sand paper in a vertical pattern. This is optional, but it does help to let the original color peek through. Wipe it off with a damp towel to pick up extra dust. Allow to dry completely.
That is it! I am not worried about protecting the pot from the elements, the clay is strong and meant to be outdoors. Besides, natural weathering will only add to the look I want!
The craft pumpkins are absolutely perfect just as they are, so all I had to do was place them on top of my “aged” pots. I also picked up a small wooden crate at Michaels to add a little height to the vignette.
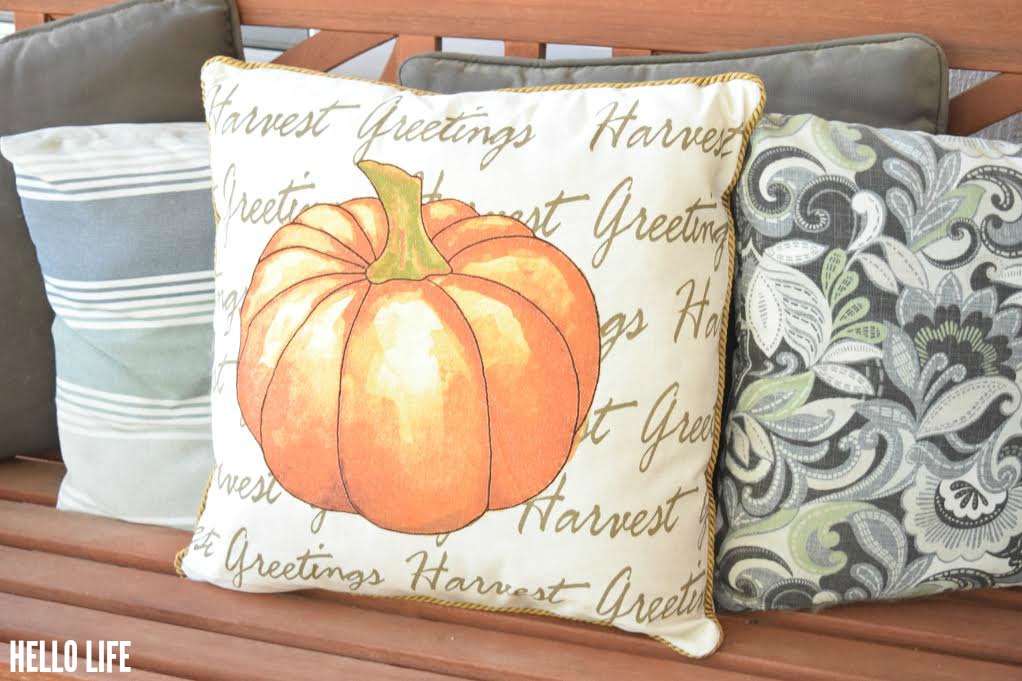
There are so many more gorgeous decor items for fall at Michaels. How awesome is this “Harvest Greetings” pillow I found??
To kick off fall in your own home, visit Michaels.com and check out the variety of craft pumpkins available – there is every color, shape and size you could ever want! There are tons of ways to DIY your own craft pumpkin for your home, a party or even as a gift.
Be sure to check out all of the other Michaels Makers pumpkin ideas on the Michaels blog.
DON’T FORGET TO PIN IT!
Grandmas House DIY says
These turned out lovely! We would love to have you at the To Grandma’s House we go link party that we just started! Thanks!
Barbara says
Thank you! I will stop by!
Liz says
What a great idea for dressing up some plain terra cotta pots!
Barbara says
Thank you Liz! I love the look and it was so simple!