It seems that pumpkins are already making their way into everything we love, from décor to lattes (mmm!), to candles and pies (double mmm!)! After a fabulous summer break, it’s time to finally welcome the Fall! For me that means it’s time to whip out the craft supplies and get back to doing what I love; creating! My #MichaelsMakers challenge for the month of September is you guessed it…PUMPKINS! While I’ve had my share of fun with craft pumpkins in the past, this time I decided to bling one out with fine gold glitter and metallic yarn from Michaels. You can never have too much glitz in the house and besides if you do it right, you can keep it tasteful and always beautiful!
First, to kick off fall in your own home, visit Michaels.com and check out the variety of craft pumpkins available – there is every color, shape and size you could ever want! There are tons of ways to DIY your own craft pumpkin for your home, a party or even as a gift. If you’re looking for something a little bit different, Michaels recently started selling these fun half pumpkins, perfect for fall décor wall mounts and fun signs. I picked up 3 of the half pumpkins myself and will be working on those soon, I seriously can’t wait, there are so many ideas swirling around my noggin!
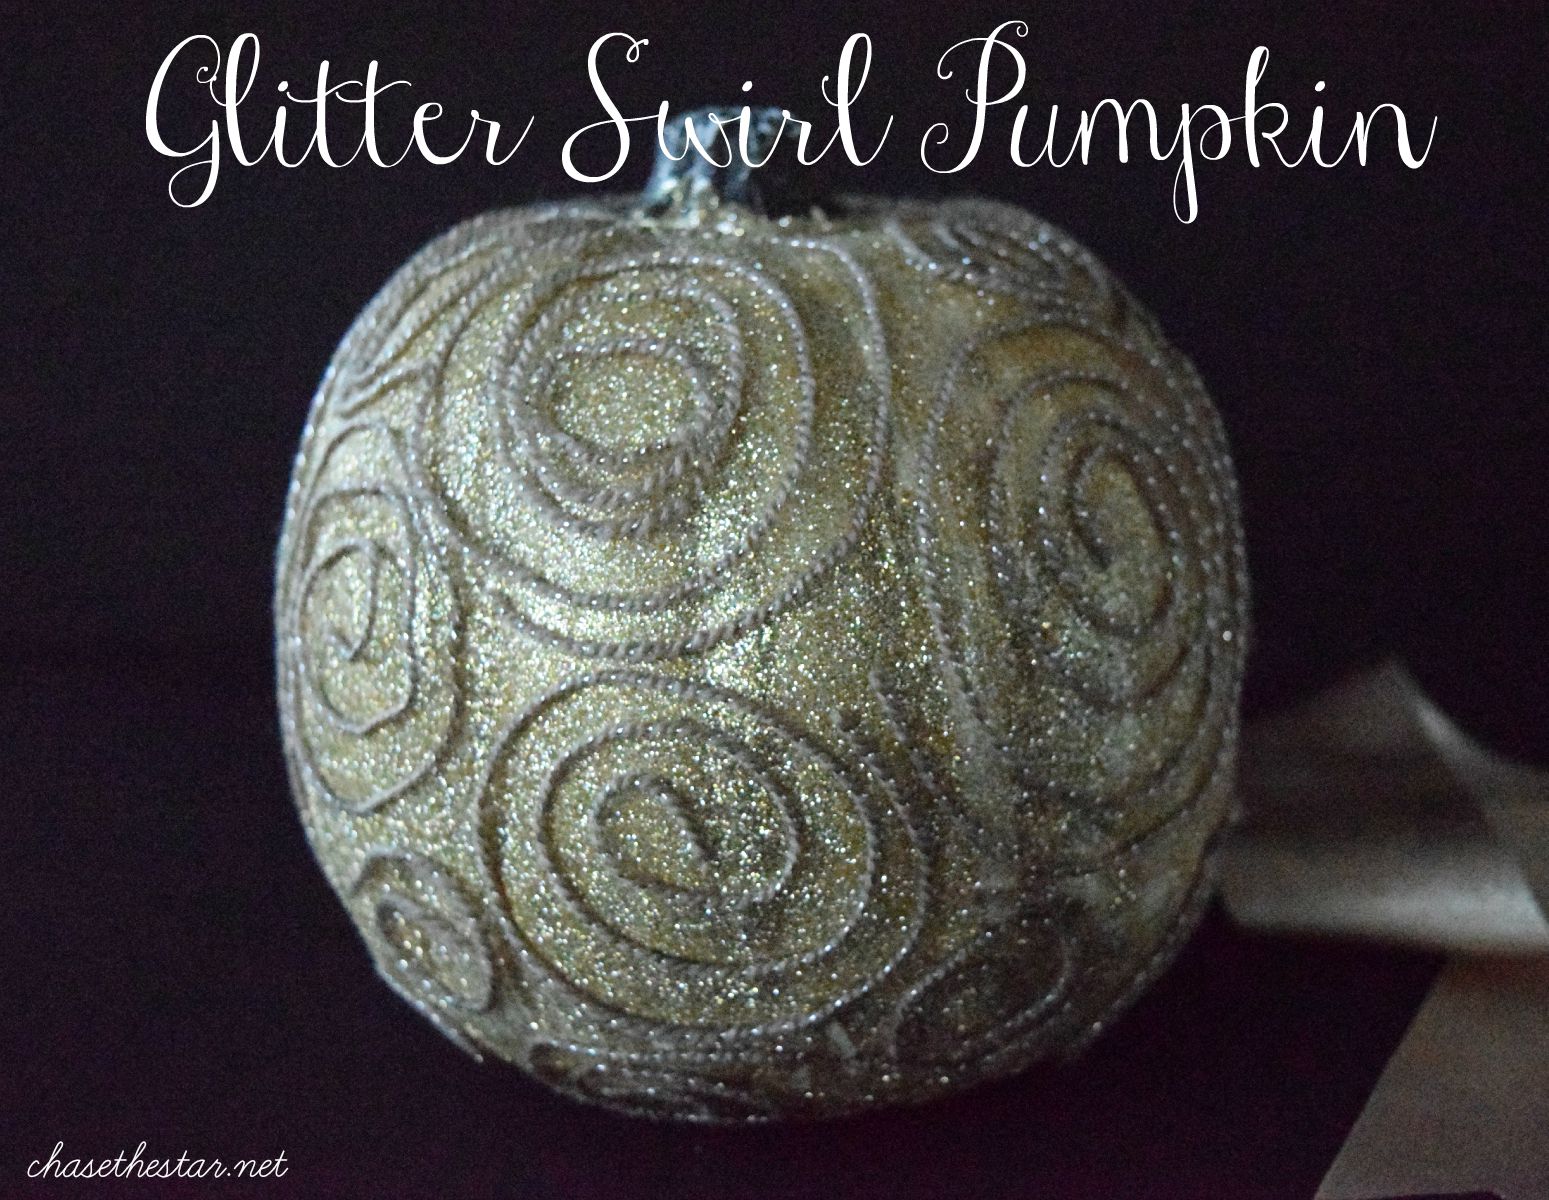
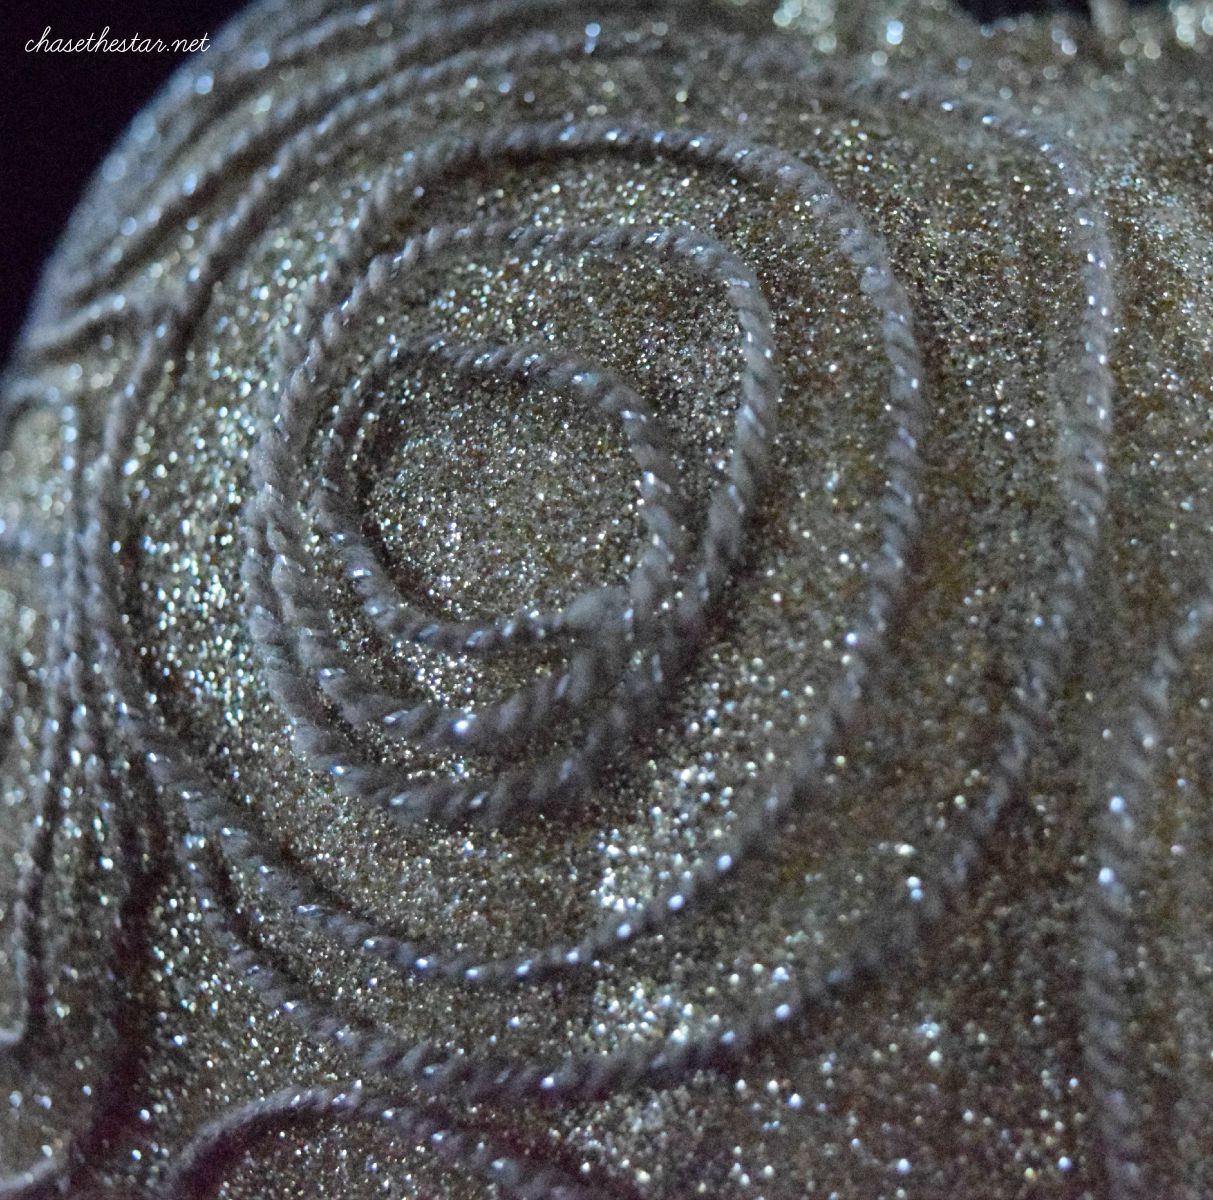
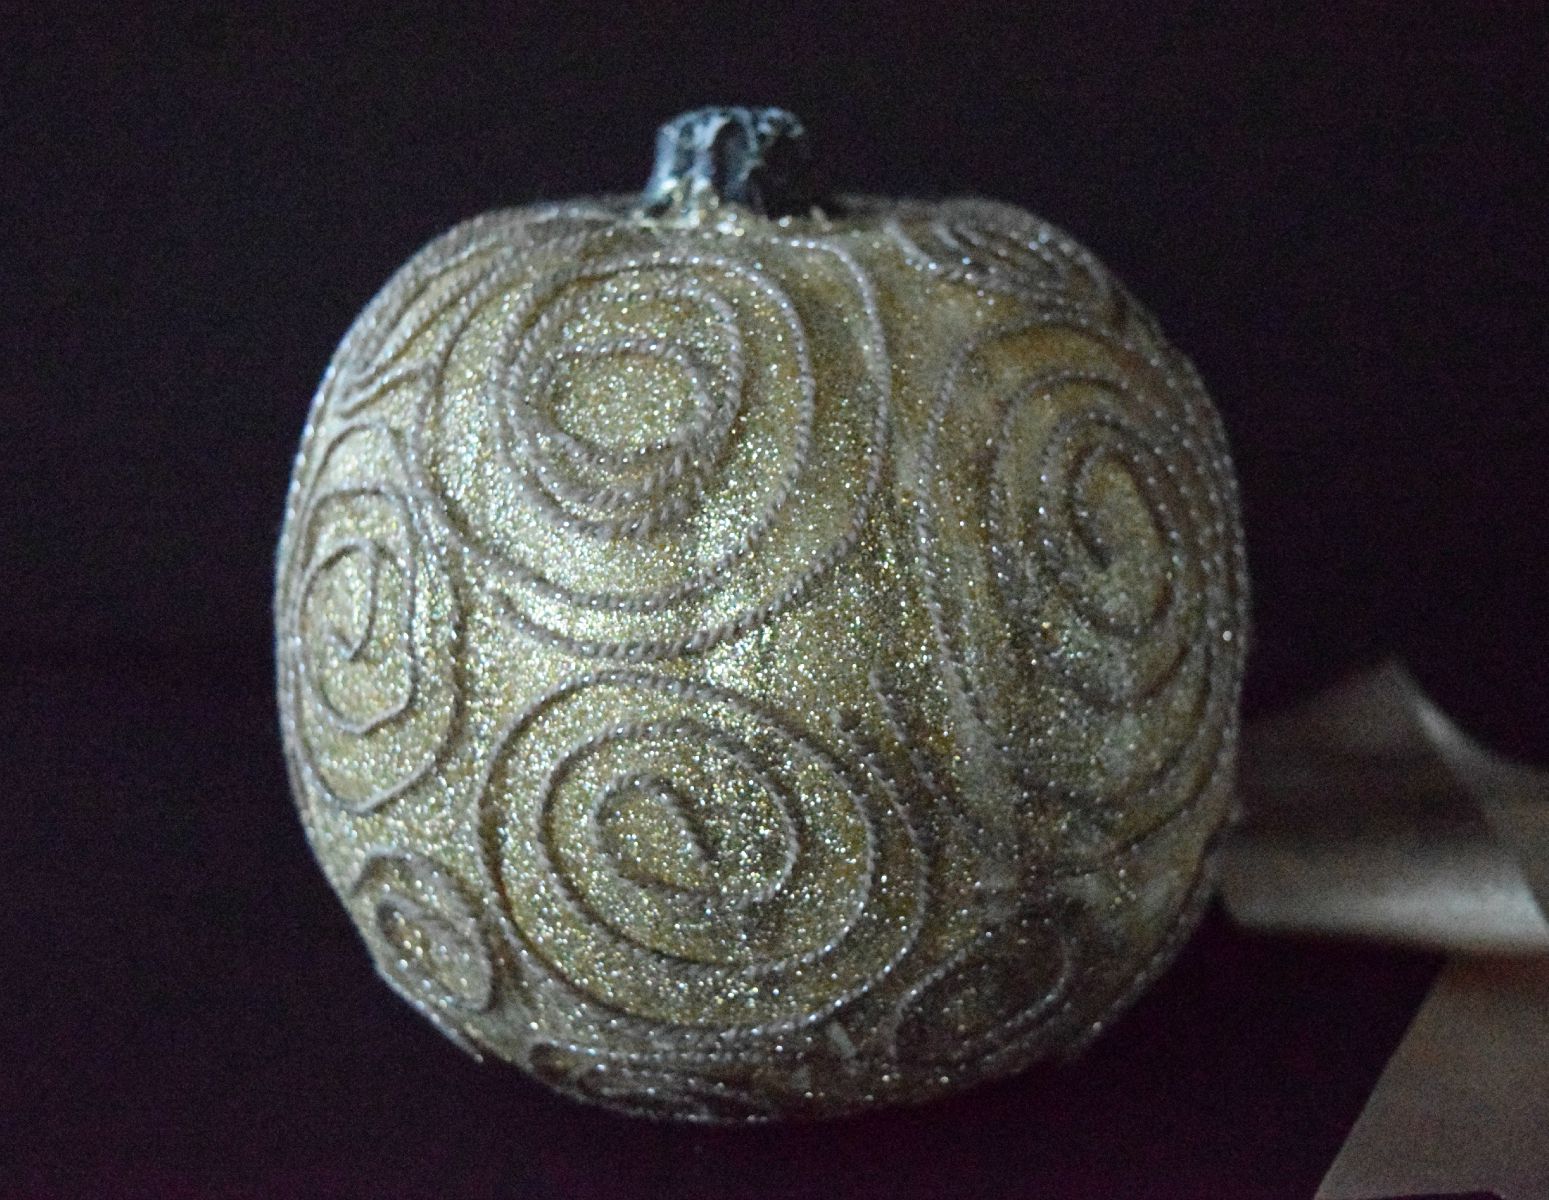
GLITTER SWIRL PUMPKIN
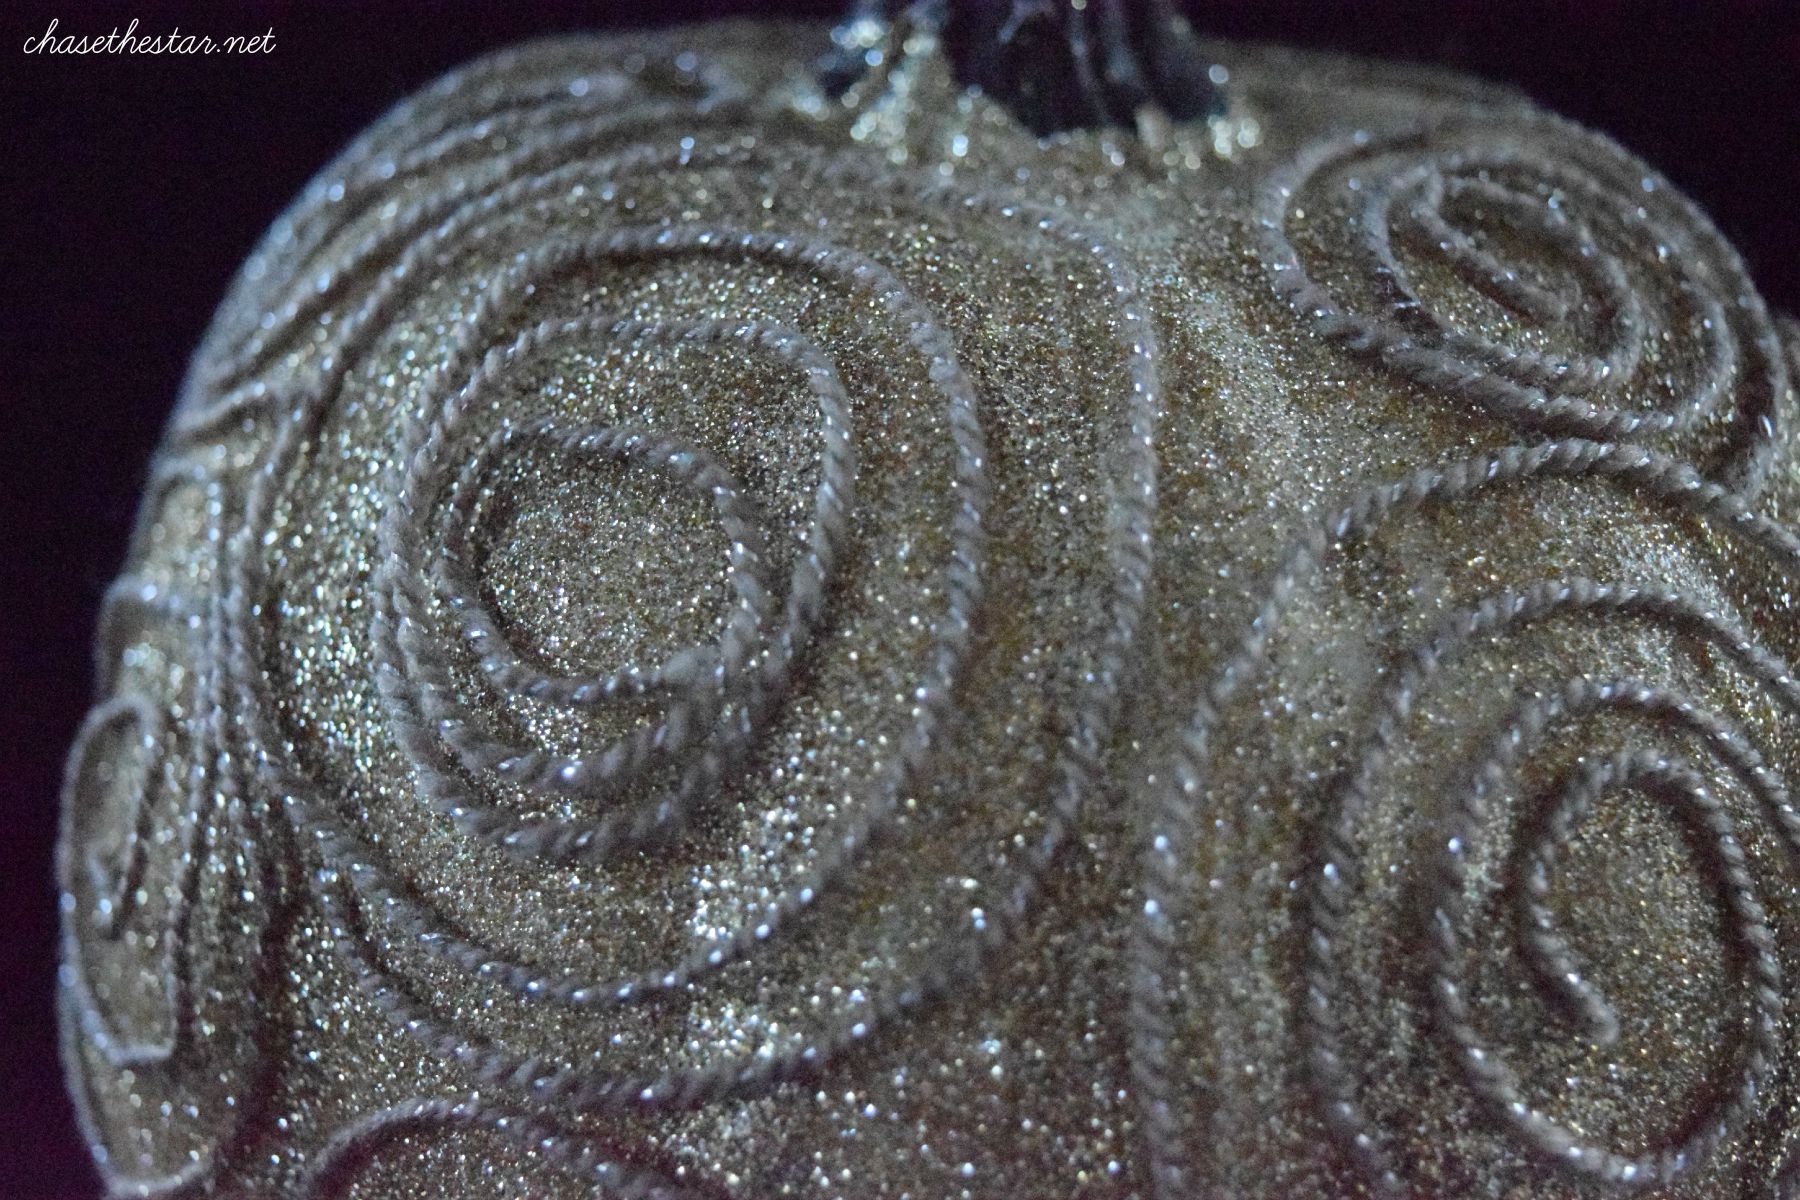
Speaking of ‘swirling’, these yarn swirls were fun to make and they look so pretty against my glittery pumpkin.
Materials:
(head to Michaels or Michaels.com)
Any size craft pumpkin
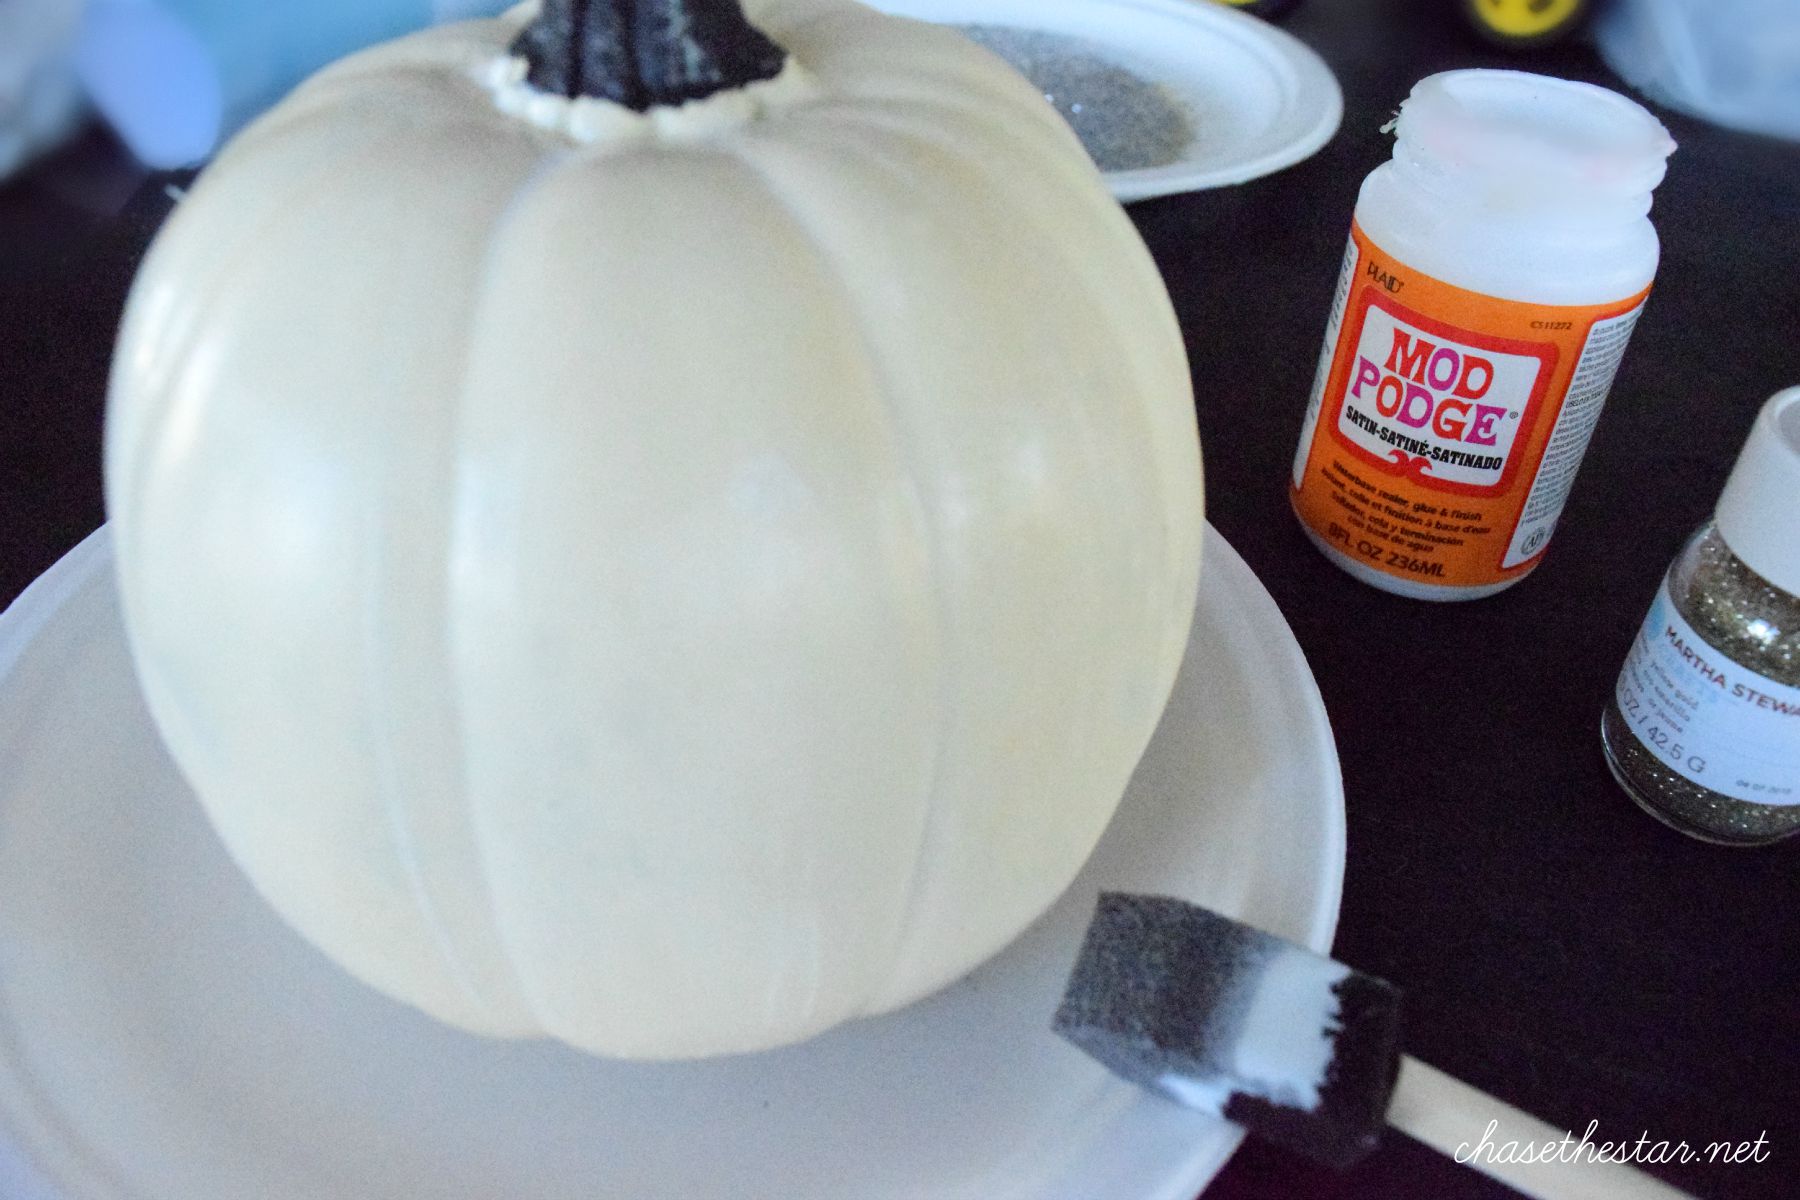
Martha Stewart fine gold glitter
Mod Podge (fave crafting tool ever)
Small foam applicator
Glitter yarn (amount will depend on the size of your pumpkin)
Optional: paper plate or several paper towels
Directions:
Wipe the pumpkin down with a damp cloth; I find that glitter sticks best to a squeaky clean surface. Place the pumpkin onto the plate or paper towels, and dab the brush into the Mod Podge and apply it to the pumpkin in long even vertical strokes, a few ‘rows’ at a time.
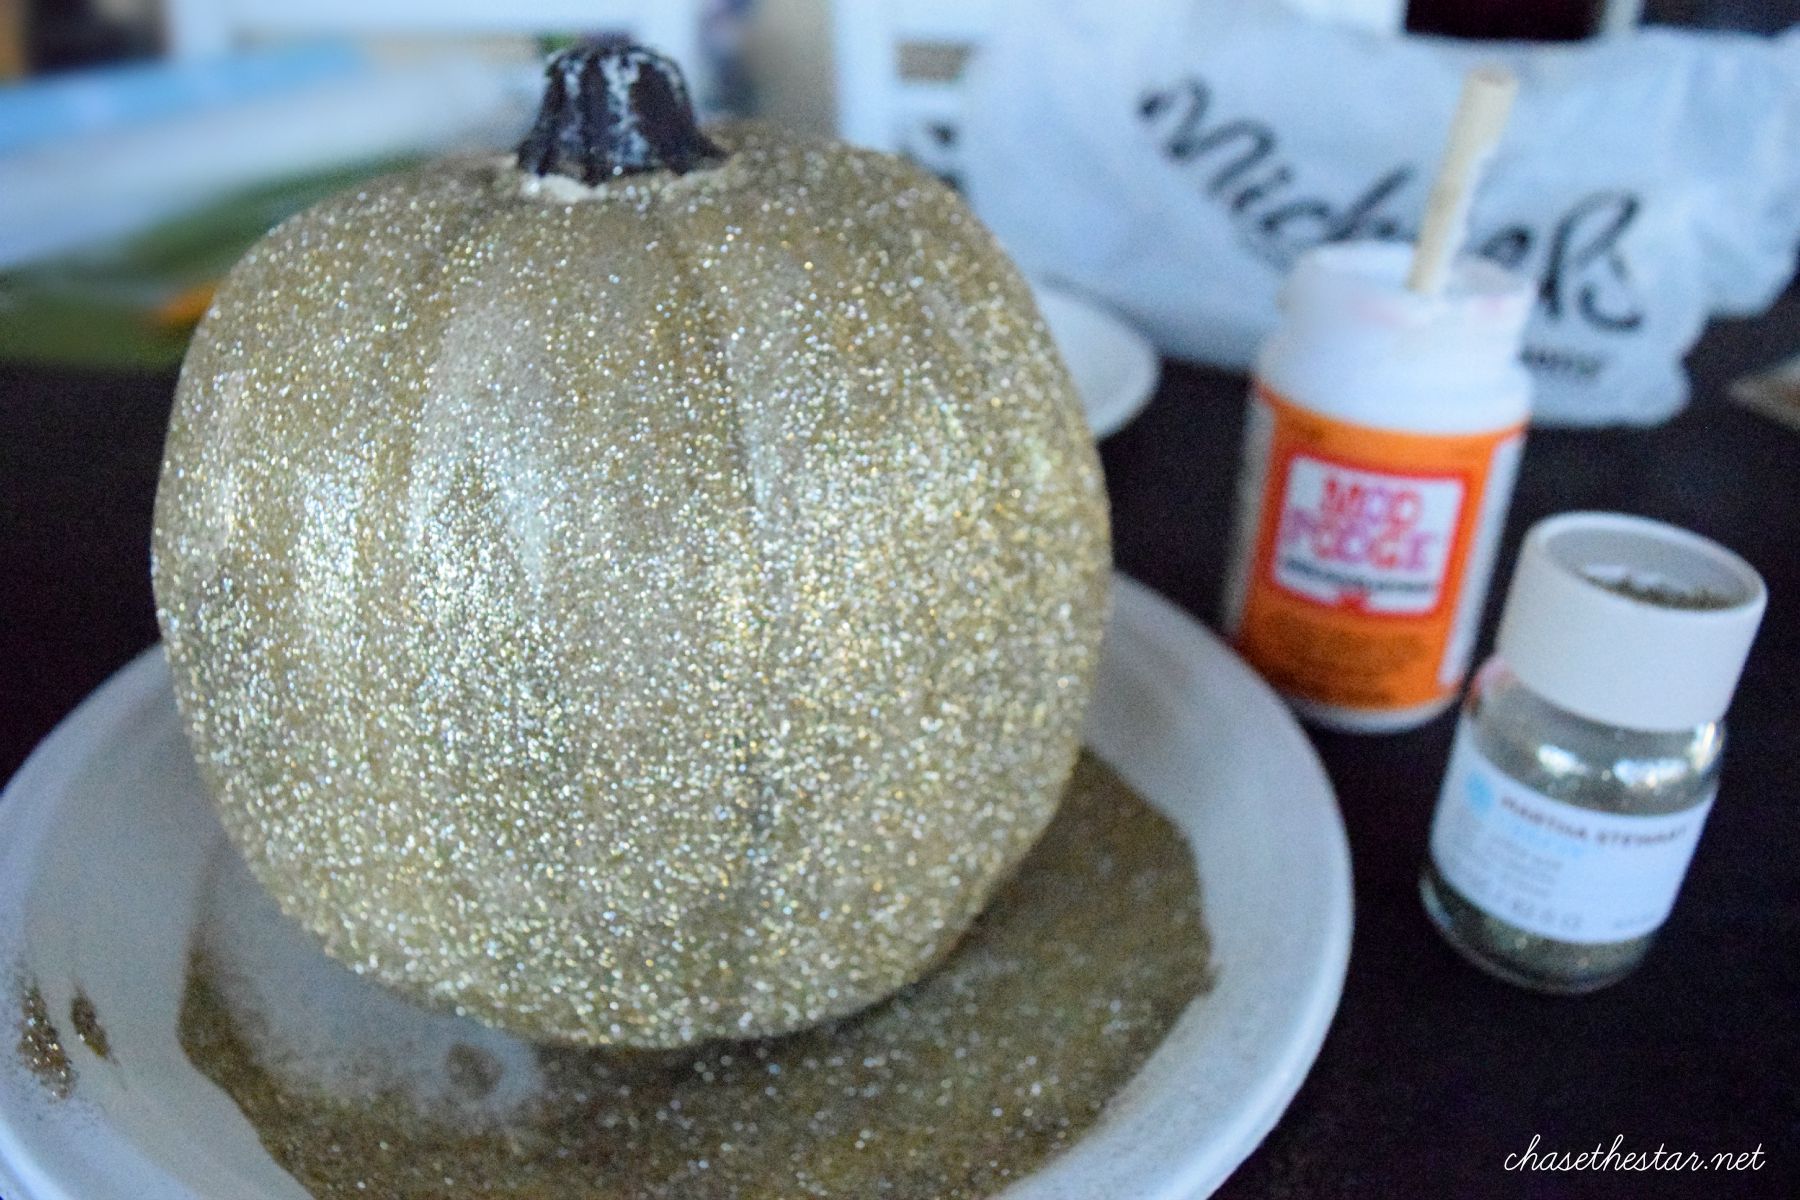
Sprinkle it with glitter, making sure to go back and add extra dabs of adhesive and glitter to any spots you may have missed. Repeat all around the pumpkin, until its completely covered and as sparkly as you like.
Set aside until dry to the touch.
Make the swirls:
You can make the yarn swirls small or large, or create a new design altogether. To make the designs I did, cut the yarn into several 6-9″ pieces. Using the edge of the applicator dipped into the Mod Podge, make a small mark where you want to start the center of the first swirl and place the yarn piece there, moving around in a circular motion. Add more of the adhesive to secure the rest of the yarn as needed. Once again give it time to dry completely; overnight always works best.
Tie the thick ribbon around the stem to complete the look. Now you have an elegant pumpkin to display for Halloween, Harvest, or to dress up a fall tablescape! Make several in different sizes for a pretty vignette.
For more fall décor inspiration be sure to check out the 49 other DIY pumpkin projects from the rest of the Michaels Makers – they are just fabulous!
Now, where did I leave my Pumpkin Spice Latte?
‘Til next time!
Amy Anderson says
I love glitter . . . the glittery-er, the better . . er! So pretty Barb!
Barbara @ Chase the Star says
Thank you Amy!!!!