Happy Wednesday! I’ve been fortunate enough to have written a few posts for the fabulous Ribbon Retreat blog this month for their ‘Oh Boy’ series which is all about boy related projects. Right up my alley, wouldn’t you agree?
The first post was for my boy’s bathroom, a
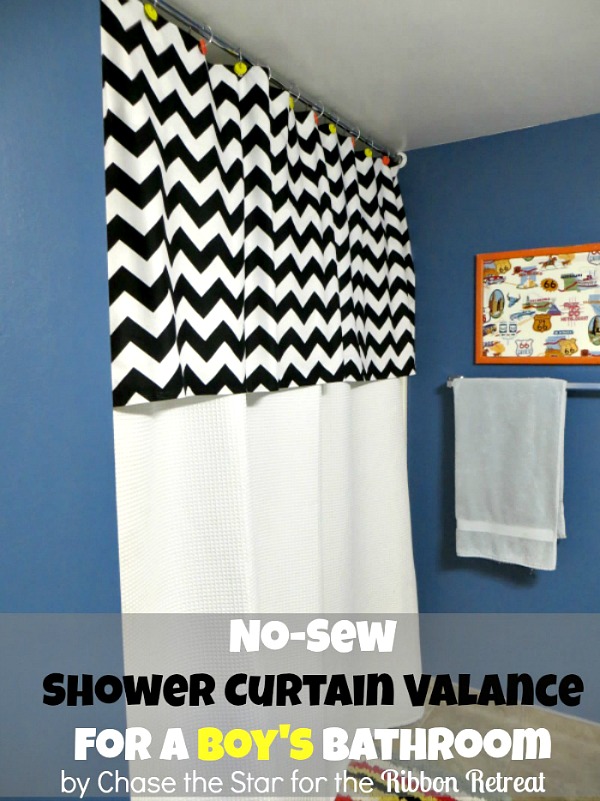
‘No-Sew Shower Curtain Valance’!
The boys share a bedroom that has an attached bathroom. I let the oldest choose the decor style for the room, he chose baseball. The youngest (only 3 at the time) got to chose the ‘theme’ for the bathroom, he went with cars and racing. Trying to keep the bathroom as stylish as possible, I went for a mix of vintage cars with modern patterns, like stripes and chevron.
Browsing through the Ribbon Retreat, I came across this magnificent black and white thick chevron patterned fabric by Riley Blake, and oh my Mater, I just had to have it! Initially I wanted to make an entire shower curtain with it, but since the walls are a bold blue I thought it may enclose an already window-less room. Instead, I decided to make a valance and draw the eyes up adding some height to the space by hanging it just a half inch from the ceiling.
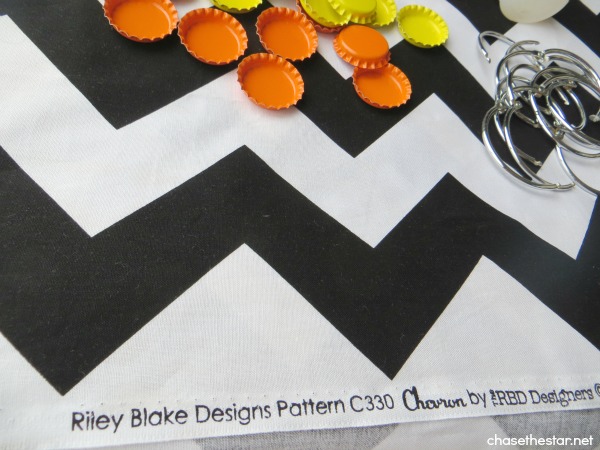
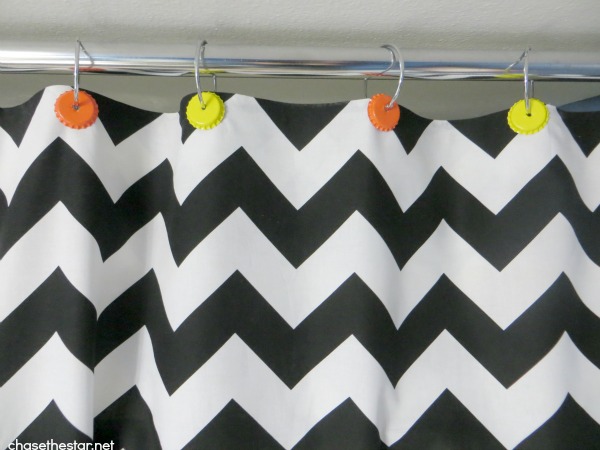
Another fun item I found as I was perusing through the Ribbon Retreat, was this set of magnificent painted bottle caps! These would make the PERFECT accent for this valance. I ordered them in yellow and orange; I love how they ‘pop’ against the black and white chevron!
First things first—and you may already know this about me…I have a confession to make: I do NOT sew. Surely I can learn…however I have no patience.
Would you like to make a No Sew Shower Curtain Valance?
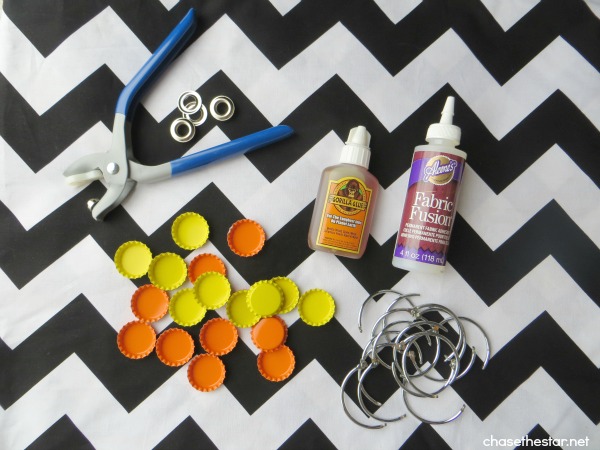
In addition to the materials I mentioned from the Ribbon Retreat you will need:
Metal shower curtain hooks (set of 12)
Fabric Glue
Grommet Fastener
Grommets (12)
Iron
Strong adhesive OR a drill
Optional: Your existing plastic shower curtain liner
Directions:
I cut the fabric to 36×70″, which should cover a standard shower width, with a little give on each end.
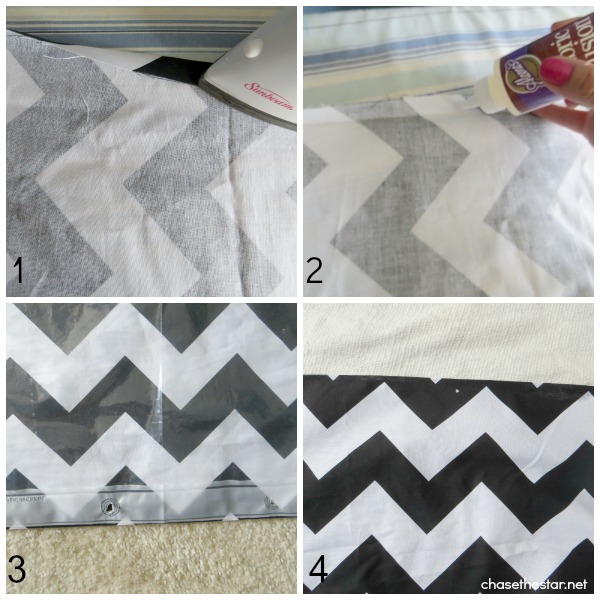
Step 1: Fold your hems (about 3″ on the top, and 1″ along the sides and bottom), and iron in place.
Step 2: Add a strip of fabric glue along the inside of the ‘seam’ and press it down.
Tip: go over it with an iron to speed up the dry time.
Step 3: Using your existing shower curtain liner, line it up to the back of your fabric and mark the holes with a pen
Step 4: Fasten the grommets. Simply cut a small hole on the mark, insert your grommet, and press firmly with the fastener.
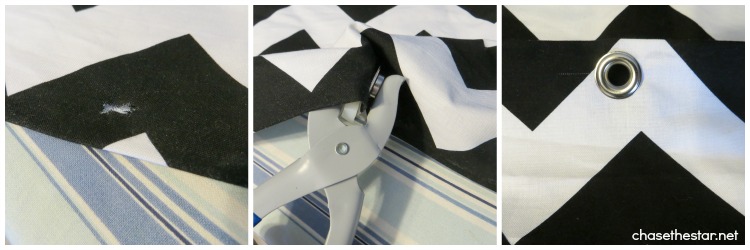
To embellish the shower curtain hooks with bottle caps, you can glue them on to the hooks with strong adhesive, OR simply drill a thin hole into each one and slide the ring through! This process took less than a minute for all 12 bottle caps.
LOVE how it looks over the original waffle textured white curtain!
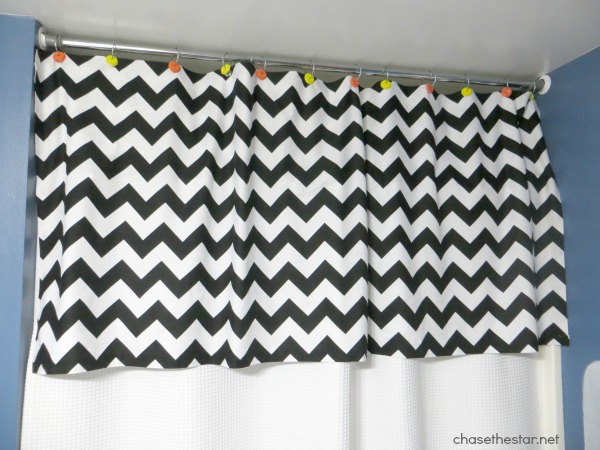
Not exactly racing stripes, but still works pretty well if you ask me!
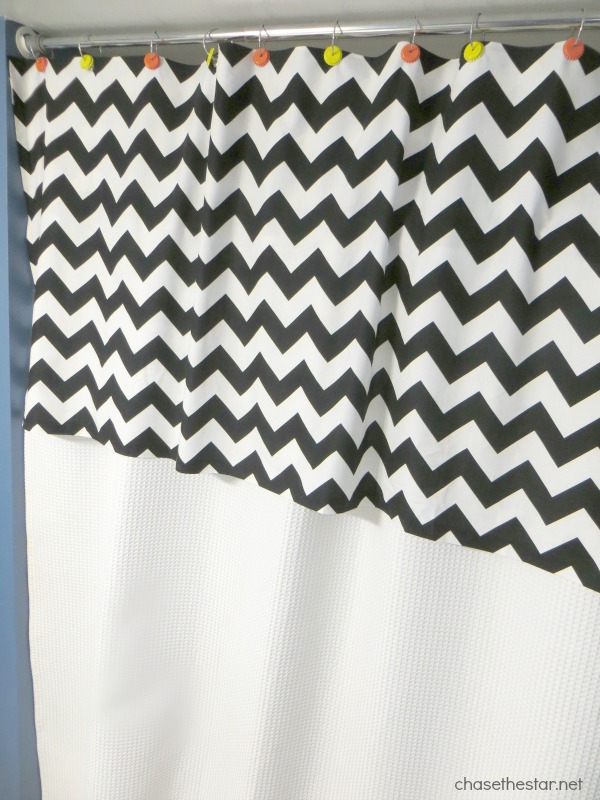
Pretty simple way to add some height and little FUN to your existing shower curtain! Use this tutorial to make full curtains for your shower or windows too. SEW EASY! ‘No-Sew’ actually :)
How can you add a little fun to your kid’s bathroom?
Kayla @ Home Coming blog says
This looks awesome! Don’t forget to link up to The DIY’ers. http://homecomingmn.blogspot.com/2013/09/the-diyers-27.html