Is it warm enough to entertain outdoors this winter? It sure is here in Southern California! Even though the nights are cooler if you wear a light jacket and turn on the fire pit, you are good to go. This season if you’re planning a party or doing any type of entertaining soon you will love this simple DIY idea to add a little flair to your event. DIY Cup Lights can easily add personality to any gathering!
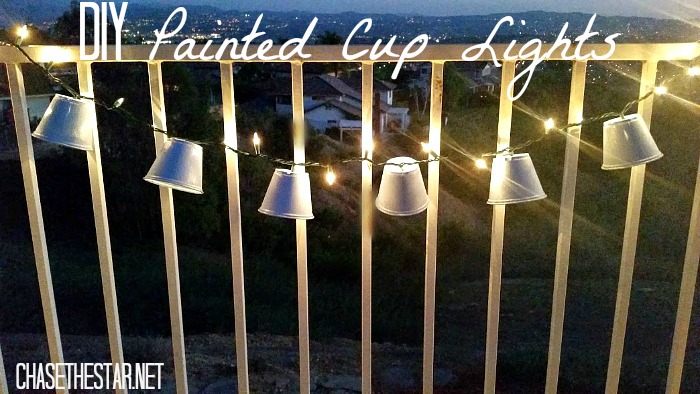
You can simply punch holes at the bottom of paper cups and insert bulbs from a string of lights, but if you’re planning on having your soiree outdoors, you will need something that can withstand the elements. Make simple DIY Painted Cup Lights easily and quickly, follow these instructions:
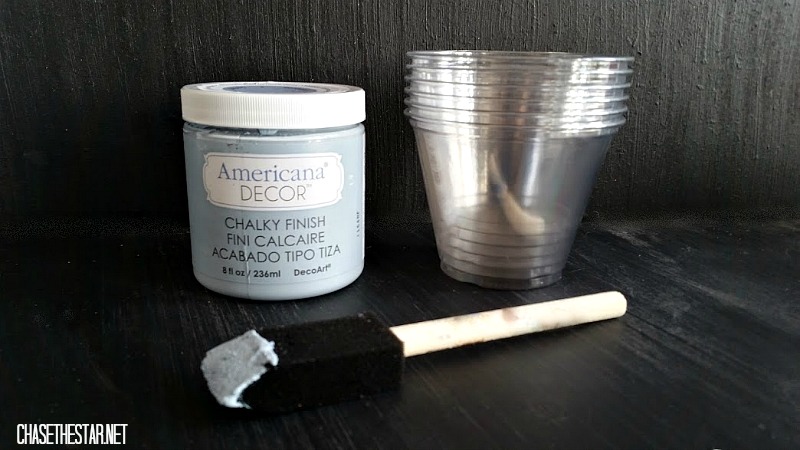
Materials:
12 small plastic drinking cups (Solo party cups work great)
String of white lights
Chalkboard paint (used here: Americana Decor Chalky Finish Paint, find it at Michaels)
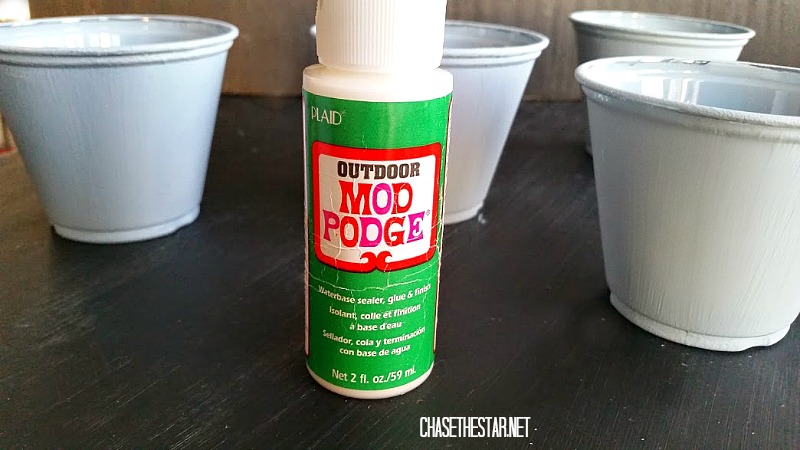
Mod Podge Outdoor formula
2 foam applicators
Drill
Directions:
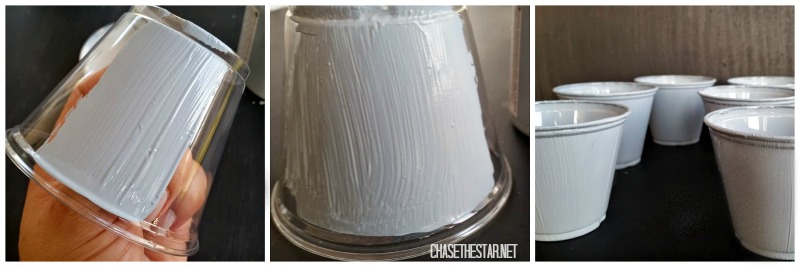
Step 1: Add two coats of paint to the cups, allowing to fully dry between coats.
Step 2: Once dry, seal the deal with some Mod Podge! This will prevent the paint to crack and keep the elements away.
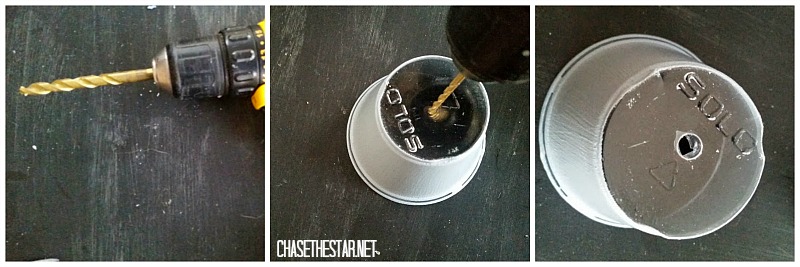
Step 3: Using a thick drill bit and an electric drill, simply puncture a hole to the bottom of each cup. Wiggle the bit a little to make the hole wider as needed.
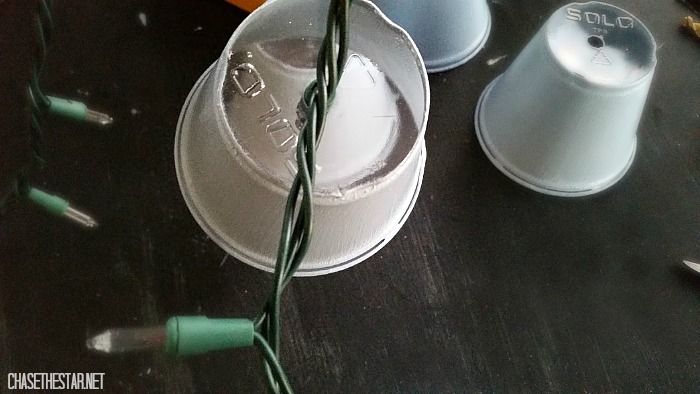
Step 4: Insert one of the bulbs into the hole, make sure it fits snugly so it won’t slip out. Try to space it out to have at least 2 bulbs in between each cup.
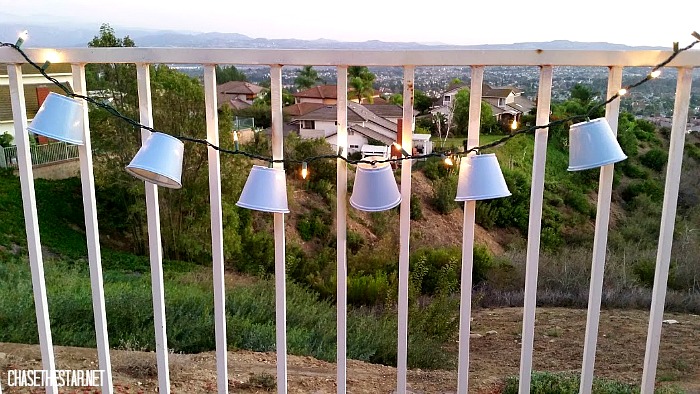
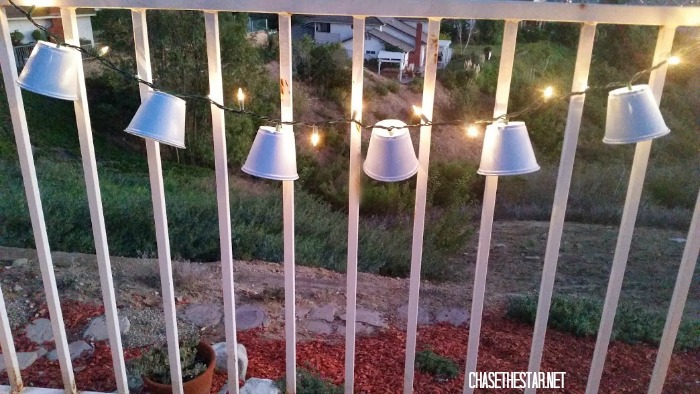
Hang your pretty new lights! They look beautiful in the day time, and as night falls.
You can add your stamp to this project using painter’s tape to create designs on the cups, or layer other shades of paint using a sponge, or even cover them with fabric, and so much more! Use these for outdoor entertaining, across a mantel, over a window, anywhere you could use a punch of sparkle!
Happy Entertaining!
Leave a Reply