I was compensated for this post only in free product. This post was written by me on behalf of the Epson Artisan 1430. The opinions and text are 100% mine.
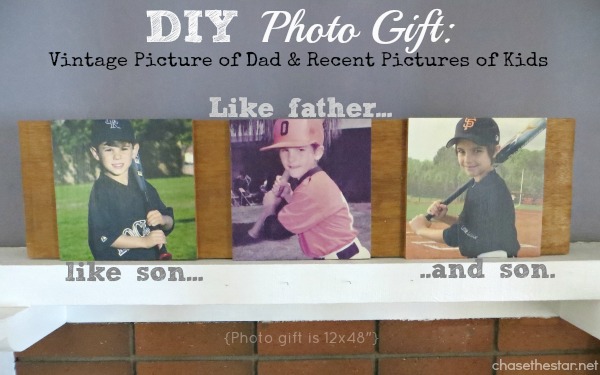
Hello and Happy Friday! I’m so excited to share my most recent project with ya’ll today! Not only because I’m crafty and I like to tell others about it (ahem), but because this project is super special to me. It’s a personalized gift I made for my husband for Father’s Day, a DIY Photo Gift!
I know what you’re thinking…Father’s Day is just 2 days away, why in the world didn’t I post about this earlier? Here are my excuses: a} I hadn’t thought of it till now, b} my husband’s schedule is difficult to plan around, so there is very little time to craft behind his back c} this is a 2 hour project, you still have time! All of these reasons aside, this isn’t just a Father’s Day gift, it’s an ANYTIME gift for ANYONE!
DIY Photo Gift
A little background…
My husband’s third love (after God and family) is baseball. He played little league, high school, and even college ball. Our boys have inherited this passion, and are on the same path. We’re hoping that they will continue to the major leagues someday!
The Epson
I was given the option to review the Epson Artisan 1430 Photo Printer, and I immediately fell in love! I was searching high and low on Pinterest an elsewhere for DIY photo ideas so I could put the Epson Artisan to good use, but couldn’t find anything original. So I waited.
I was cleaning out my closets and came across a wallet size Little League baseball picture of my husband’s. He must’ve been about 6 or 7 in this pic…
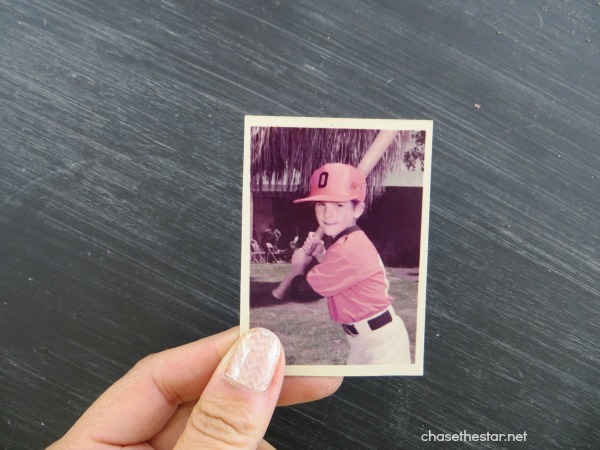
How cute is he?! He reminded me so much of our boys in their uniforms!
So I pulled out a wallet size baseball pic of each kid, and decided to enlarge all 3 and make a fun DIY Photo project just in time for Father’s Day!
Here’s what you’ll need to do if you want to make this DIY Photo Gift project:
Materials:
A sheet of plywood (about 48×24″)
Gorilla Glue (or another very strong adhesive)
Electric Sander
Level
Clamps (2-3)
Stain or paint
Mod Podge
Foam Brush
Rolling Pin
Step 1: Print your pictures!
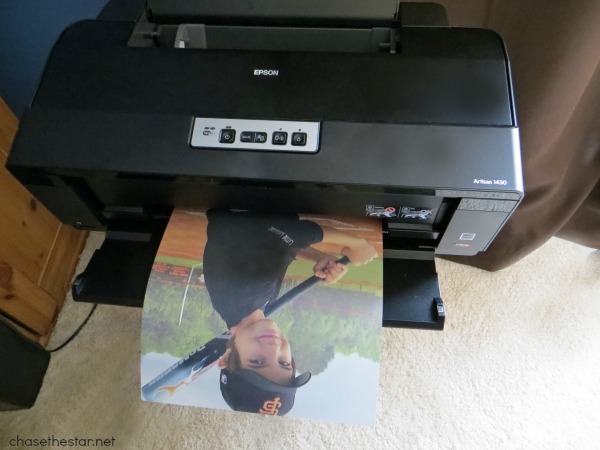
If you are lucky enough to own the Epson Artisan 1430, you already know that the pictures print crisp and clean. Even in this case where I was enlarging wallet size pictures up to a 12″x12″, the picture was remarkably clear. If you don’t have an Epson Artisan 1430 Photo Printer, I highly recommend one! Check out some of its features:
- Borderless prints up to 13″ x 19″
- Wide format with Wi-Fi CERTIFIED n
- 6 individual high-capacity ink cartridges
- Adobe® Photoshop® Elements included — Free! (Um, yeah FREE)
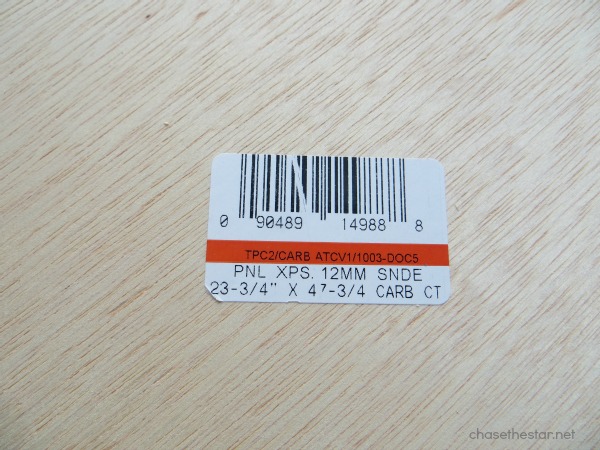
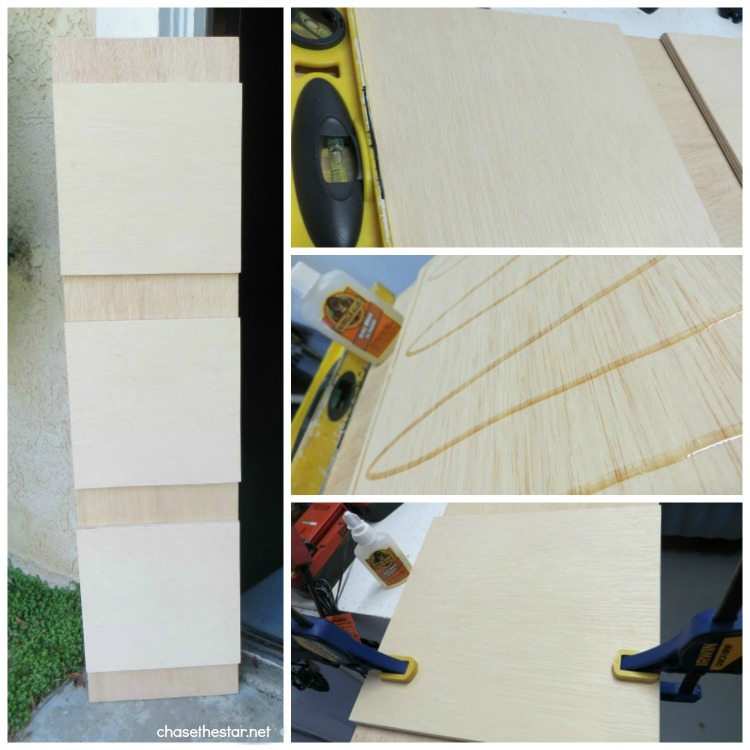
Step 2: Head to your local home improvement store and pick up a sheet of plywood.
I had the nice gentleman at the Home Depot cut the wood down to 3-12 x 12’s and 1- 48 x 12″. If you buy the wood pictured below, you should have an extra 13 x 12″ left over (for more projects yay!)
Step 2: Assembly
First make sure your surfaces are smooth, so with an electric sander, sand the pieces down using a high grit disc. This shouldn’t take long at all.
Secondly, measure each 12 x 12 against the large piece, and place each piece 3″ apart. Make sure that the pieces are straight using a level. Add a thin layer of Gorilla Glue to the back and set in place. Gorilla Glue bubbles up really thick once it’s dry so make sure your using a very thin layer.
Lastly, clamp the pieces down to the large piece. Let it dry. This is a good time to take a shower, you must be a little dusty after sanding :)
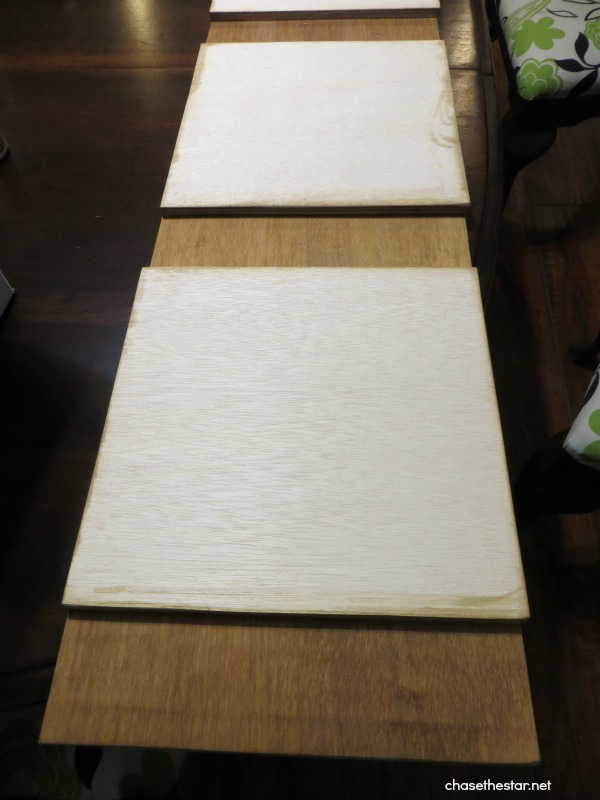
Step 3: Staining
Add a coat of stain (or paint if you like) to the long piece of wood, front and back. If you use a stain without polyurethane in it, it should dry quickly.
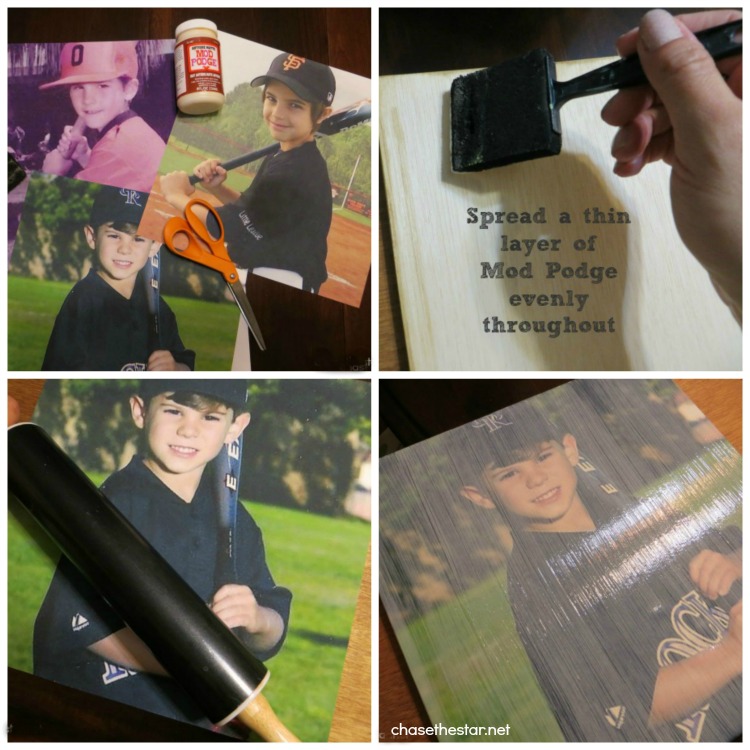
Step 4: The fun part…MOD PODGE!
Gather your materials:
Mod Podge {I used the ‘antique matte’ finish}
Foam brush
Rolling Pin
Scissors {just in case the pic is a wee bit longer than the wood piece}
How to Mod Podge a photo on to wood:
Add a thin coat of the Mod Podge to the wood piece.
Gently lay the picture on it, smoothing it out as you go with the palm of your hand.
Using a rolling pin {yup, I went ‘grandma’ on this project!}, gently roll out any air bubbles.
Lastly, add two coats of Mod Podge over the pictures, allowing for drying time in between coats.
Optional: Add a light coat of fast drying polyurethane over the stained wood.
If my husband weren’t so traditional in his decor taste, I’d add some stripes or chevron to the stain, but this is for him, not for me. :)
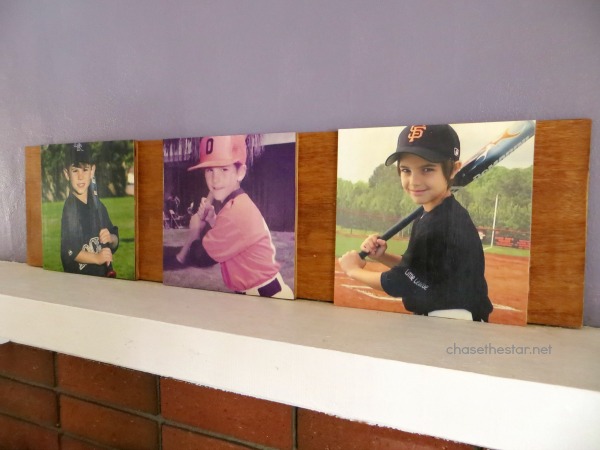
I think eventually this will end up in our stairway, so I’ll need to add hanging hardware to the back. Eventually!
I think the boys will get a kick out of seeing their Daddy looking just like them, side by side on the wall.
I had a blast working with the Epson Artisan 1430! Great quality pictures at the convenience of my fingertips!
Told ya, not a hard project at all, and there is still time to get this going for Father’s Day! If you don’t have the time, don’t worry, there is ALWAYS a reason to give a personalized DIY Photo Gift to a loved one!
Happy Father’s Day to all the Dad’s and Grandpa’s out there!
~Update~
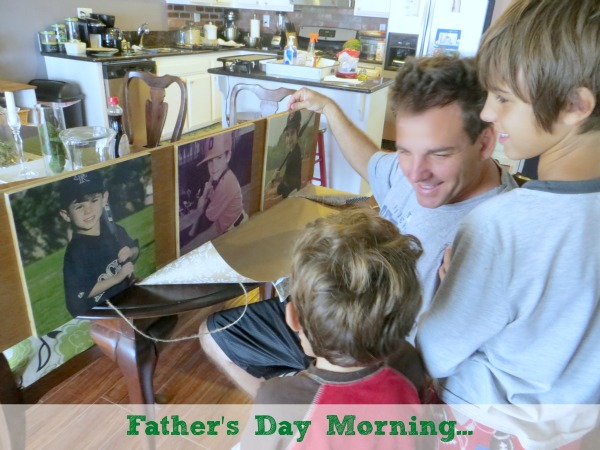
The boys gave Daddy his gift just before breakfast on Father’s Day morning….
He loved it!
I was compensated for this post only in free product. This post was written by me on behalf of the Epson Artisan 1430. The opinions and text are 100% mine. The marketing team at Epson was gracious enough to send me one of these fabulous machines, stocked with photo paper, ink cartridges and so much more. What a fabulous product! #ad
Linking up here &


Crystal says
Love it!! That is such an amazing gift for dads. Definitely pinning this one for next year since we already have my hubby’s gift. Thanks for the great idea!! Love it!!
Barbara @ Chase the Star says
Thank you Crystal! My husband loved it!!
Tanya says
Great project Barbara, this is such a sweet and thoughtful gift :)
xo, Tanya
Barbara @ Chase the Star says
Thank you Tanya! I’m really proud of this one..definitely tugging at the heart strings!
Kara says
What a great idea!! Definitely need to make something like this. Thanks for the inspiration!
Dinah says
This is such a great idea, Barbara! I bet your hubby loved it!
Barbara @ Chase the Star says
Thanks friend, he loved it! I think he was touched to see his boys along side him in uniform! Mission accomplished!!
Allyson says
I love this! So simple and unique! I would love if you would share at my link party on Thursday! Allyson@Domestic Superhero
Barbara @ Chase the Star says
Thank you Allyson!
bonnie@uncommon designs says
Oh this is fabulous Barbara! How sweet and special!!
Barbara @ Chase the Star says
Thank you!! Love that you liked it Bonnie!
Mary Yoder says
What a great idea! My hubby would love this with him and his two boys. Thanks for sharing!
Barbara @ Chase the Star says
Thank you Mary! It’s really so easy to do, hope your husband loves it as much as mine did!
Susan says
What a great idea. My father-in-law has a birthday coming and this would be a perfect gift. I’d love if you’d come and share at Inspire Us Thursday at Organized 31. http://organized31.blogspot.com/2013/06/inspire-us-thursday-link-party-4.html
Barbara @ Chase the Star says
Thank you Susan! I hope your father in-law likes it!
Diane | An Extraordinary Day says
What a great idea! And how fun to have those photos of your handsome ‘boys’!!
Thanks for sharing at Monday Funday Party!
Hope your weekend is extraordinary!