Hey, hey! How was your weekend? I’d love to say I spent the weekend catching up on housework, but the truth is I chose to do a little bit of crafting instead. Can you blame a girl?
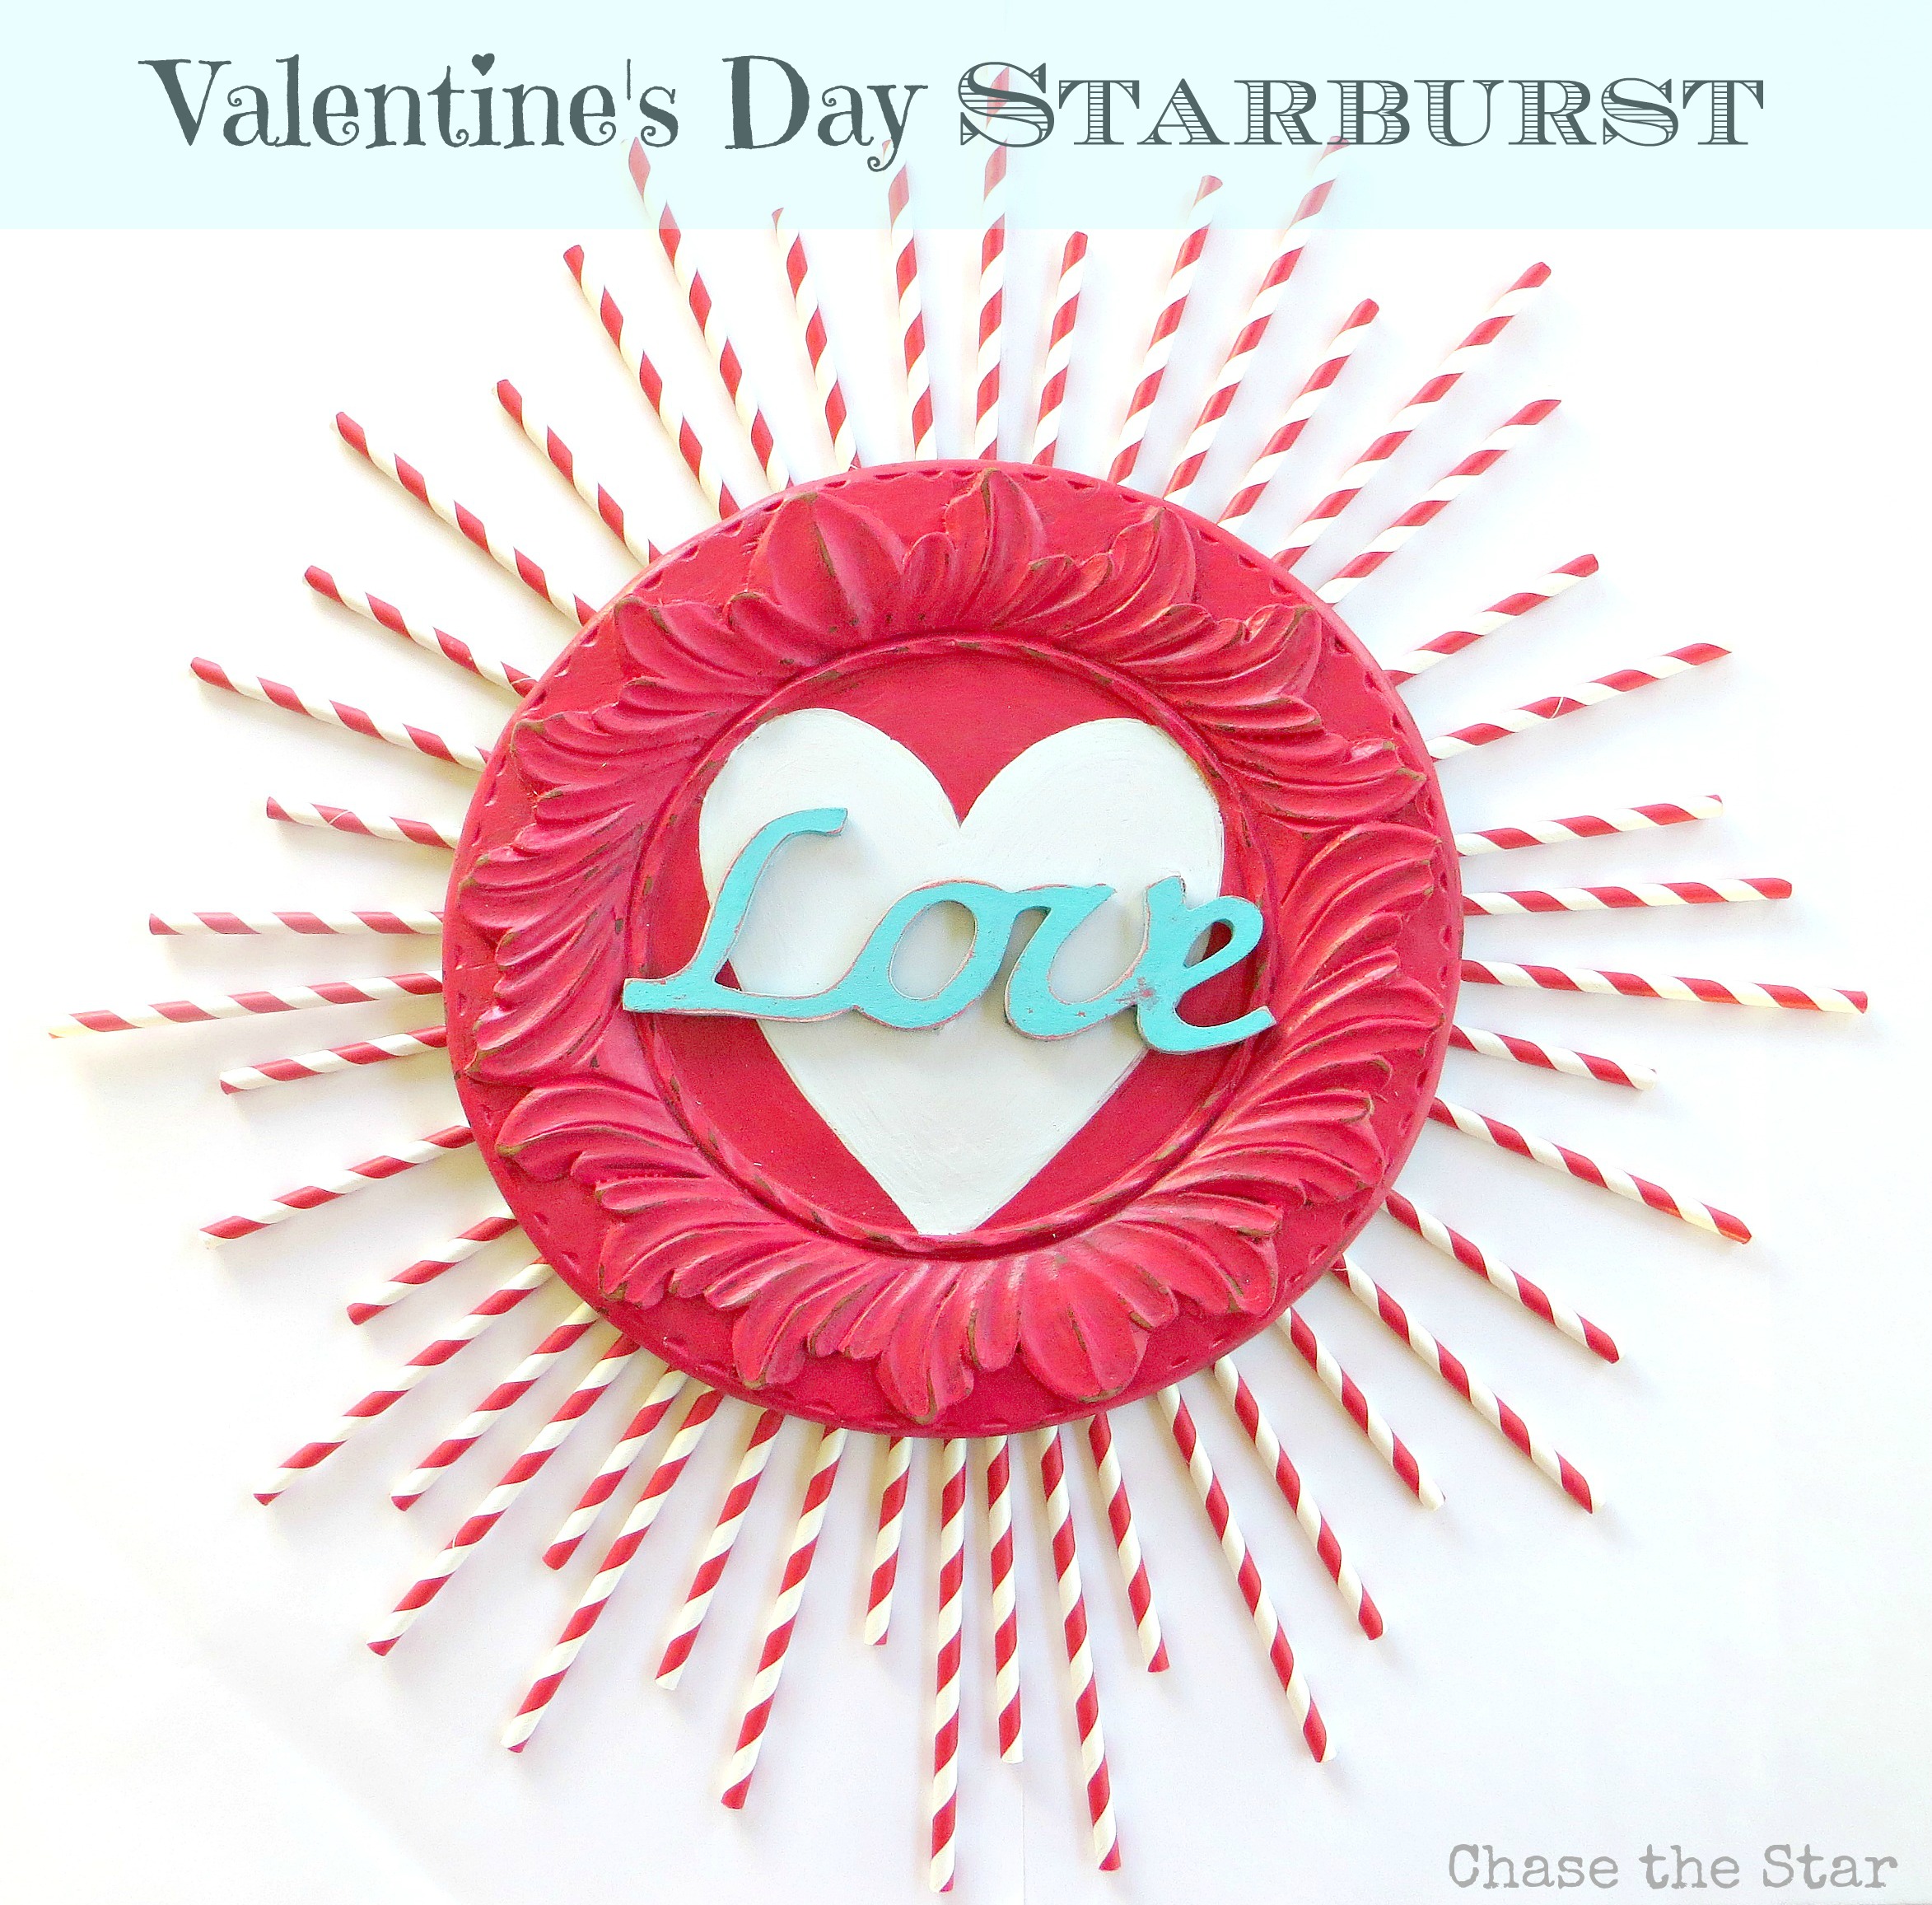
My first project was a Valentine’s Day Sunburst.
I grabbed a few things I had around the house, (if you’ve been around here a while you know I do that–a lot) and got my craft on!
This sunburst was pretty easy to make. Check out the tutorial below so you can make your own!
MATERIALS:
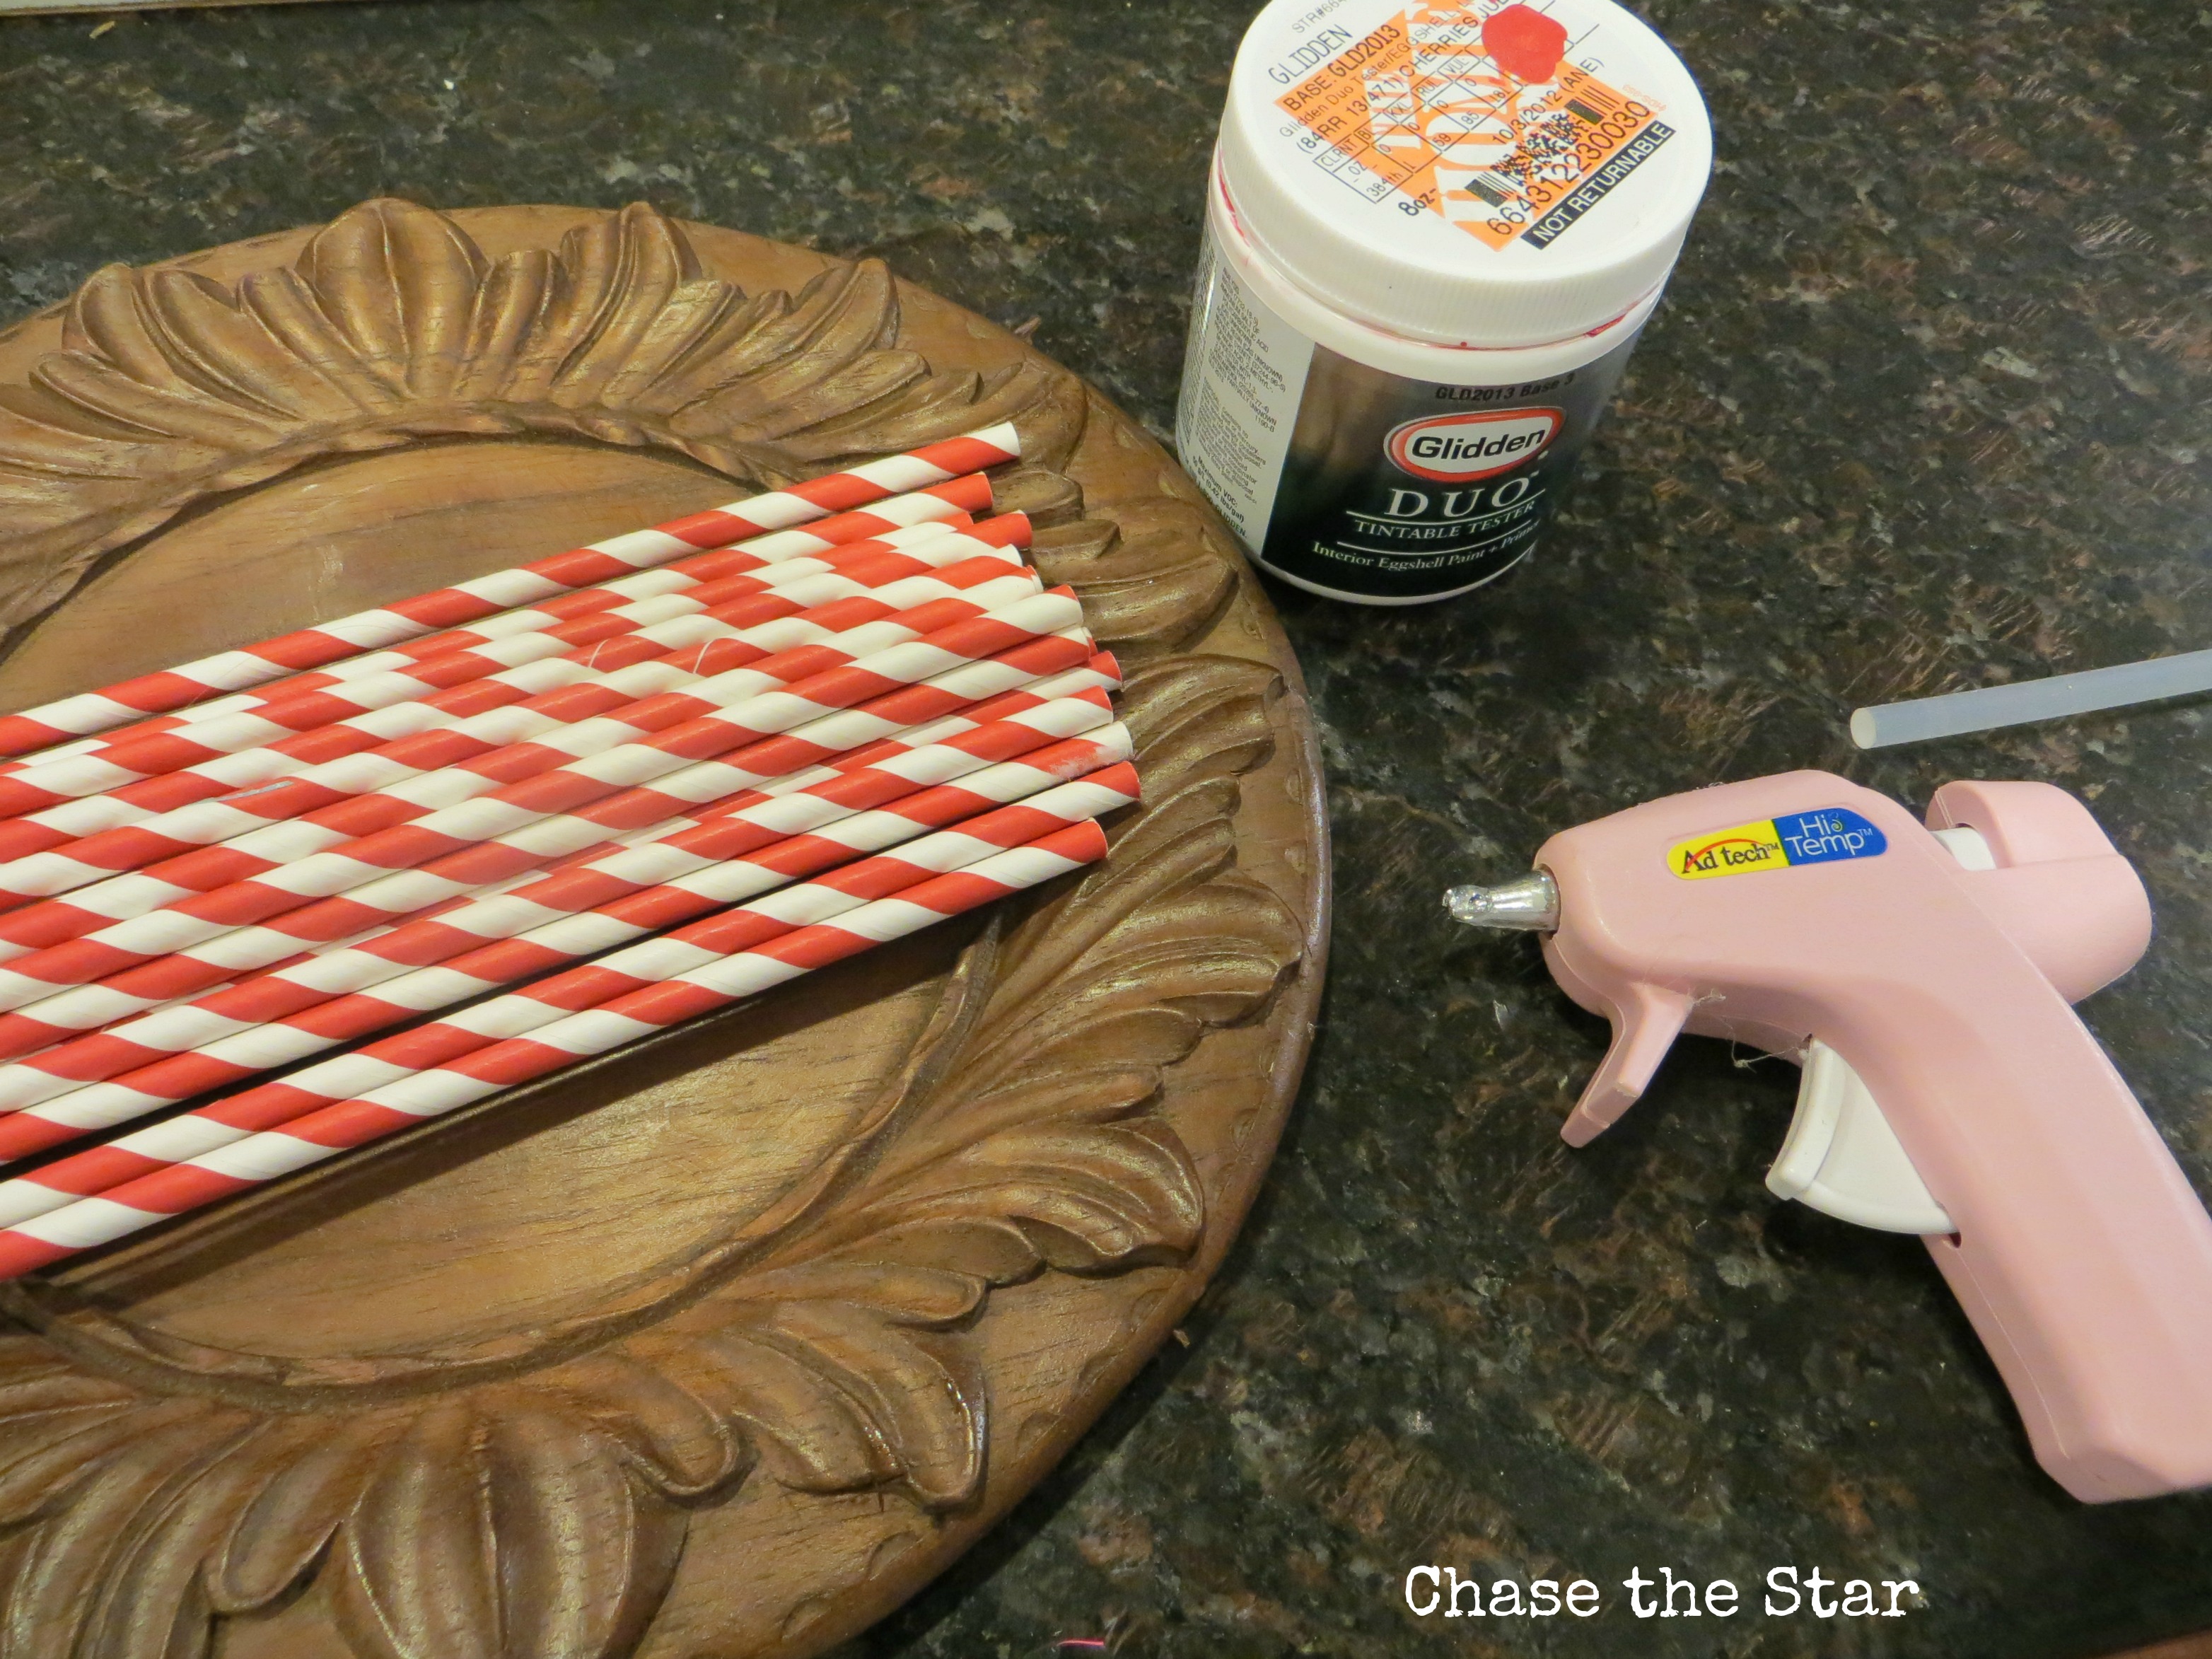
Wood charger (I used one left over from this project)
Package of cardboard straws
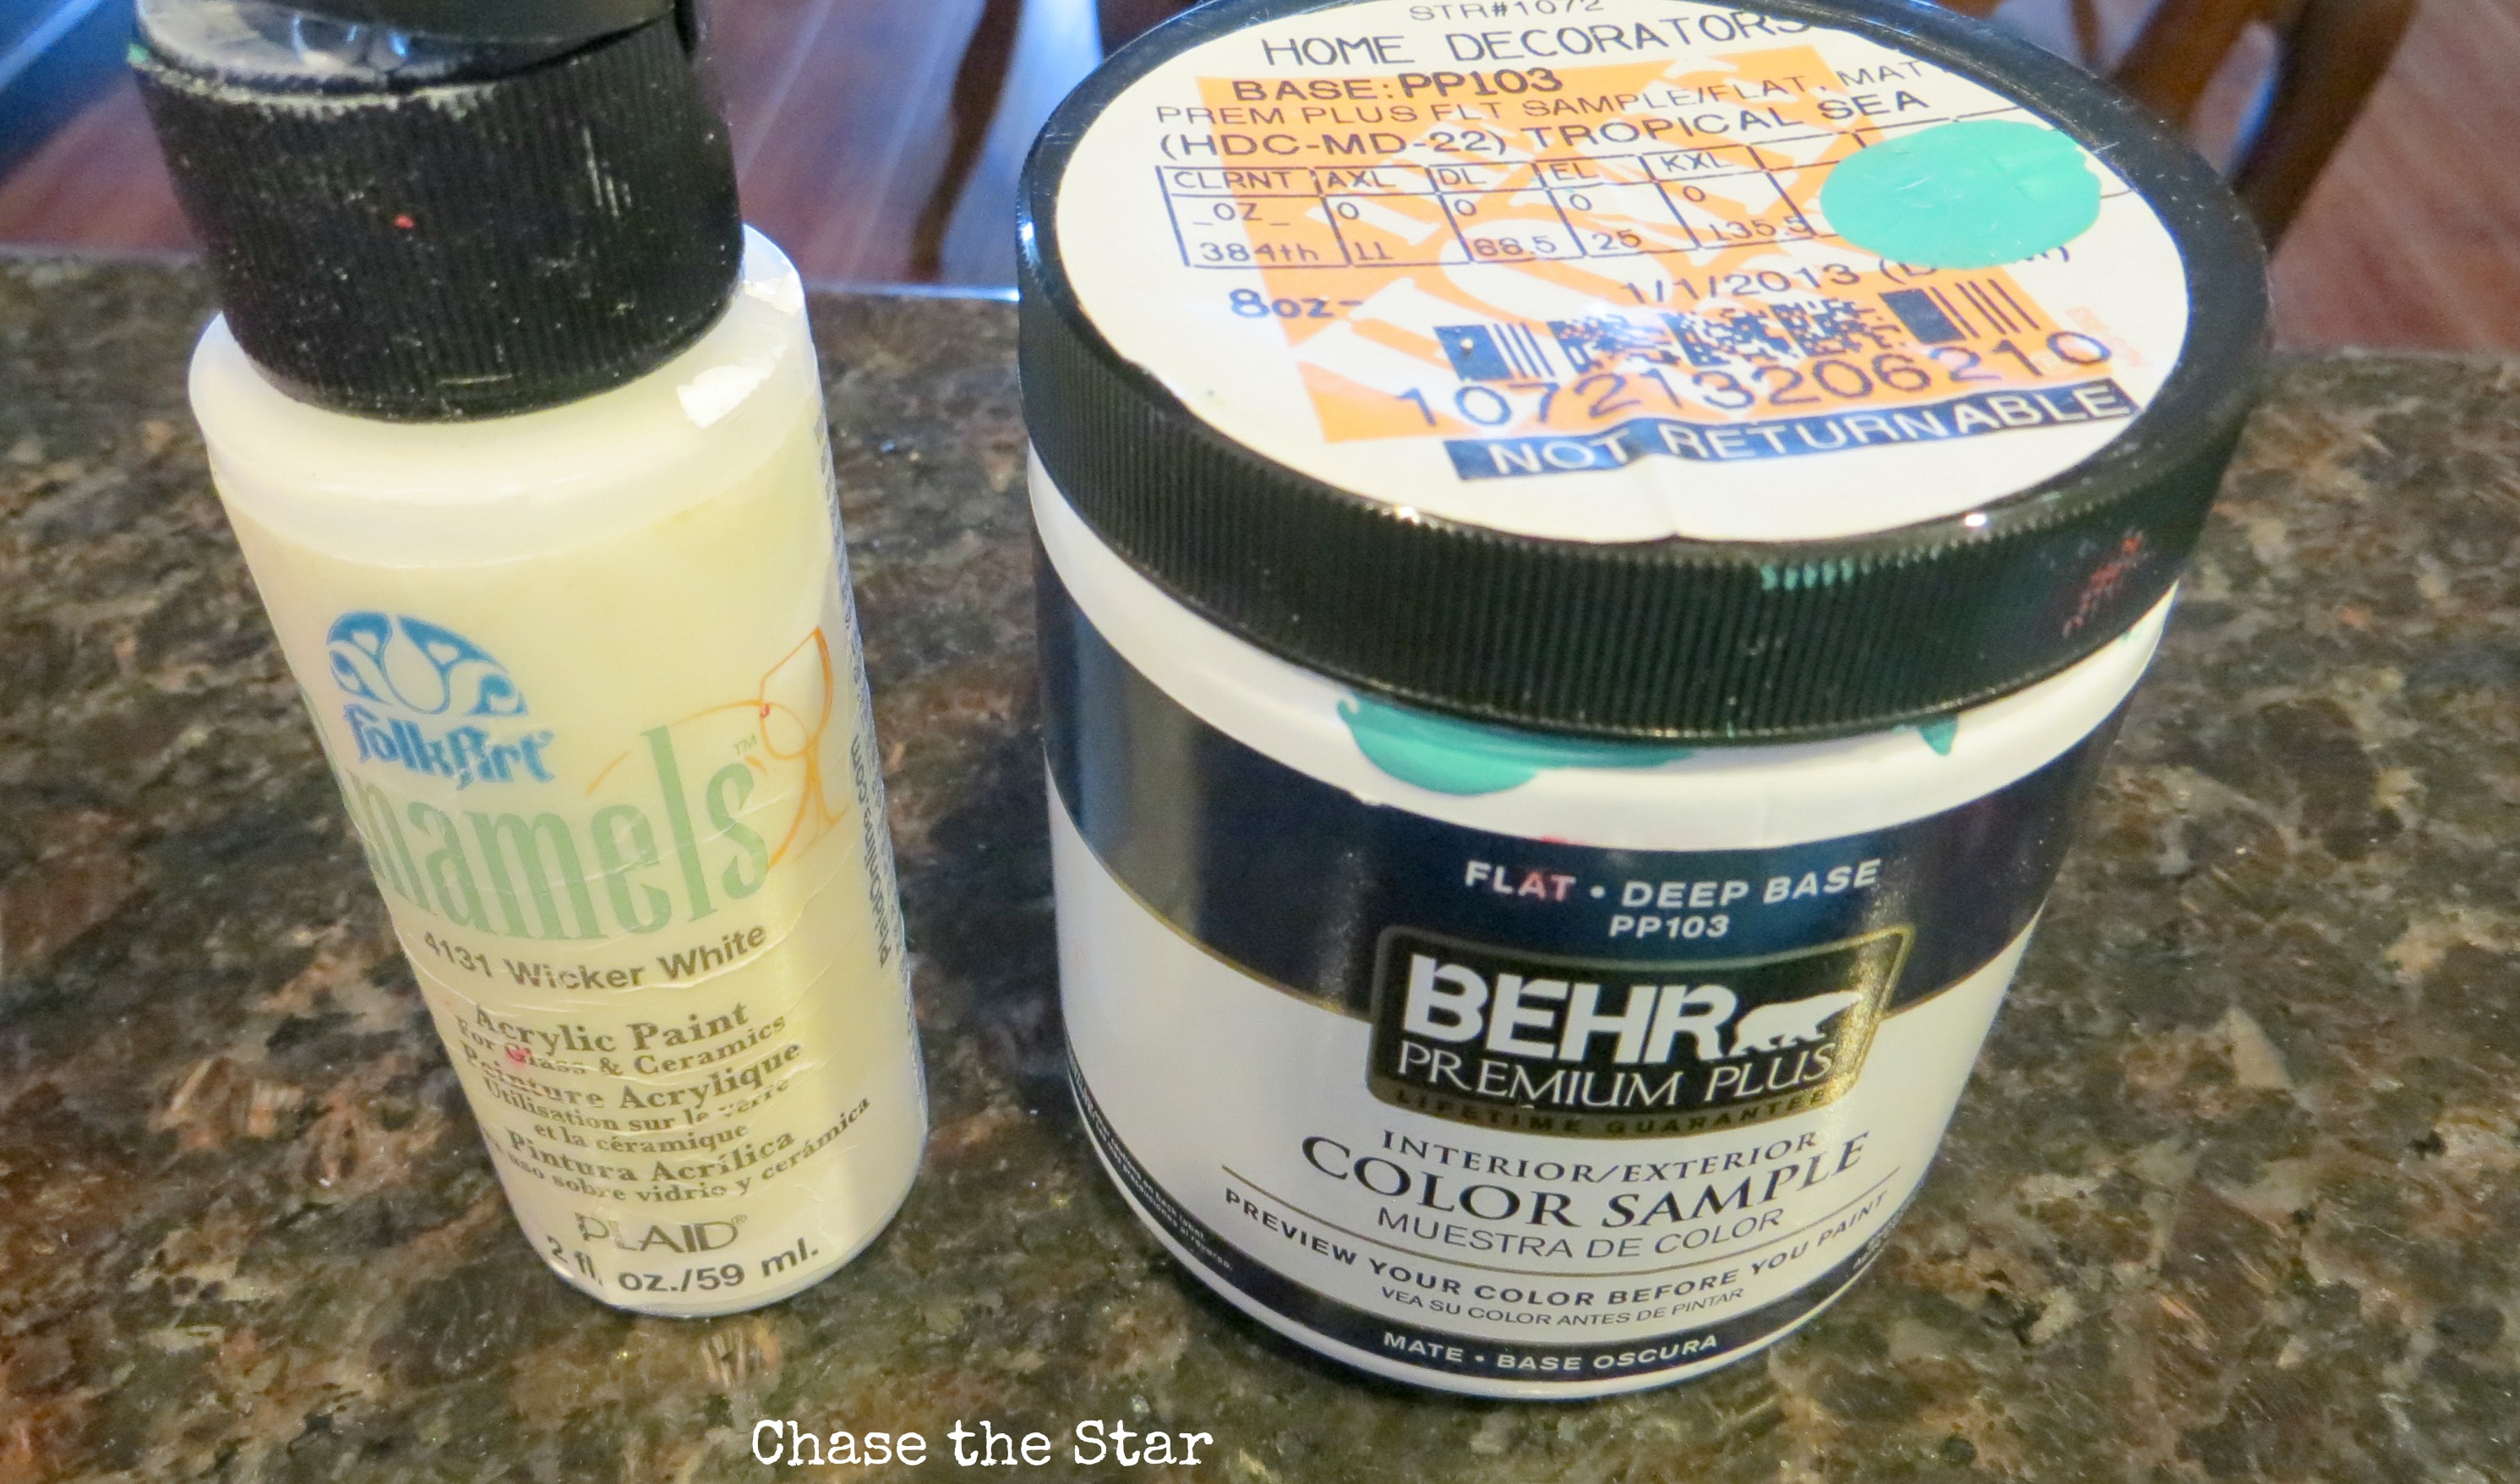
Latex paint (I have sample sizes in a variety of colors in my craft closet)
Small foam brush
Plain paper (or cardboard)
Glue gun (and sticks)
Wood letters or word applique
Fine grit sandpaper
Mod Podge or any other spray sealer (optional)
“D” Hook (optional)
STEPS:
1. Paint the charger in your color of choice using the foam brush.
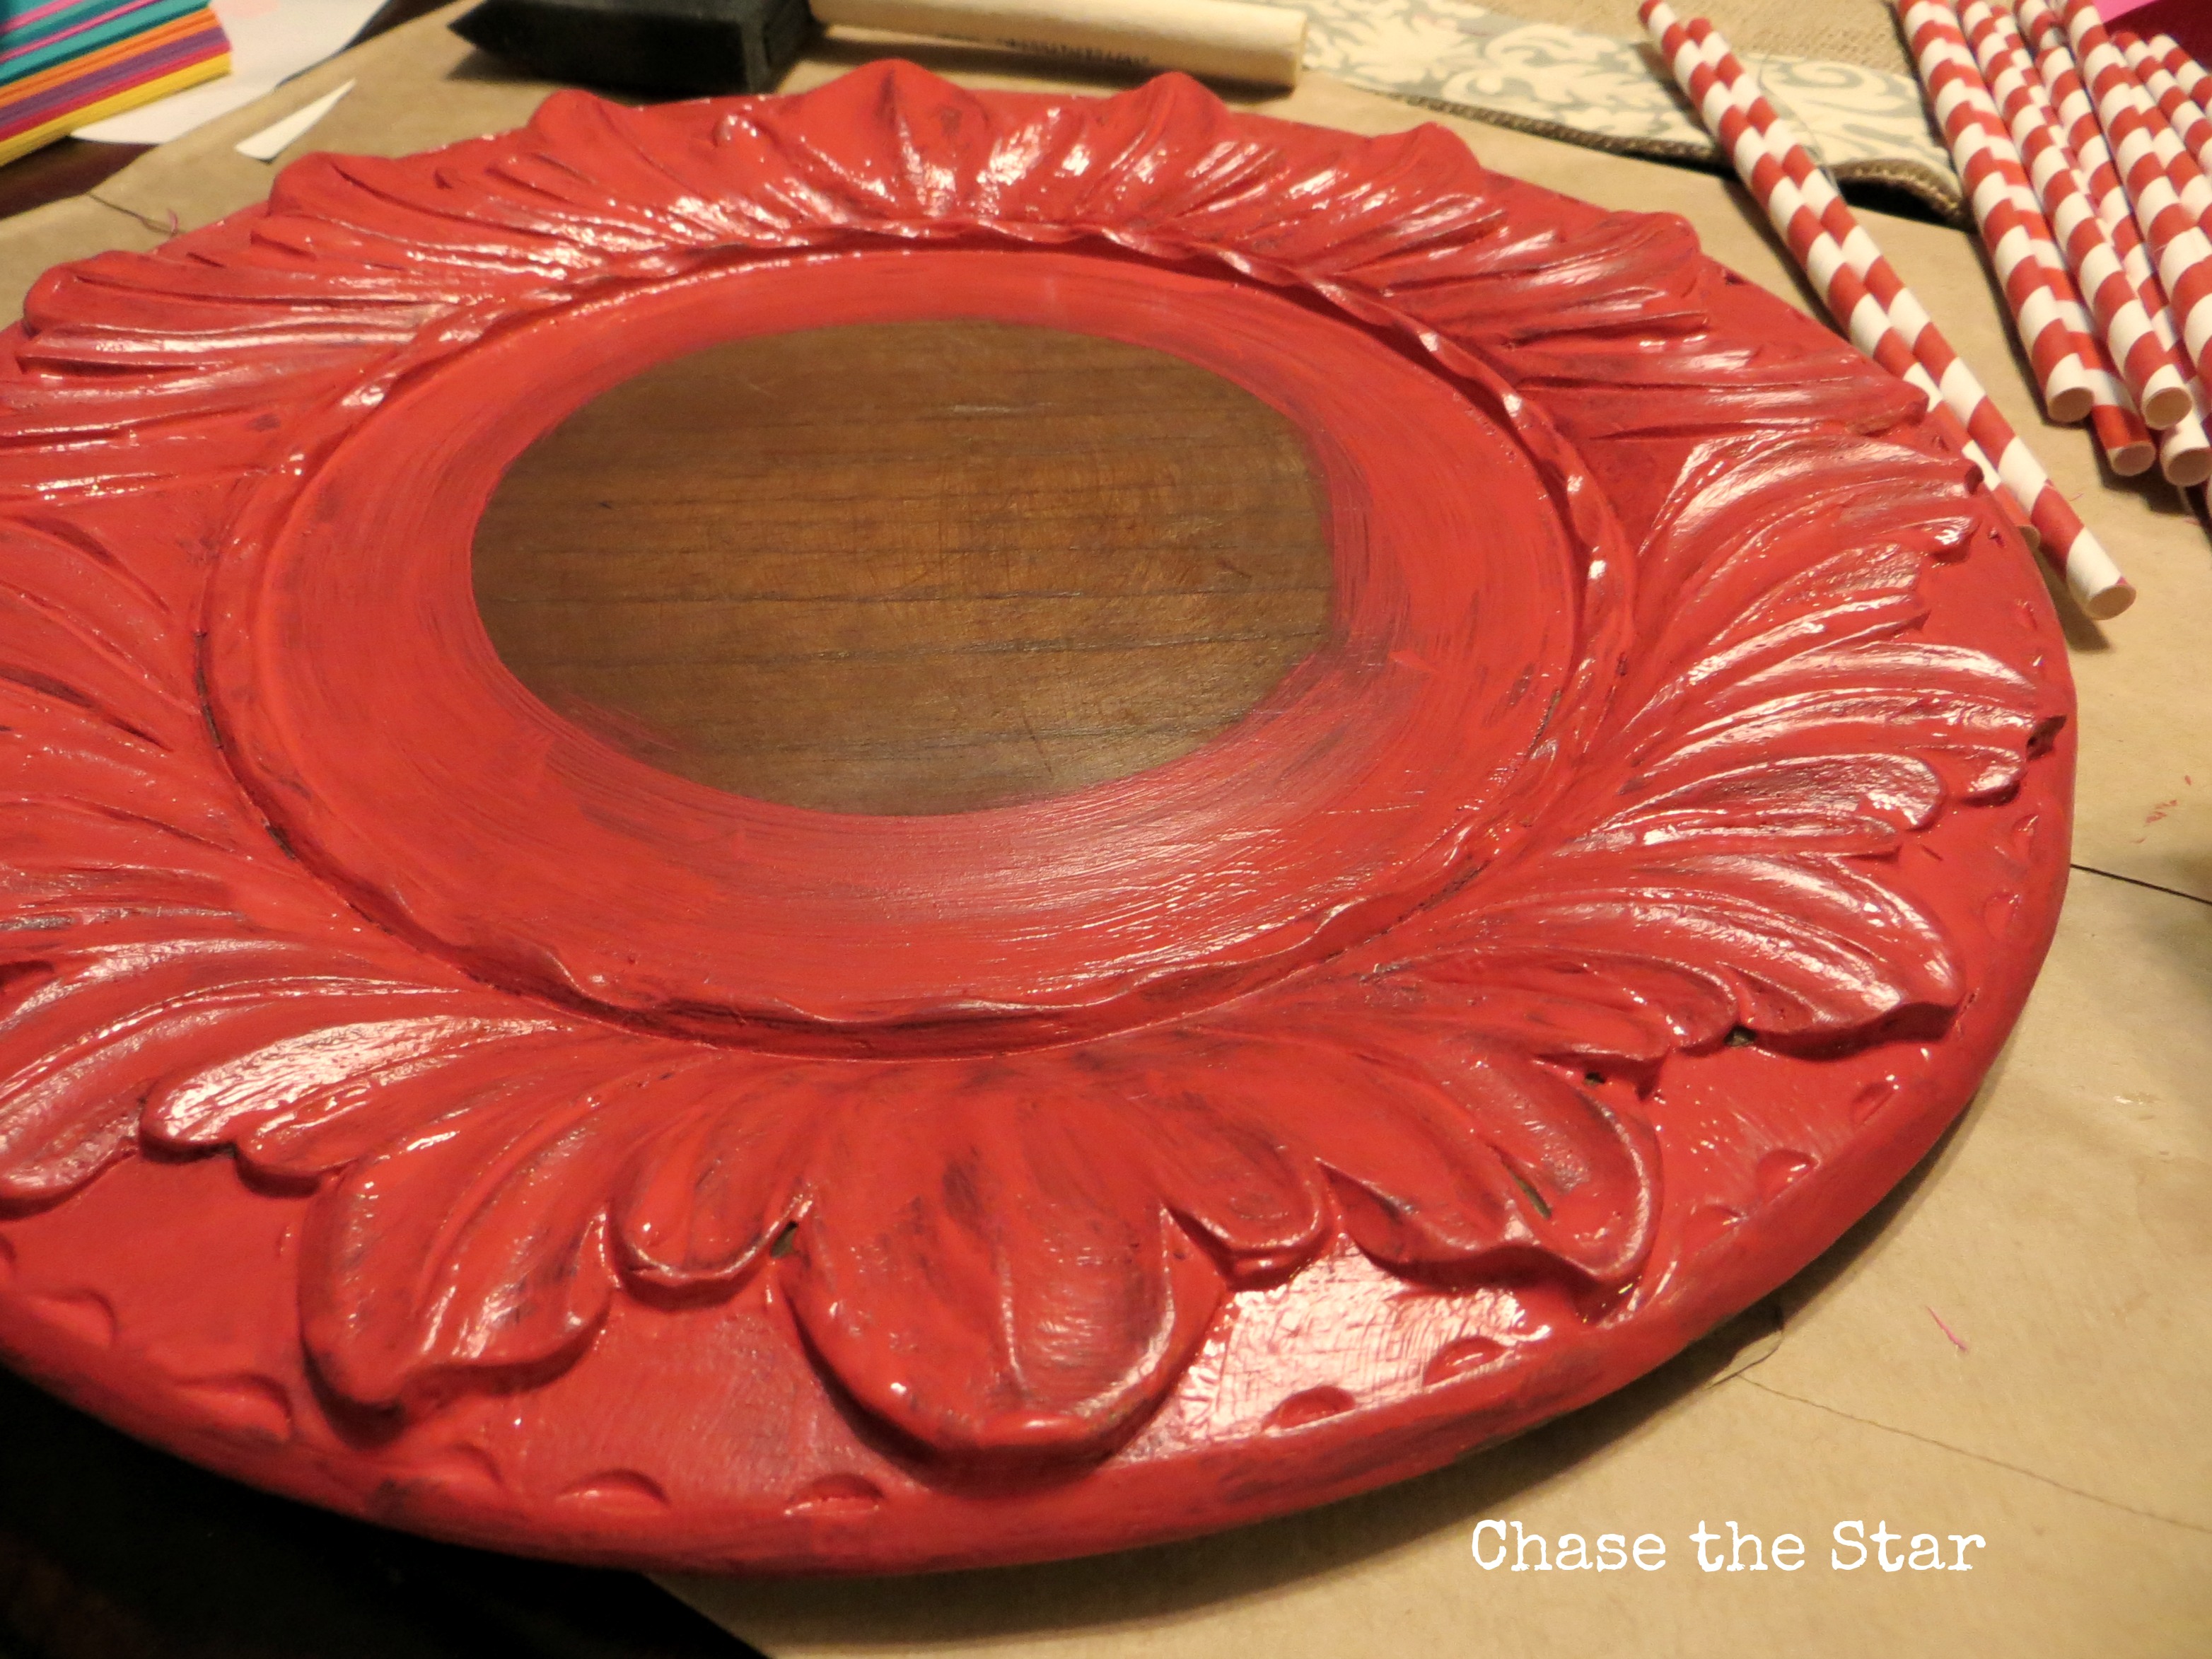
{I wasn’t too worried about getting every nook and cranny because I was going to distress the wood. Also, because my plan was to paint a white heart in the center, I didn’t worry about covering that part with the red paint}.
2. Cut out a heart shape from the cardboard or plain paper (I did it the old fashioned way by folding the paper in half like I learned in elementary school). Then with a pencil I traced it onto the wood charger.
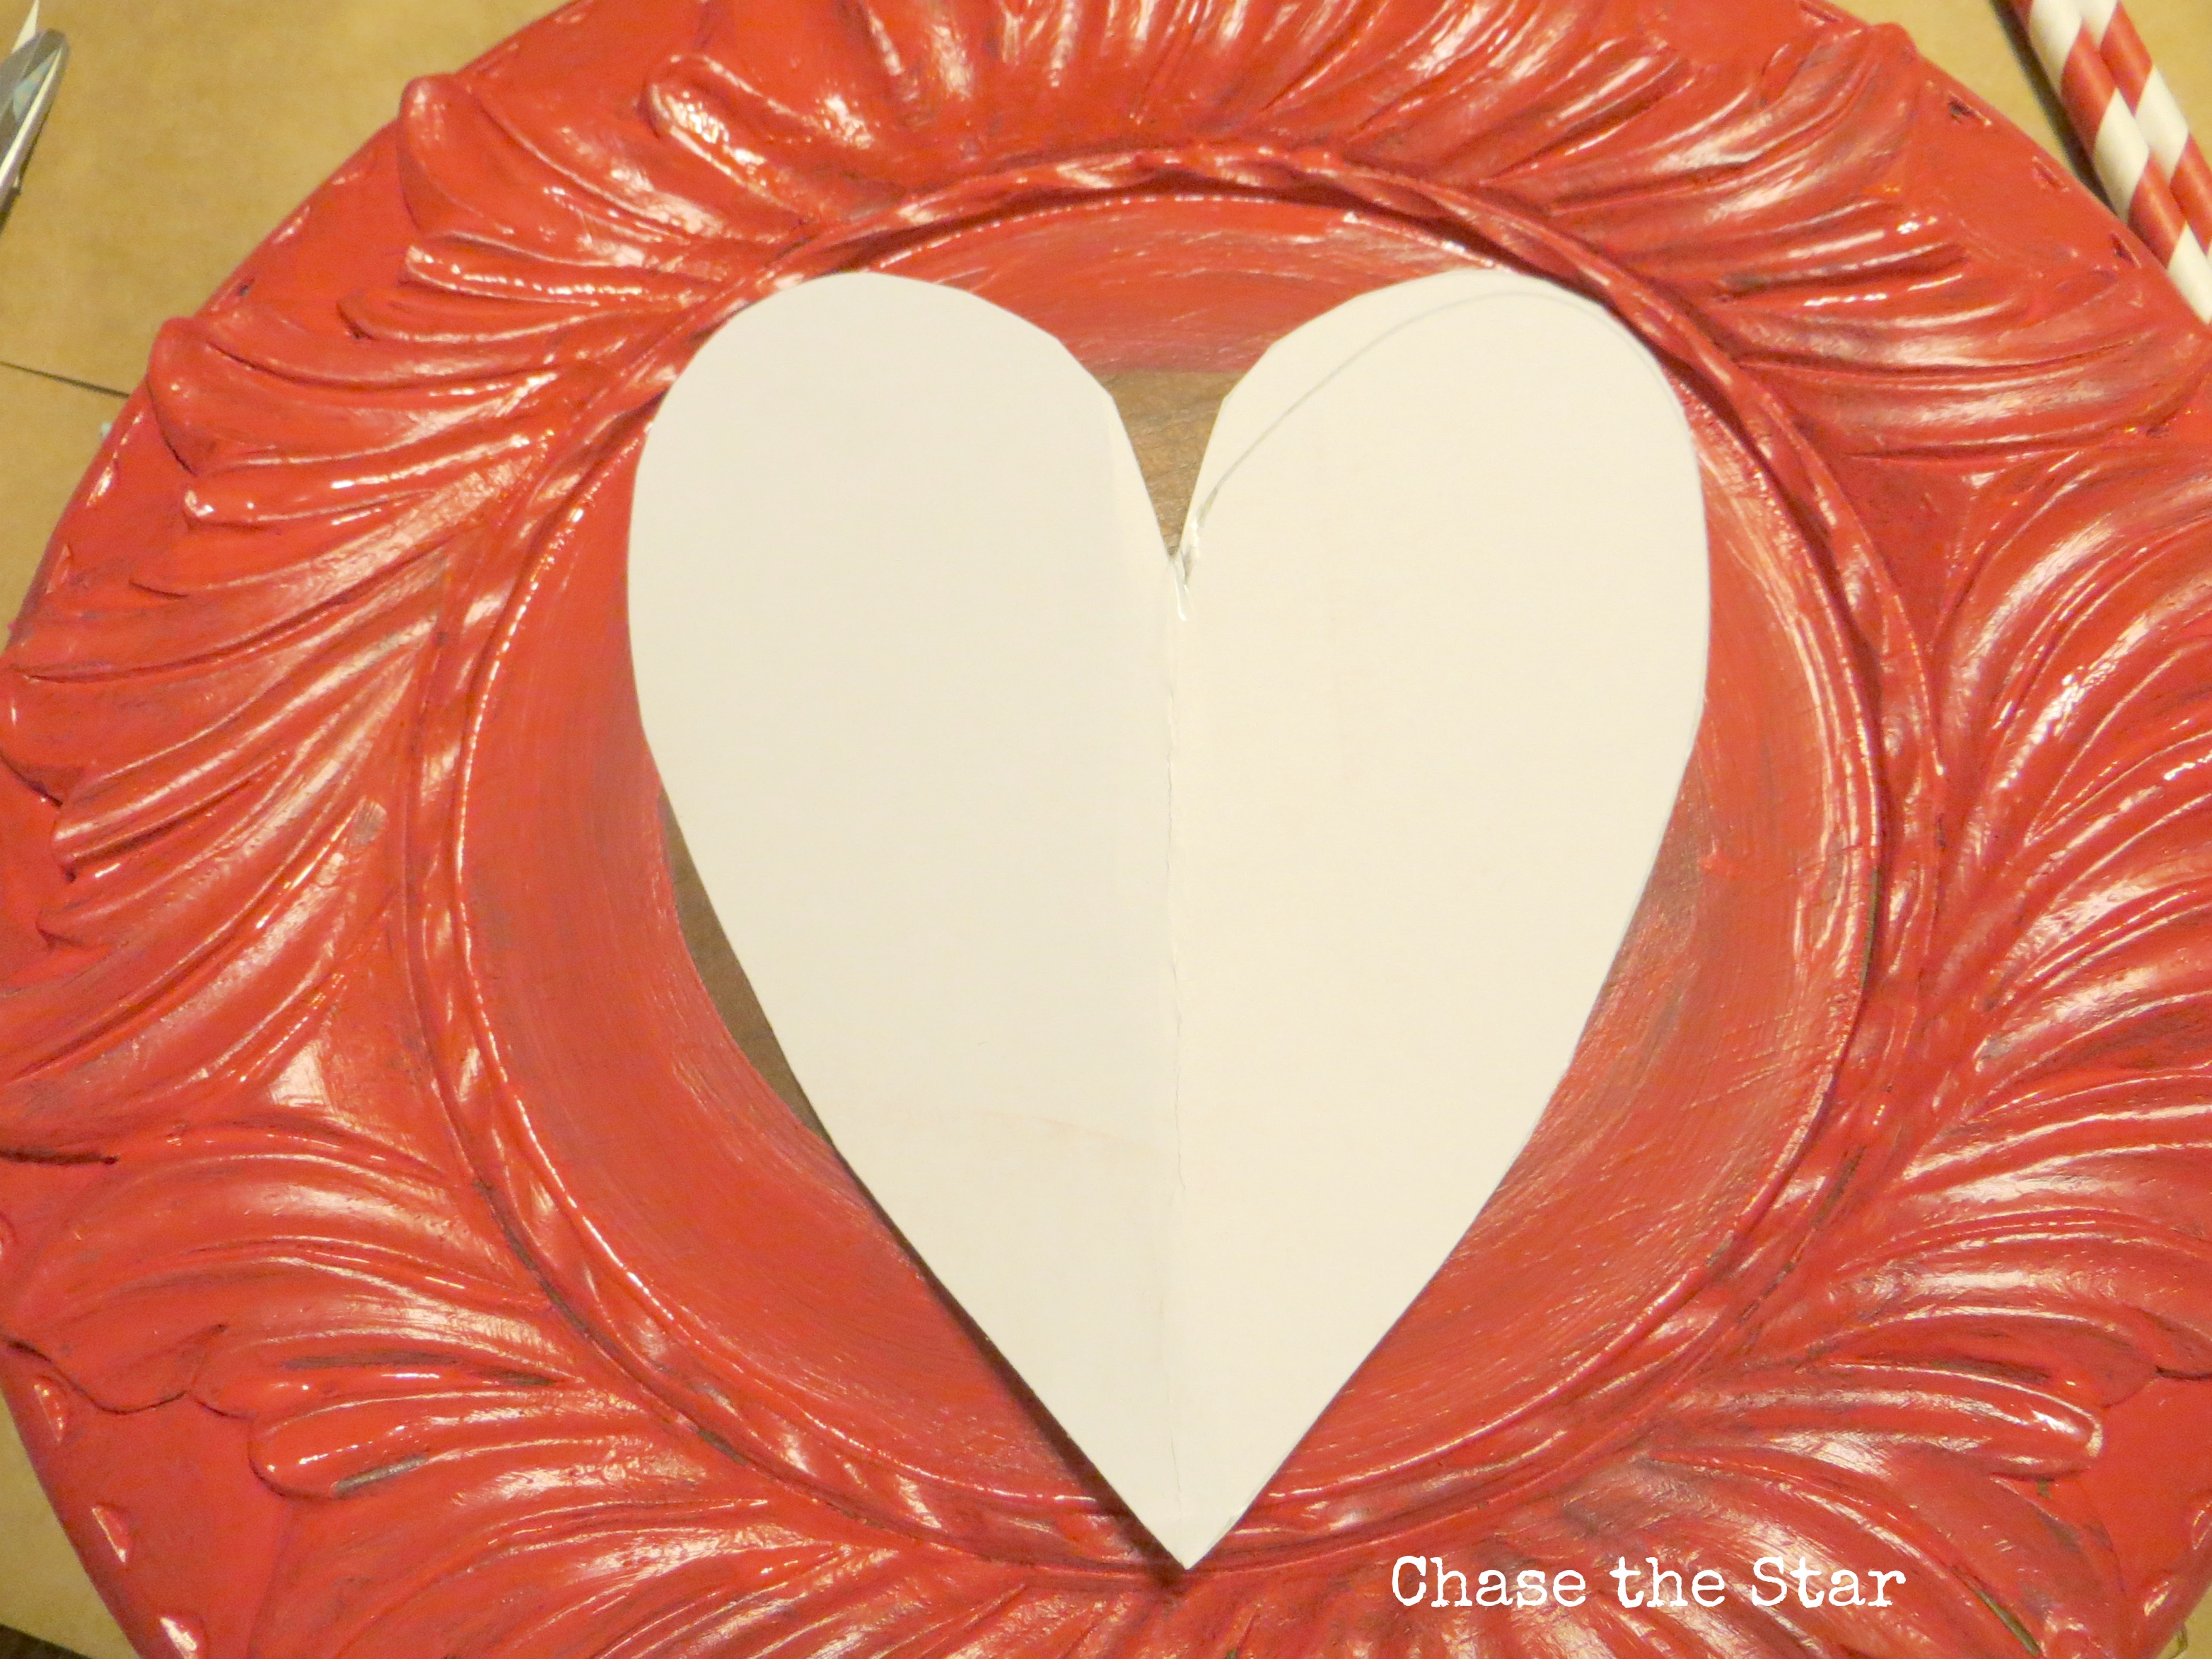
3. Remove the cut out and fill the heart in with white paint (or any color you like). Allow it to dry.
4. Run the fine grit sandpaper (120 grit+) over the plate to where some of the wood shows through, giving it a vintage look.
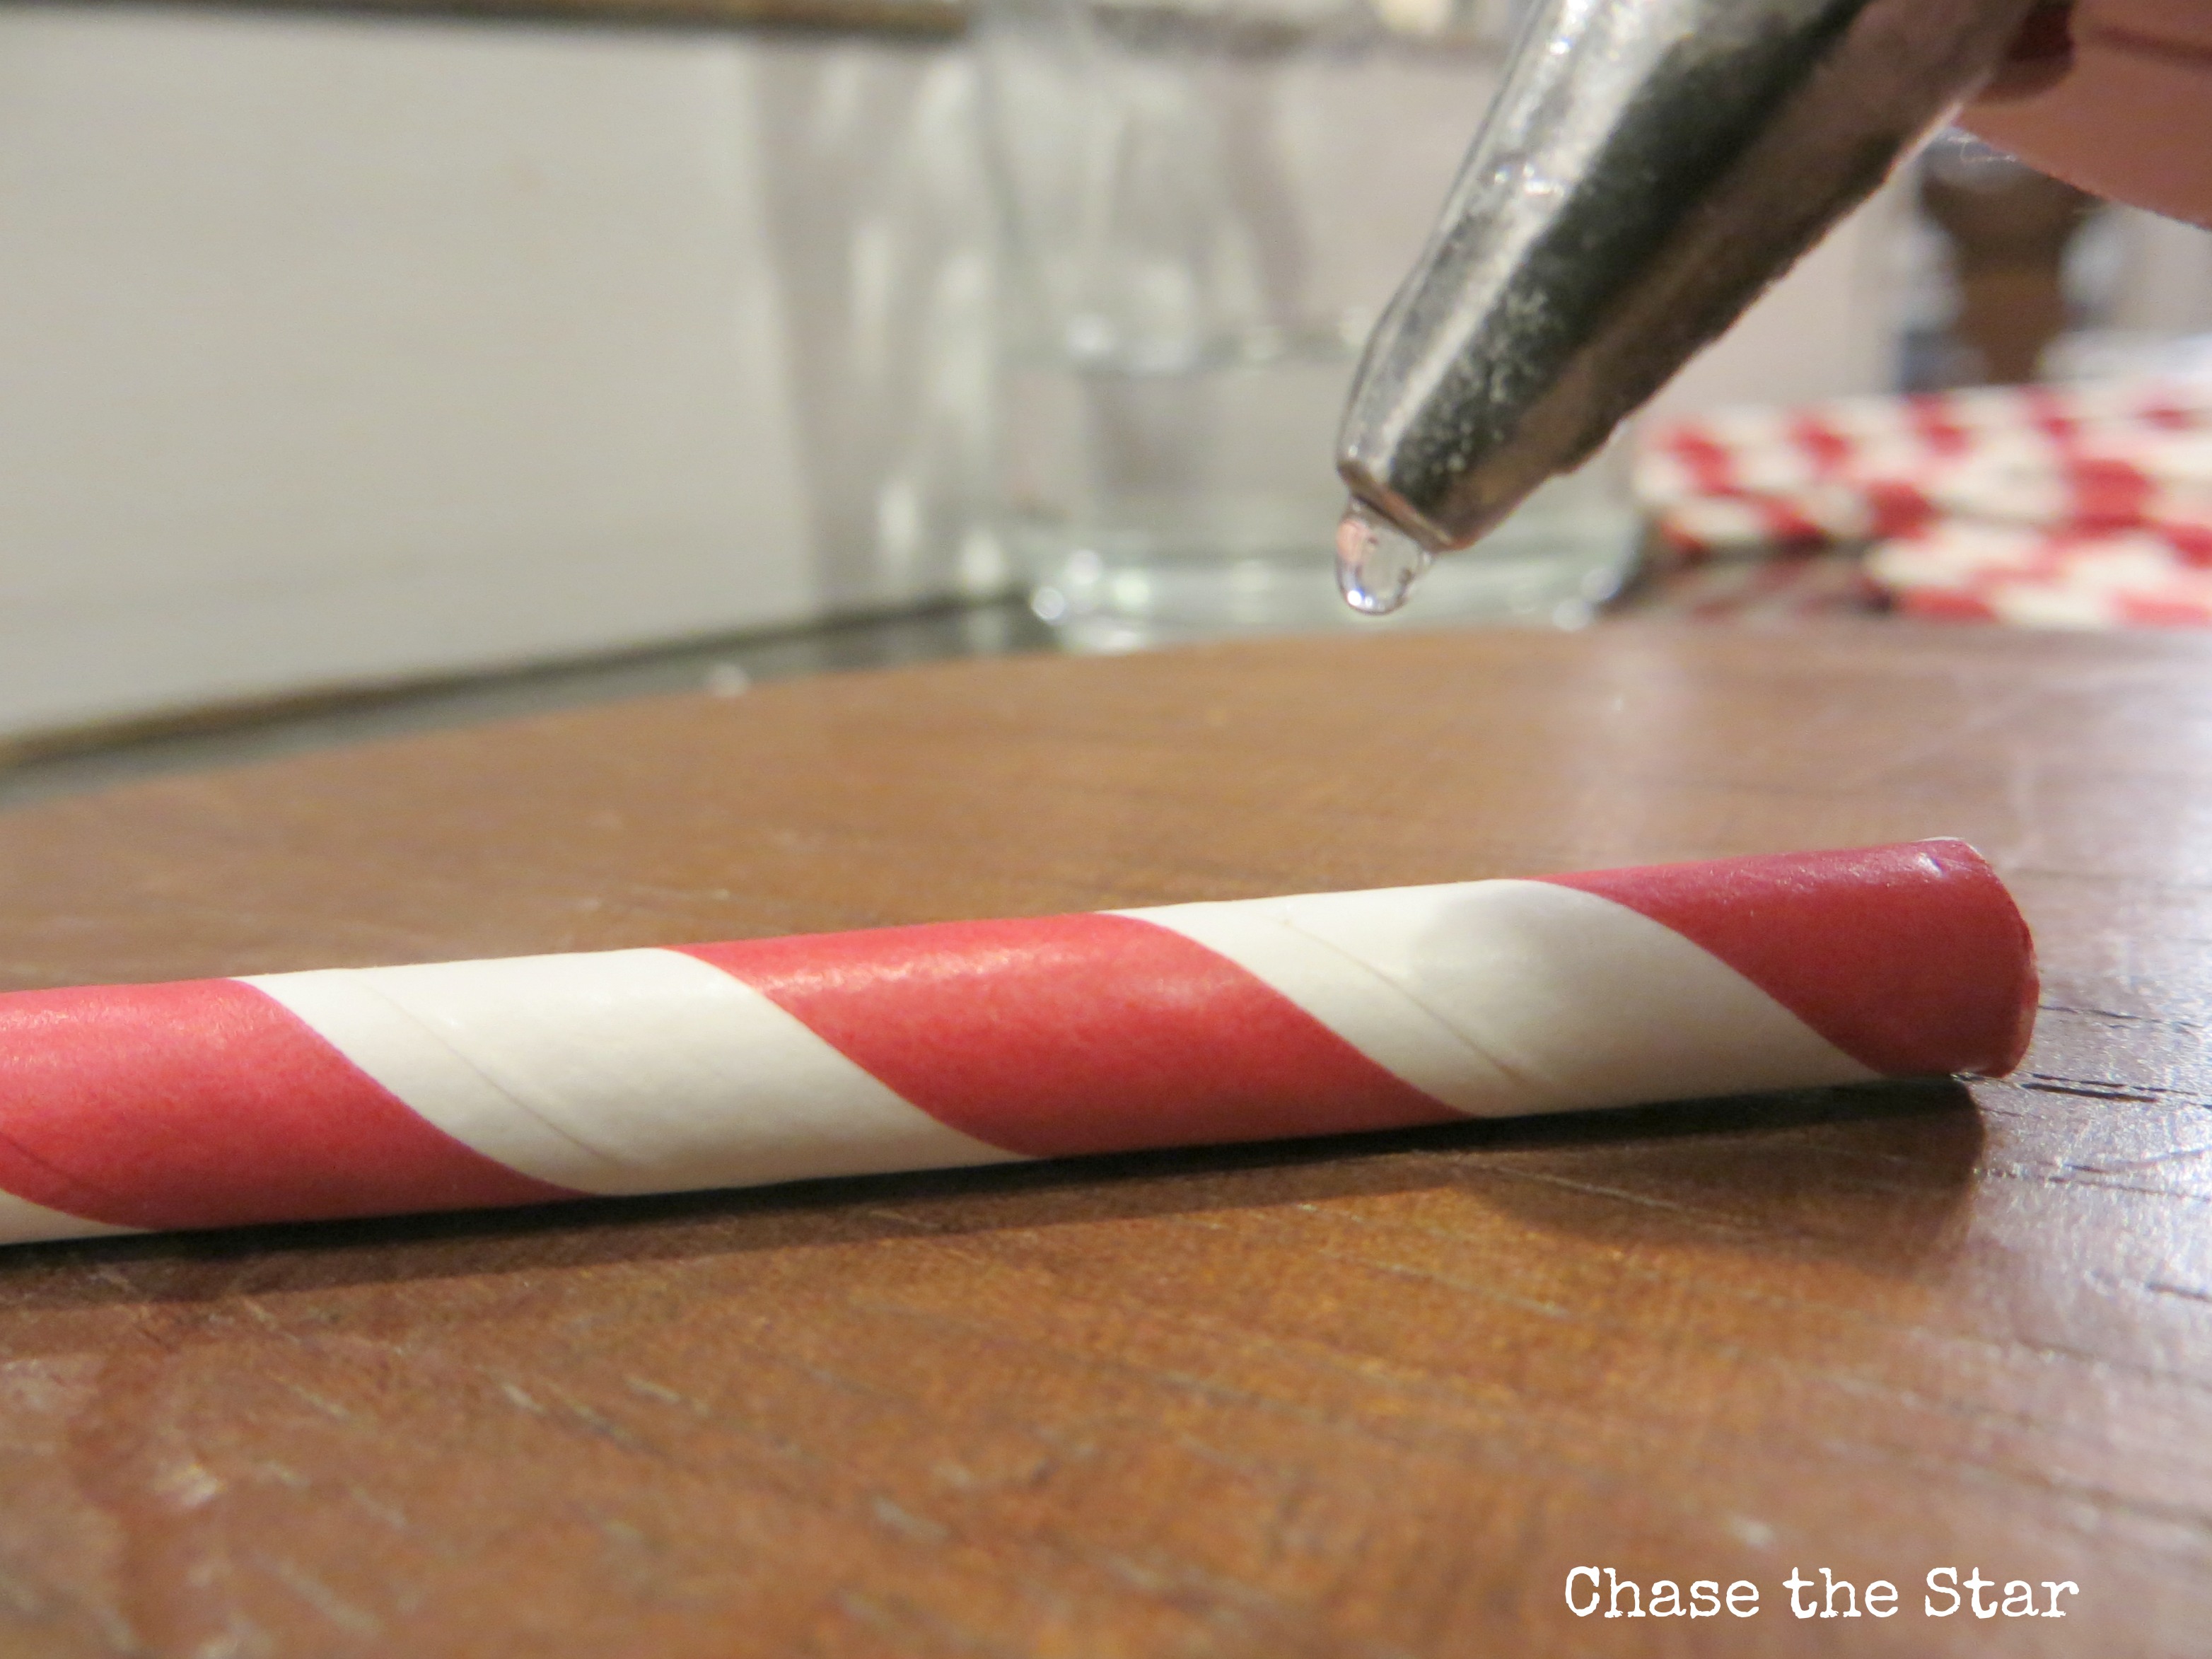
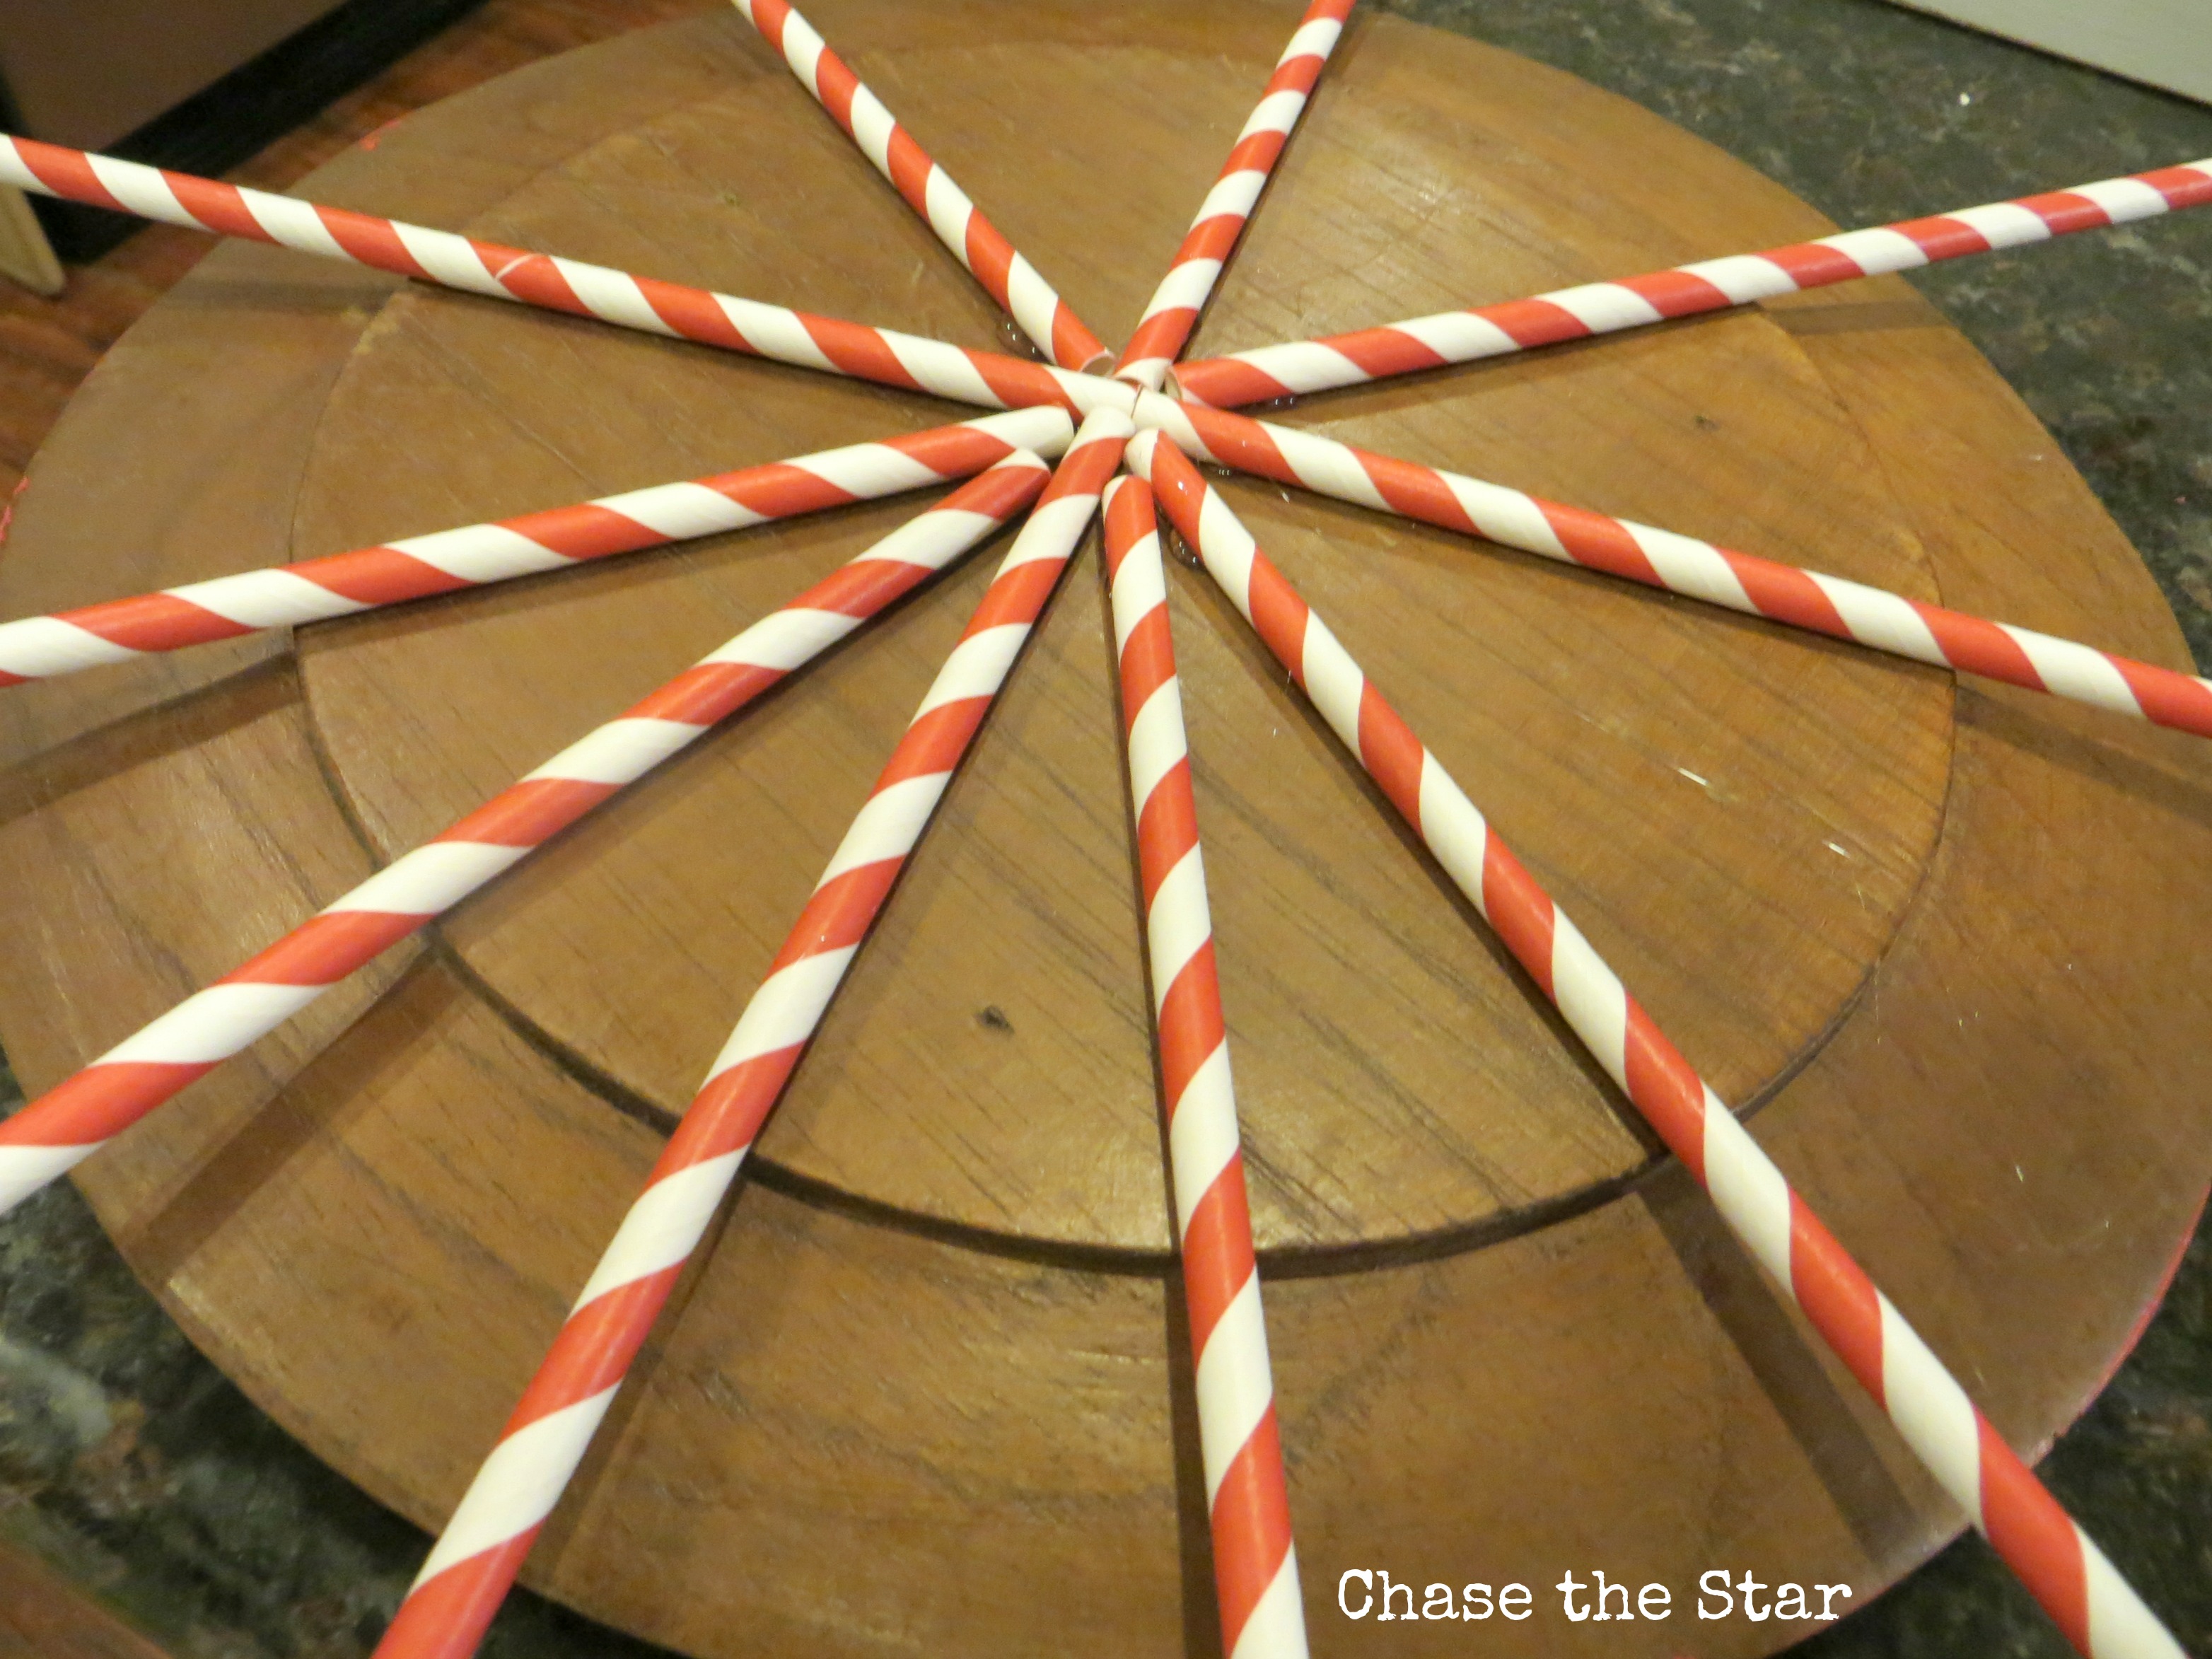
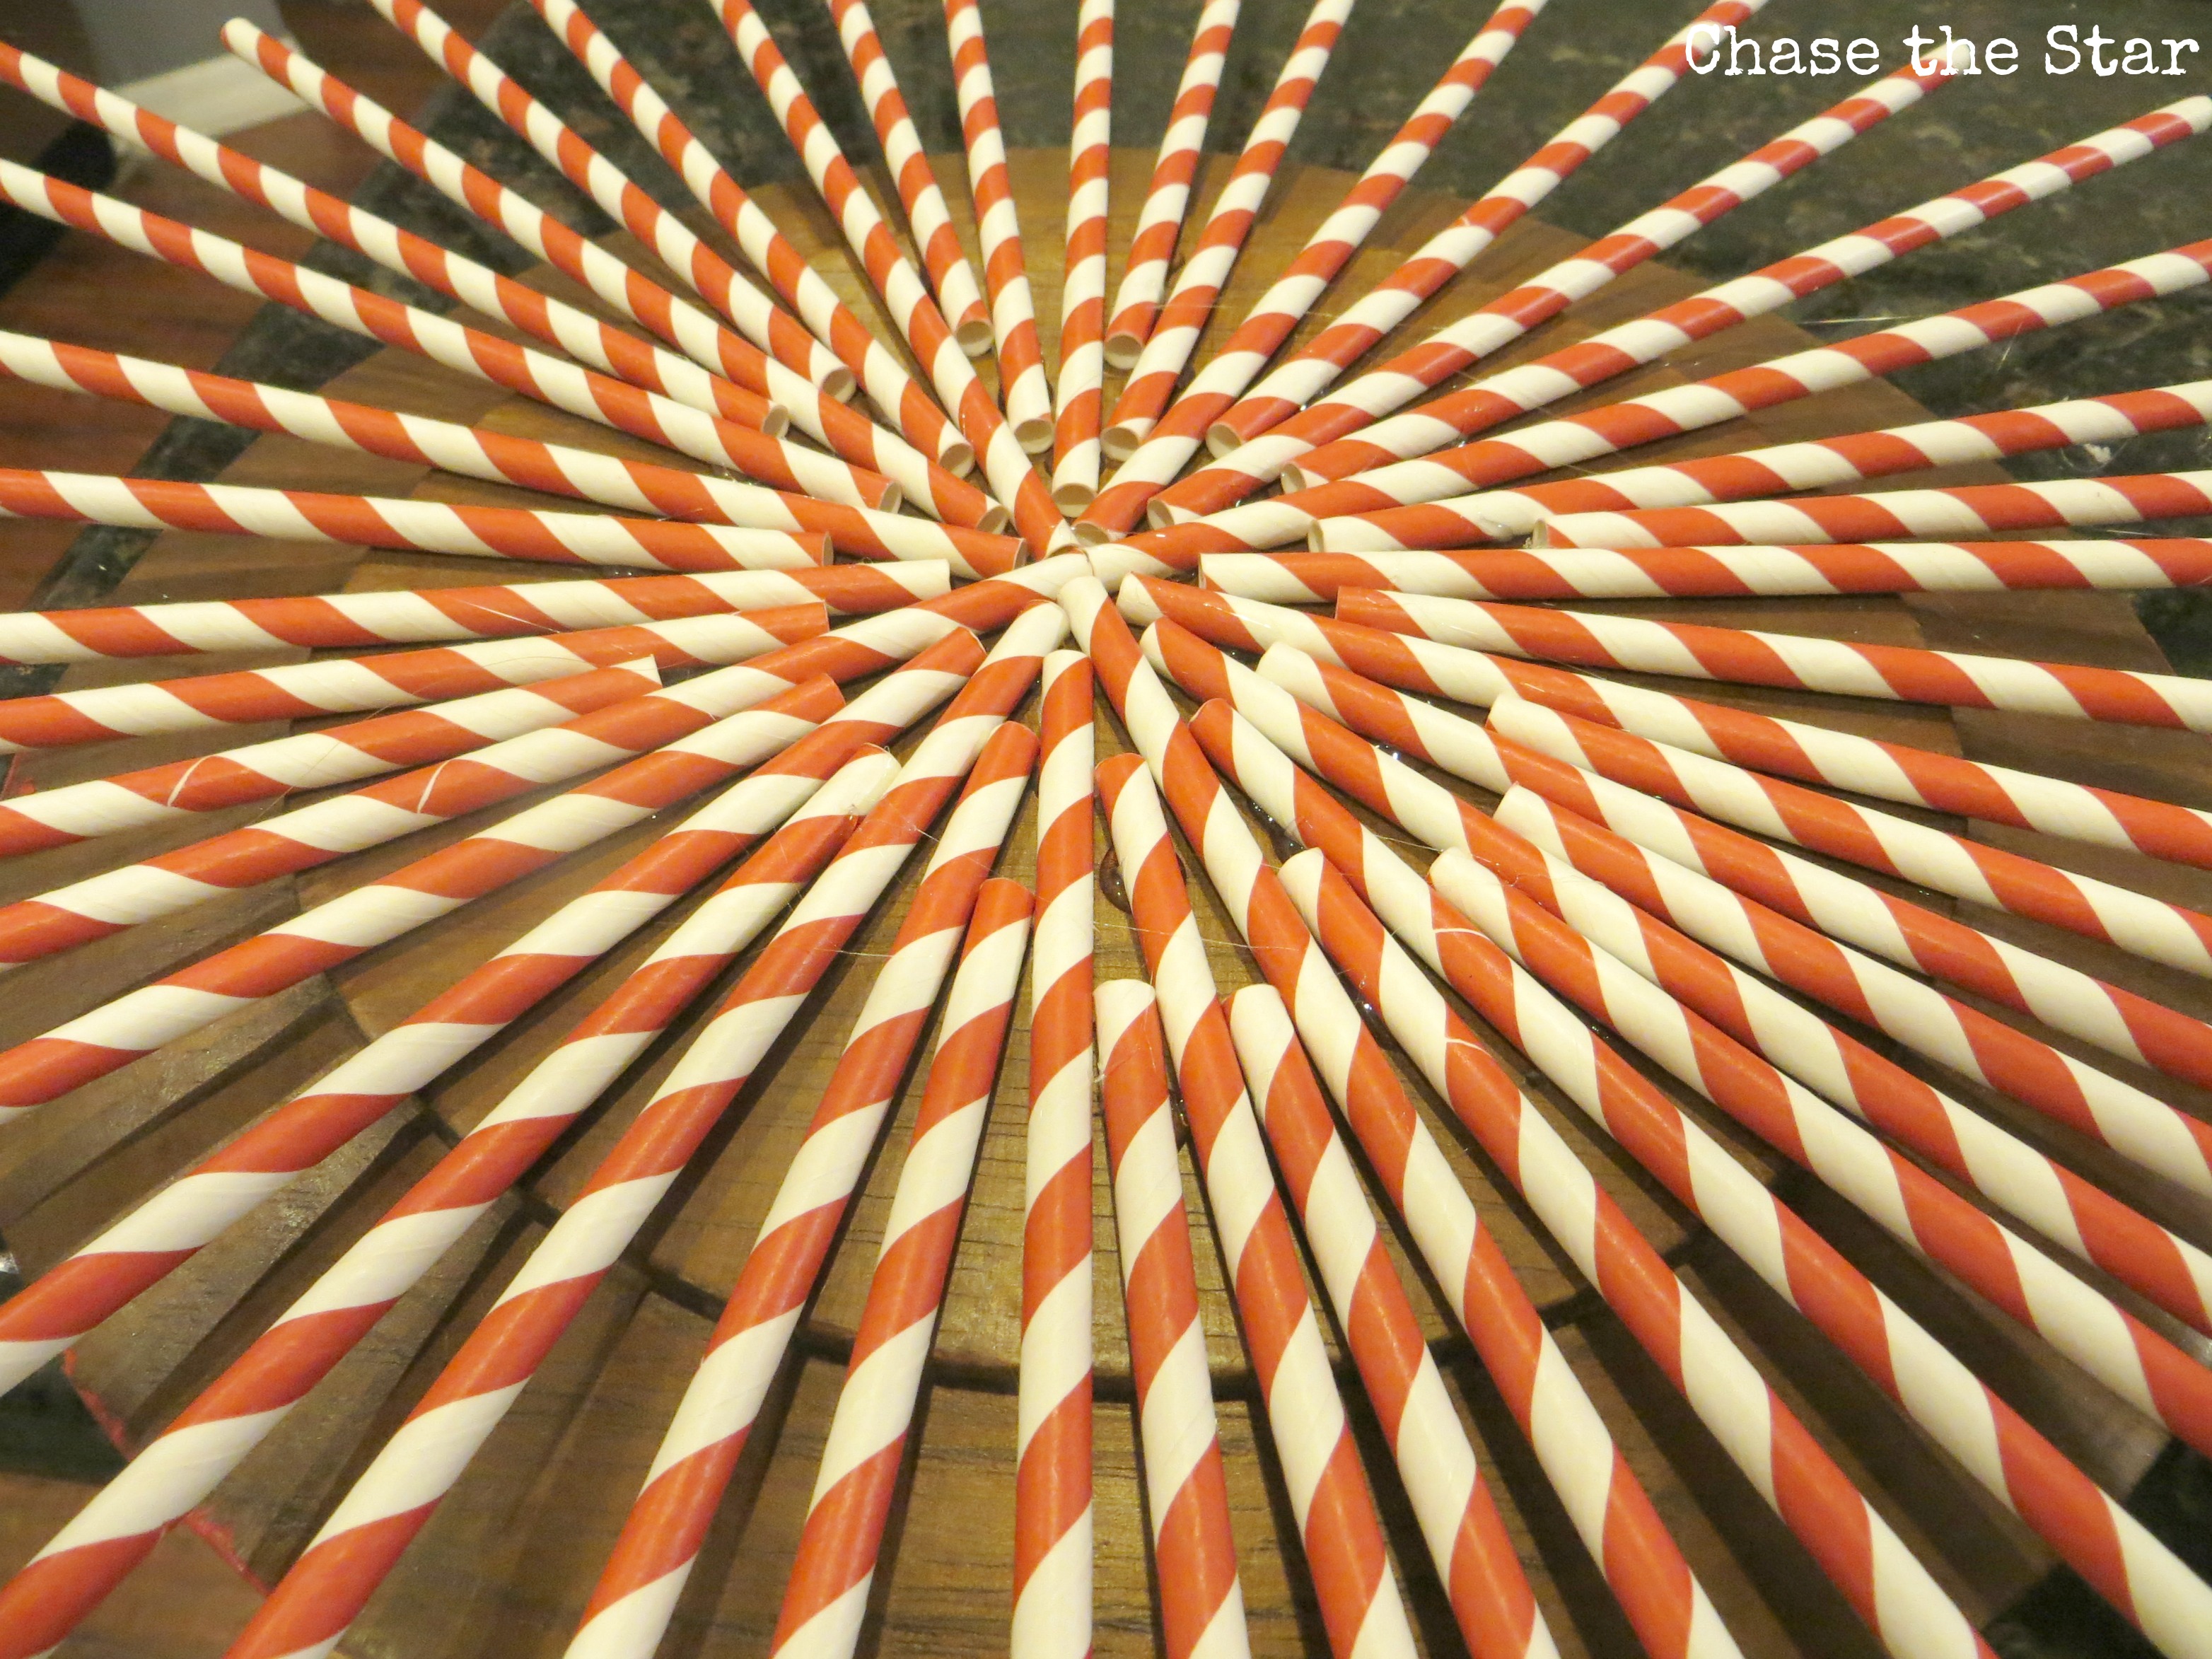
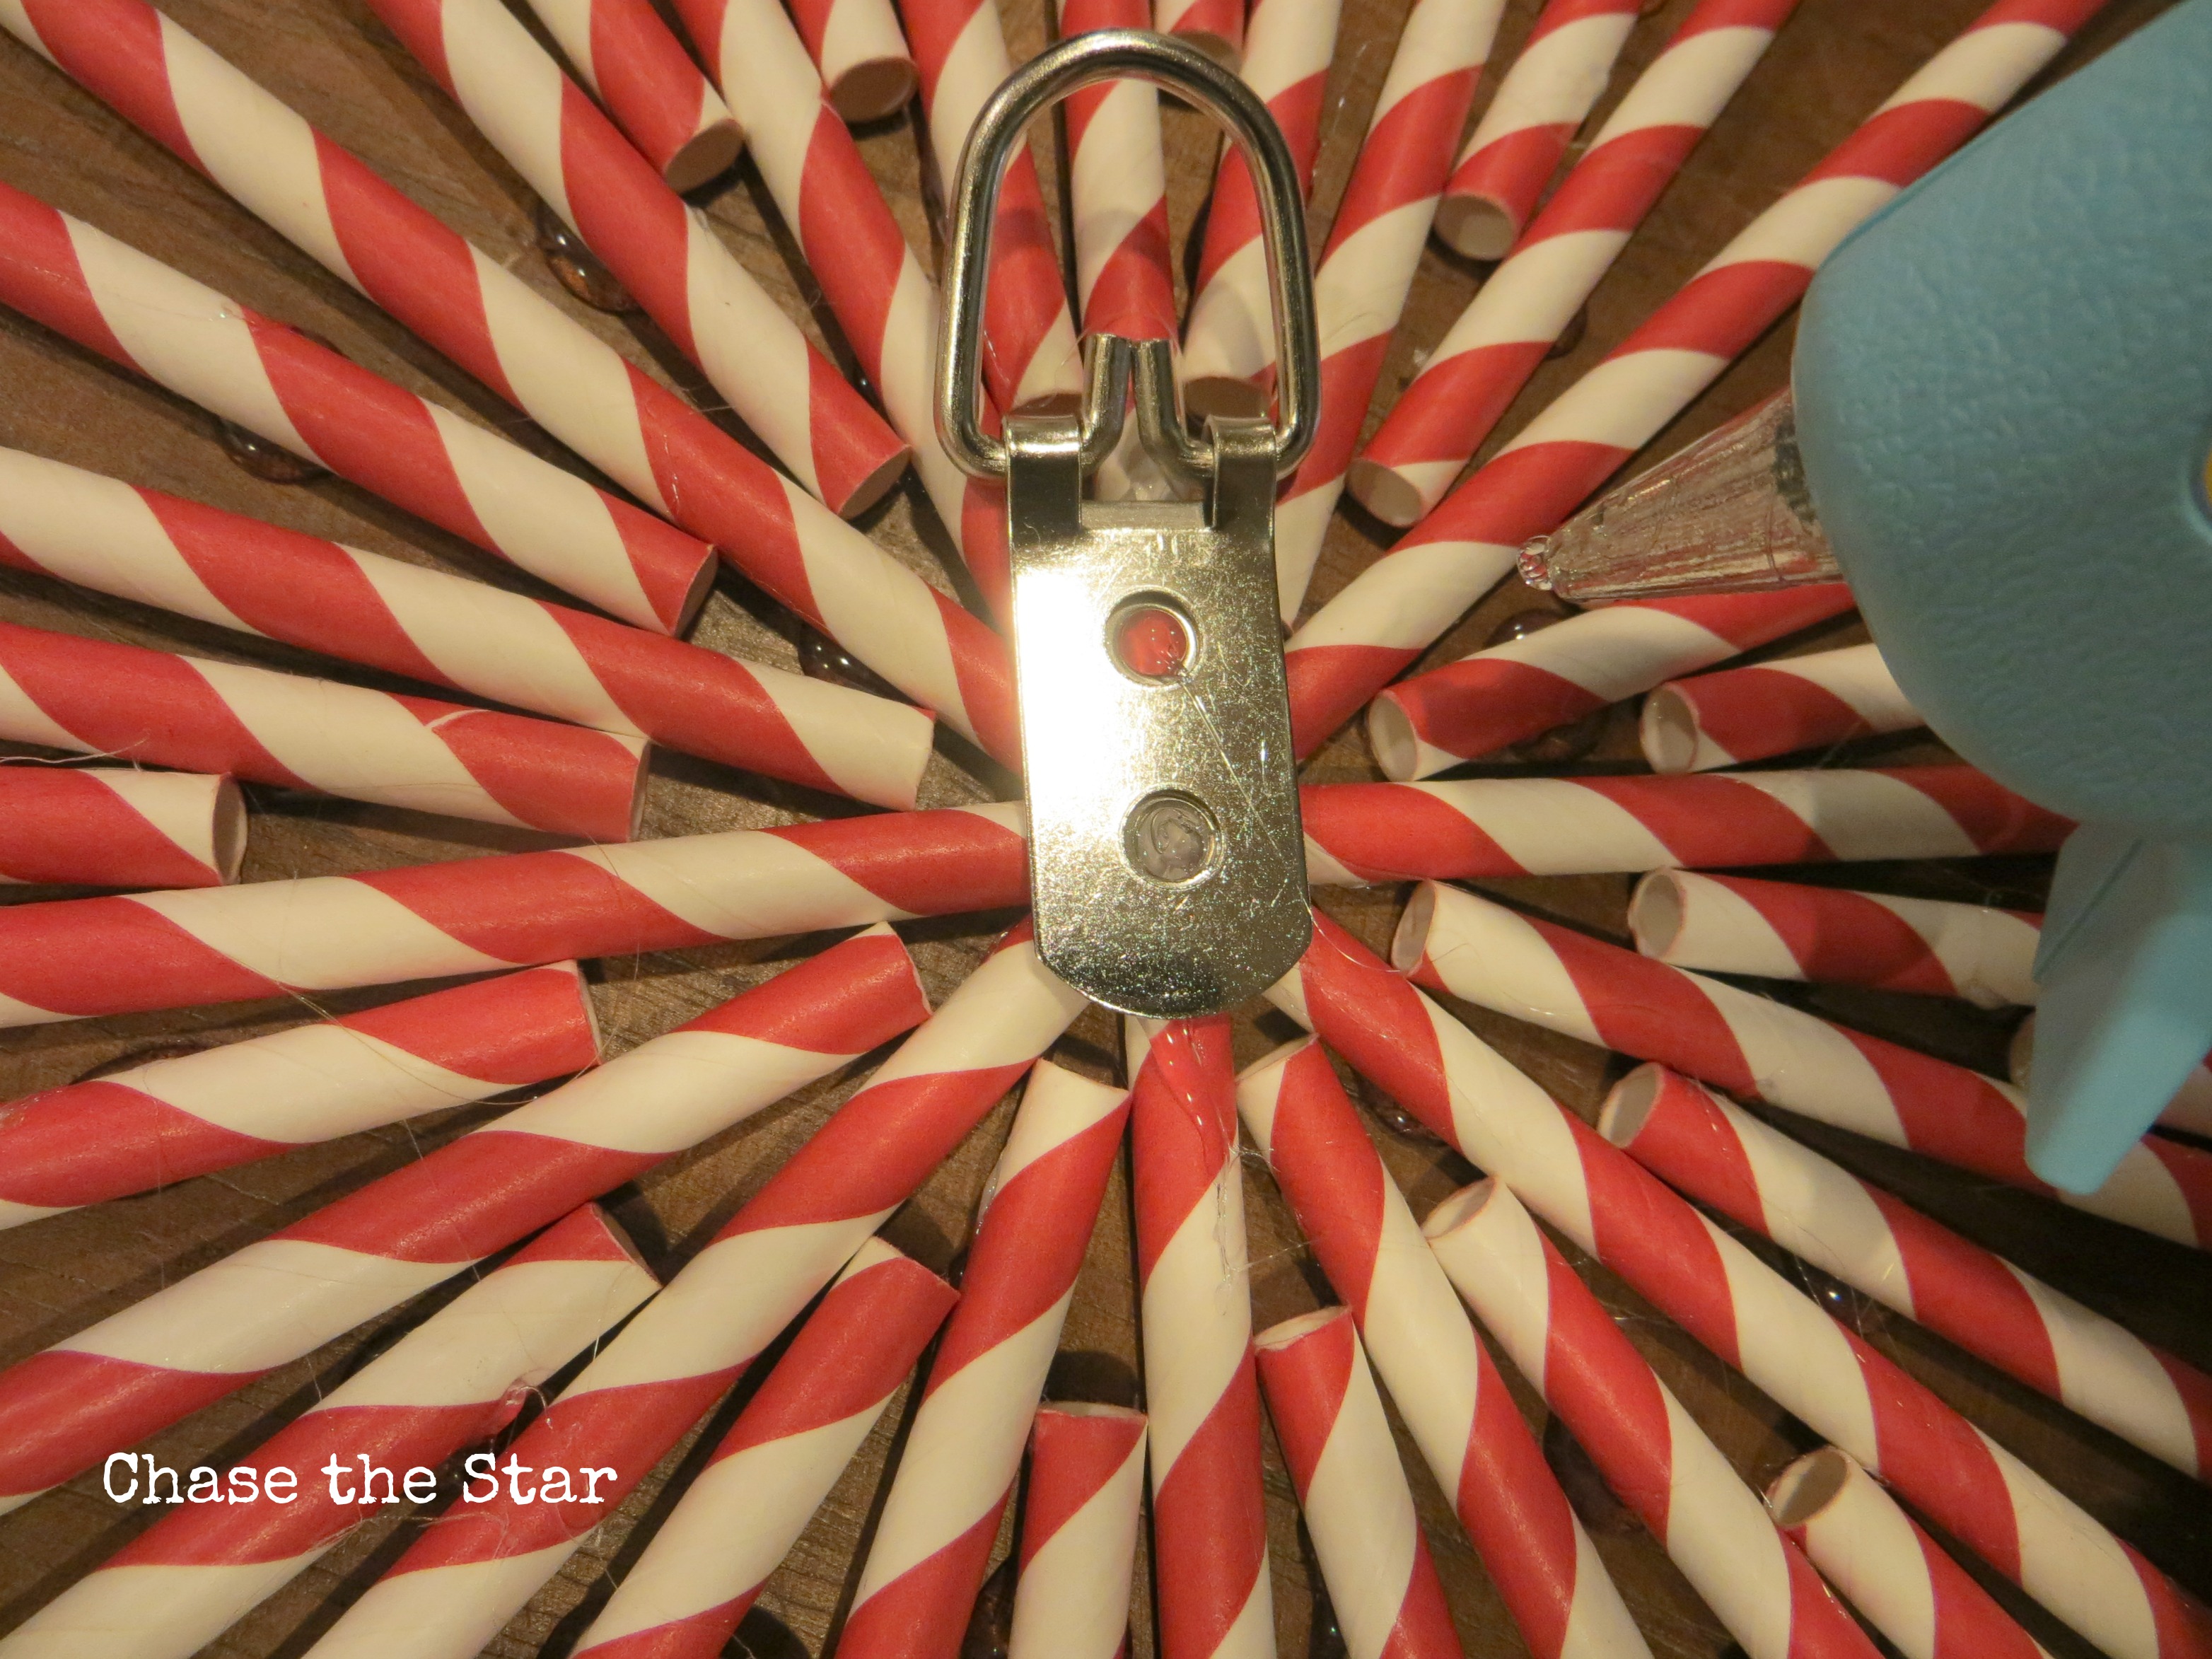
5. Using the glue gun, start to add a drop of glue to each straw, and glue them on to the back of the plate in a ‘starburst’ fashion.
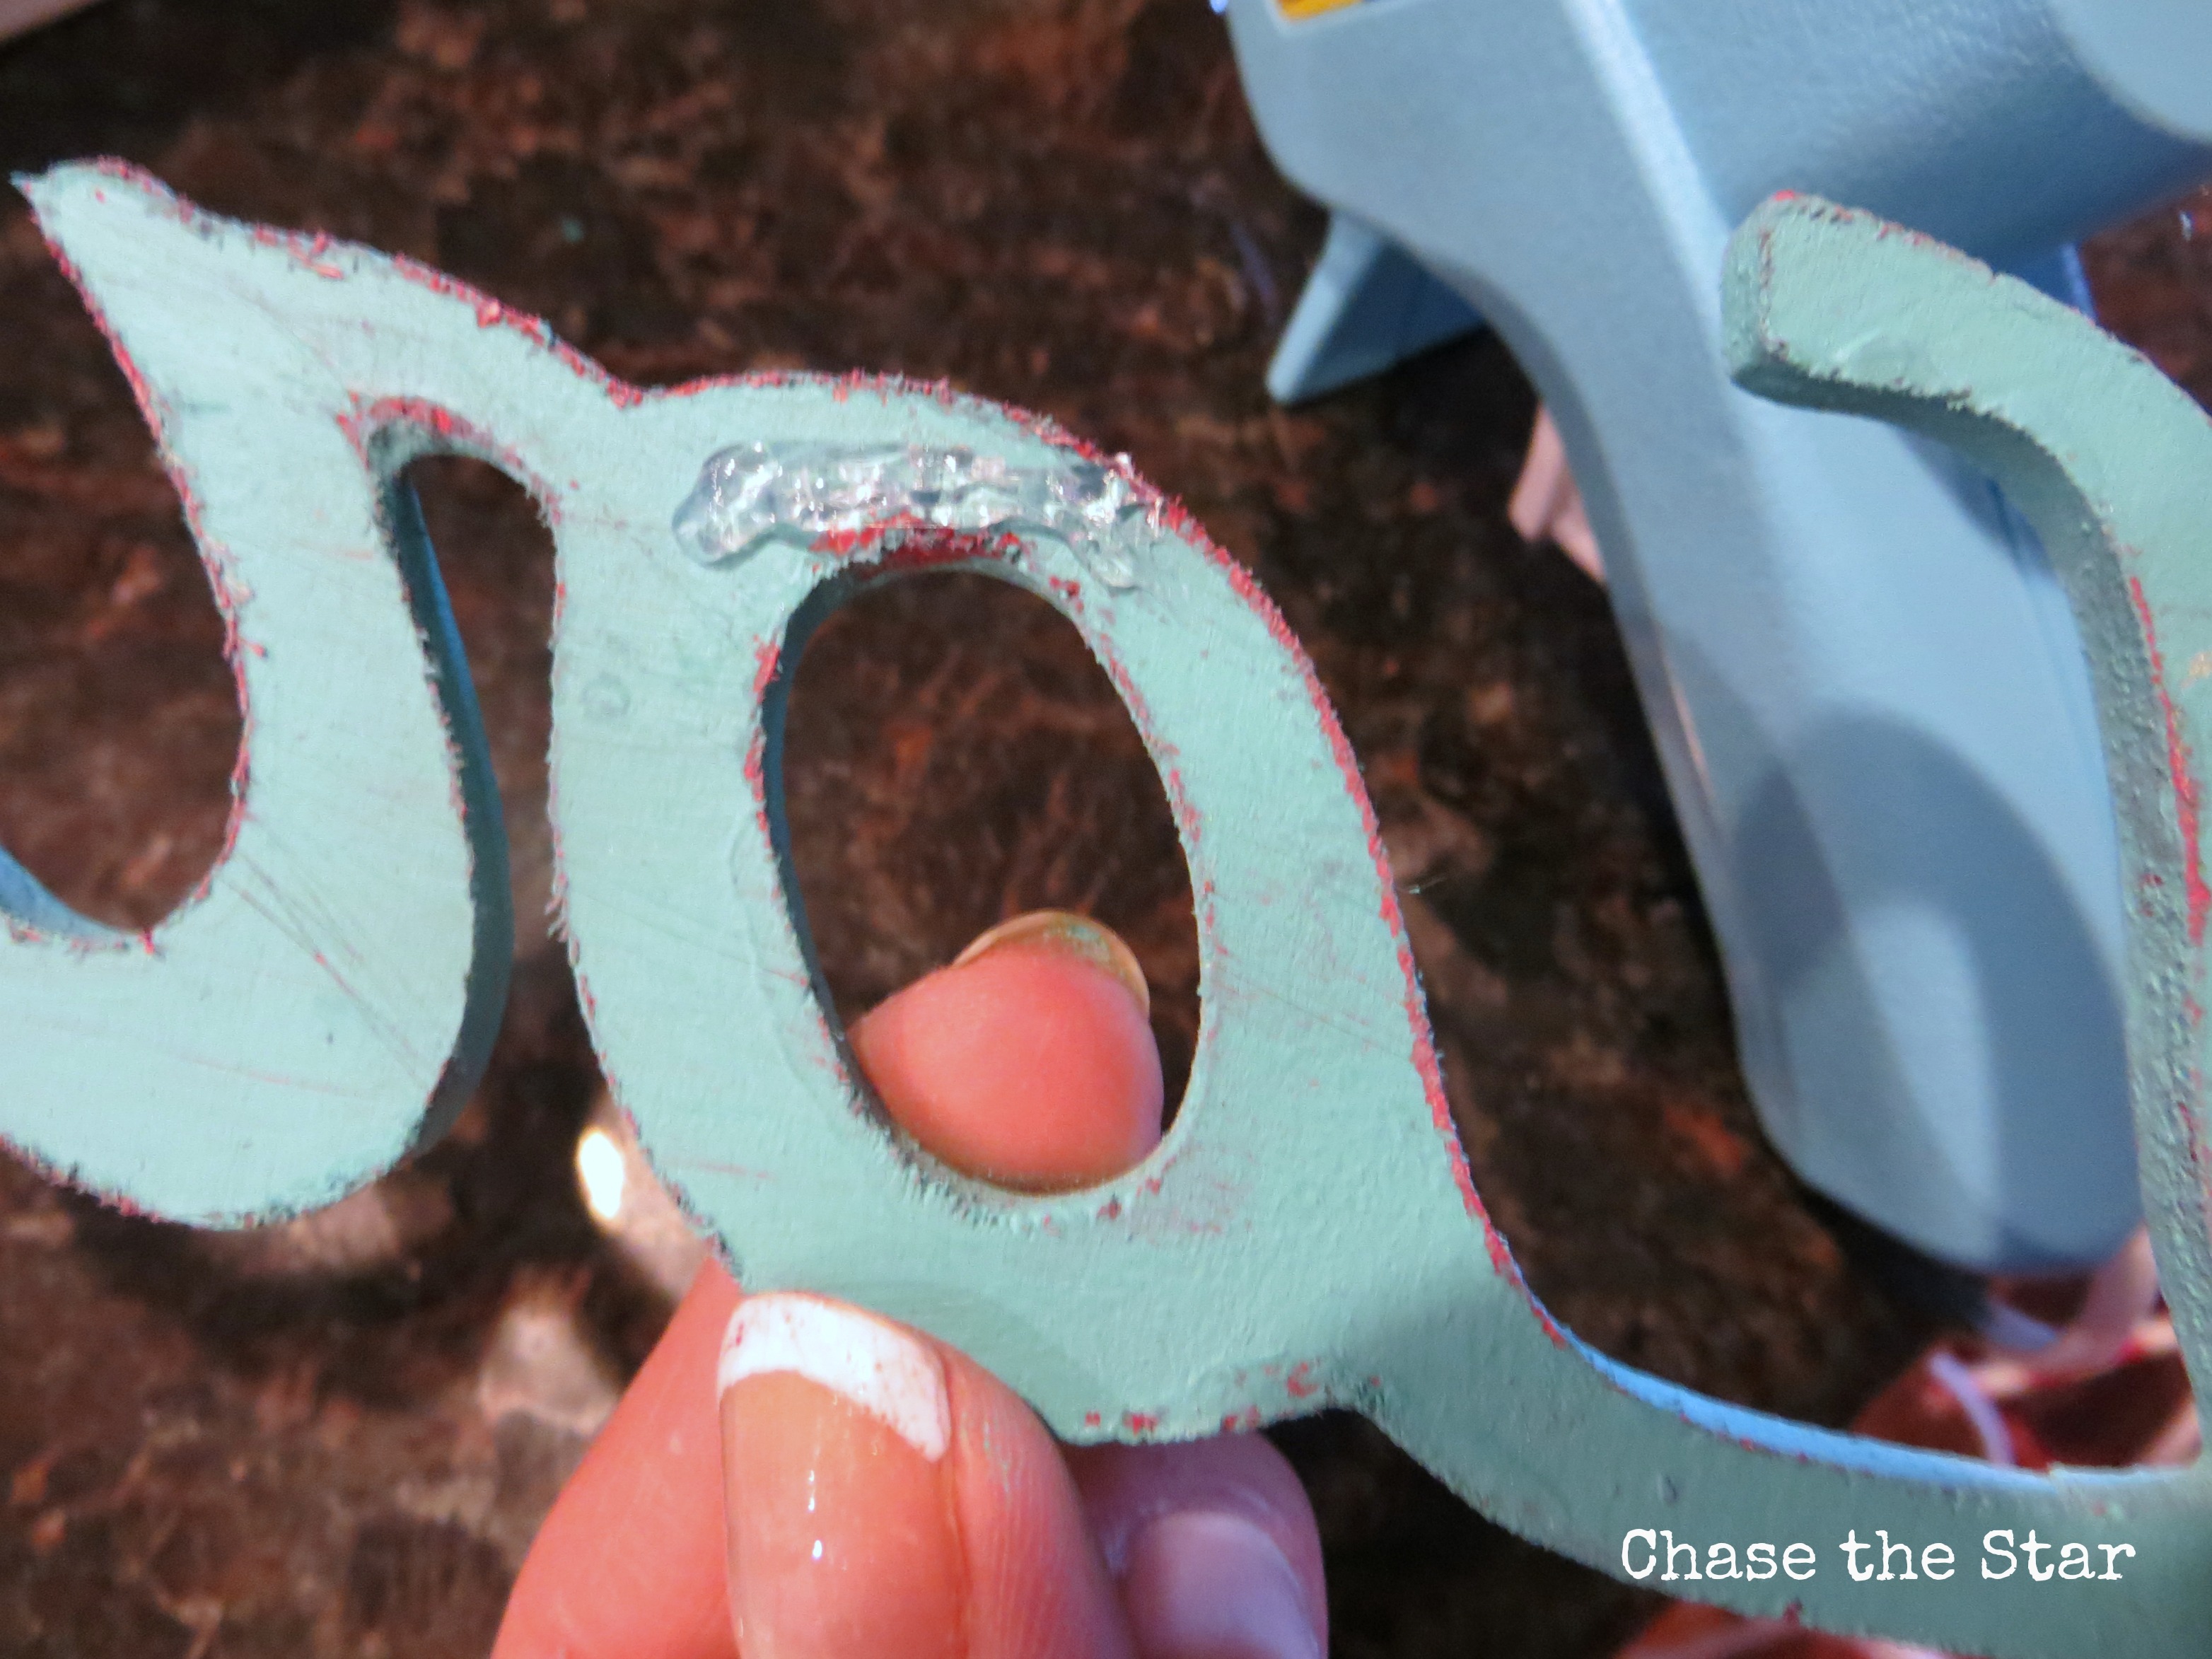
6. While the glue dries, start to paint your letters. In my case I used a wood word applique I found at Michael’s for just 99 cents (score!). I didn’t have quite the right shade of blue I wanted handy, so I mixed up some left over paint from the vintage window I’d painted recently, and some white craft paint.
 7. Once the paint is dry, distress the wood applique (using the sandpaper), then add a little hot glue to the back and center it on to the charger.
8. I sprayed the entire piece with Mod Podge to seal it–this is optional.
 9. Lastly, I hot glued a ‘d’ hook to the back, for an easy way to hang it up, this is also optional. You can find these hooks at any home improvement store.
{**Mess up alert: You may notice a little red peeking out from under the blue. At first I painted the letters in red, but once it dried I realized there was way too much red going on, so I opted to paint over it in the blue I made. Craft fails happen people. I dealt with it and moved on! }
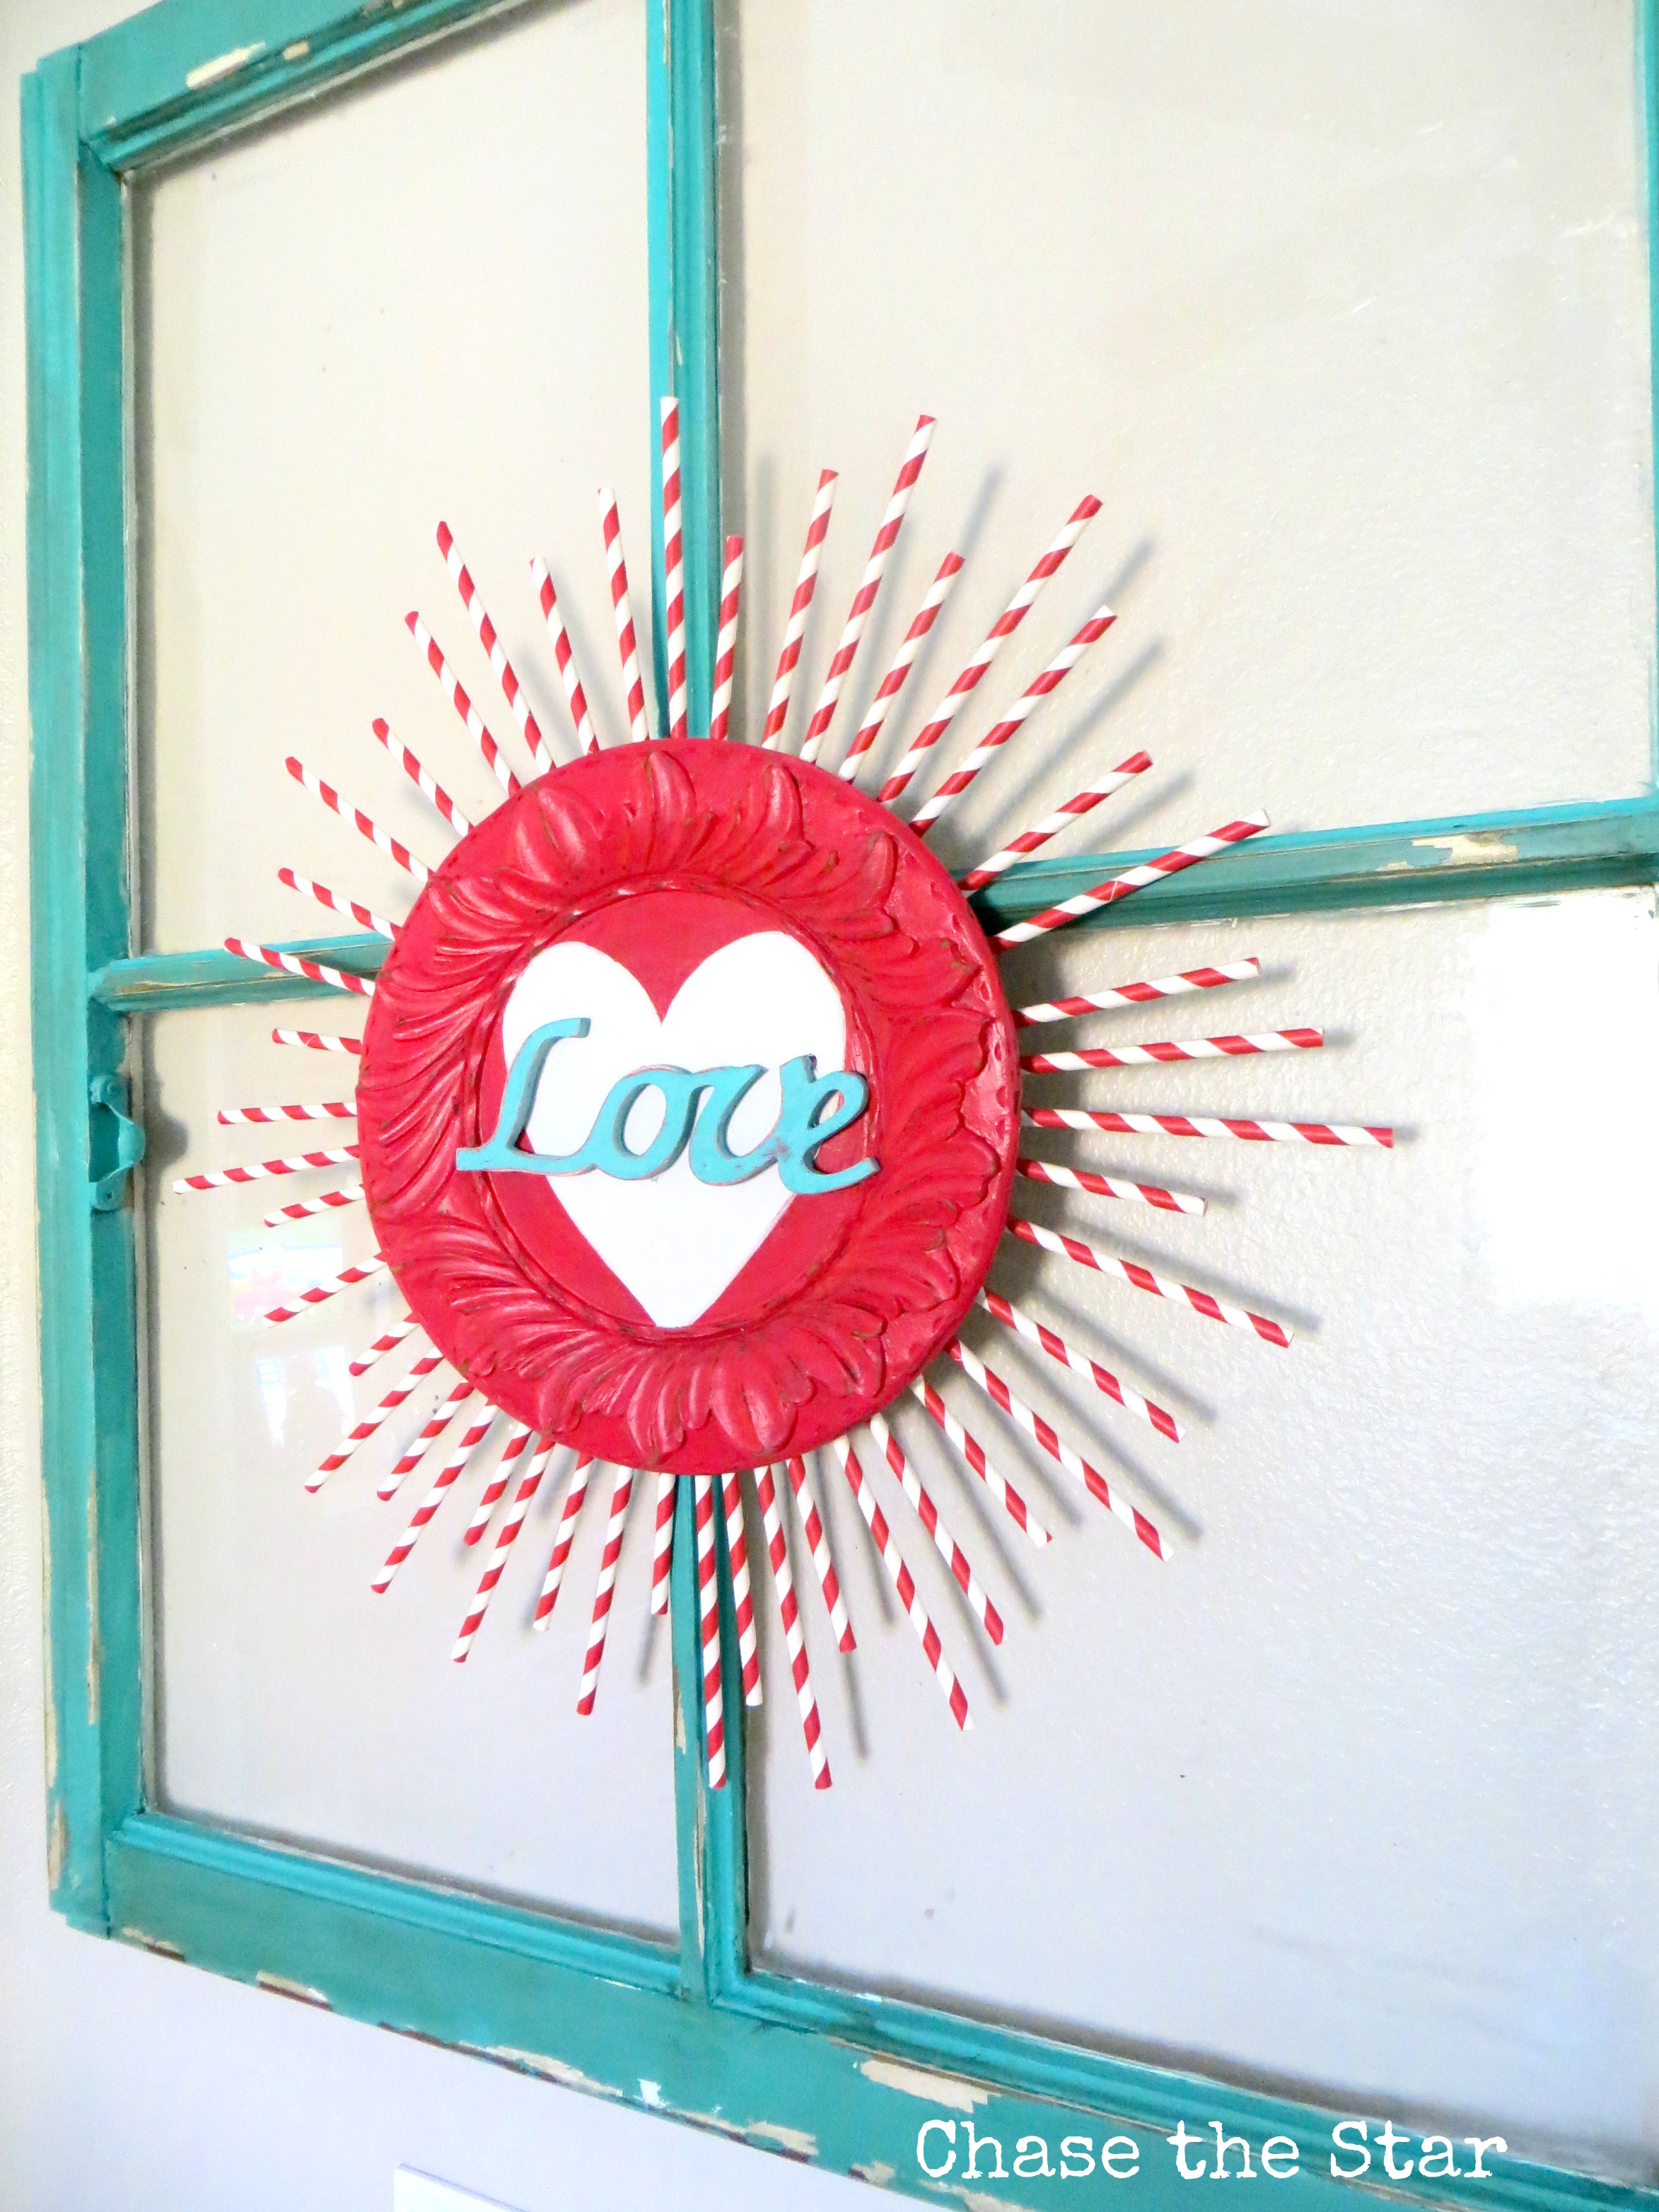 I was going to place this on a large mirror I have over the mantel, but I’m loving how the Valentine’s Day Sunburst looks against the vintage window! However, I’m still keeping my options open for the mantel– I’ll keep you posted, of course!
For now, it sits in my foyer and greets my guests with a burst of love! Corny anecdotes aside, I dig these colors together!
{**Materials note: You may notice I don’t use fancy schmancy vinyl cutters to come up with shapes like hearts and lettering, so if you don’t have a Silohuette or Cricut then don’t worry, there are many ways around it. Not that these machines aren’t super cool to have, but if you don’t you can still create pretty crafts the old fashioned way!}
Do you decorate your foyer or entry way for Valentine’s Day?
Linking up here and..


![]()
Ellen Price says
Lovely….I like the color combo with the blue and the red…
What’s the deal with spraying on Mod Podge? Have I missed something? Please do tell…
Barbara @ Chase the Star says
Ellen, Thank you! Oh yes, you can use Mod Podge spray as a sealer. I use it quite often to seal paper projects or things that get light traffic. This project won’t get too much traffic, but I worry that when I store it after the holiday it may get scratched or whatnot, the Mod Podge typically takes care of that. Appreciate the comment!
loren says
Hey hun, your pictures are not displaying correctly.
Barbara @ Chase the Star says
Loren,
I’ve been working on the problem. Seems to be fixed now, but I appreciate the heads up!
Julie S. says
So pretty! I love the color combo and the red peeking out of the blue looks “distressed” and beautiful! ;) Thanks for sharing!
Barbara @ Chase the Star says
Thank you Julie! I thought I had totally messed it up with the red underneath, but sometimes a craft fail, can work in my favor! Thank you so much for stopping by, see you around here again soon!
Kelly @ Here Comes the Sun says
Love the color combo and the use of the straws. I’ve got an aqua/red color combo for my decor too!
Barbara @ Chase the Star says
Thanks Kelly! Great minds think alike! I’m in love with all shades of blue, so I try to pair it with as much as I can as the seasons come and go. For Valentine’s it’s red, but I’m already looking ahead to Easter!
Tonii says
What a darling craft! I never would have thought of doing something like that, but I absolutely adore it! Love the turquoise and love the vintage window too :)
Barbara @ Chase the Star says
Thank you for taking the time to visit and leaving such a sweet comment Tonii!
Linda says
Hi, I love this wreath and would love to have you link up to my DIY Wreath blog. It is a blog for, obviously, making your own wreaths and will be a resource for anyone who wants to make their own wreaths. Hope to see you there. Linda
http://diywreaths.com/sample-page/
Barbara @ Chase the Star says
Thank you so much Linda! And thanks for the invite, I’ll check it out!
Kara says
Very pretty! Love how it looks on the vintage window!
Barbara @ Chase the Star says
Thank you Kara! I decided to put it over the mantel instead, but I’ve been back and forth about it so we’ll see where she lands!
Diana @ Project Inspire says
I’m featuring this bad boy in my “Best of ” round up from this week’s linky party tomorrow. :) XOXO
Barbara @ Chase the Star says
Woo Hoo! Thanks girl! Appreciate the love Diana!
ChiWei says
I love the use of the straws!
Kathie says
Hello!
I found you from the Mop it up Mondays link up. I would love to have you come share your post with my readers over at Sassy Little Lady’s Show and Tell Saturday. Hope to see you there!
Kathie
http://www.sassylittlelady.com/blog/show-and-tell-saturday/show-and-tell-saturday
Barbara @ Chase the Star says
Thank you Kathie! I appreciate the invite, I’ll stop by!
Katie {Sweet Rose Studio} says
I adore this wreath! The color combination is gorgeous and I love the creative use of the straws! :)
Barbara @ Chase the Star says
Thank you Katie!! I love those straws too, wanna use them again soon! XO
Bethany says
LOVE this! Great job!
Barbara @ Chase the Star says
Thank you very much!!
Kathie says
Thank you for linking up with me for Show and Tell Saturday at Sassy Little Lady! Be sure to stop by next week!
http://www.sassylittlelady.com/blog/show-and-tell-saturday/show-and-tell-saturday
Kathie
Jenn says
This is beautiful and SO creative! Obviously I am not the only one who thinks so as I have seen it all over the place around blogland! lol! Thanks so much for coming out to the party at Clean and Scentsible. I will be featuring this tomorrow. Enjoy your Sunday! I’m following along on Facebook now.
Jenn :)
Barbara @ Chase the Star says
Wow, thanks Jenn! I’m flattered and honored! XO :)
Stacey says
Looks super cute! I really like how the red shows through the blue – looks like a planned technique!
Love the colors together too!
Thanks for sharing – have a blessed week!
Stacey of Embracing Change
Barbara @ Chase the Star says
Thanks so much Stacey!
gail says
Love your VT’s starburst Barbara! :) craft fails? yeah, we’ve all had them!
gail
Marie says
Super cute!
Becky says
Adorable!!
Barbara @ Chase the Star says
Thanks so much Becky!
Amy @ Positively Splendid says
This is absolutely stunning!!
Barbara @ Chase the Star says
Thank you so much Amy! I appreciate the comment! Hope you’re doing well!
Cindy Eikenberg says
Barbara, this is so beautiful! Visiting from Moonlight & Mason jars – thank you so much for co-hosting!